
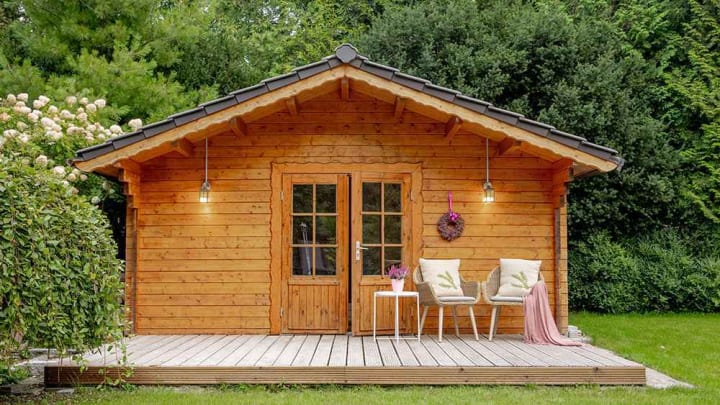
How to Build a Shed: The Ultimate Guide for Beginners
If you need some extra storage space in your backyard, a shed could be the perfect solution. A small shed can be built relatively quickly and at a reasonable cost. Even if you have little previous experience in carpentry or construction work, you can build a basic shed with a bit of planning and the right materials. The key is to plan and take care to follow good practices when building the shed.
What Type of Shed Should You Build?
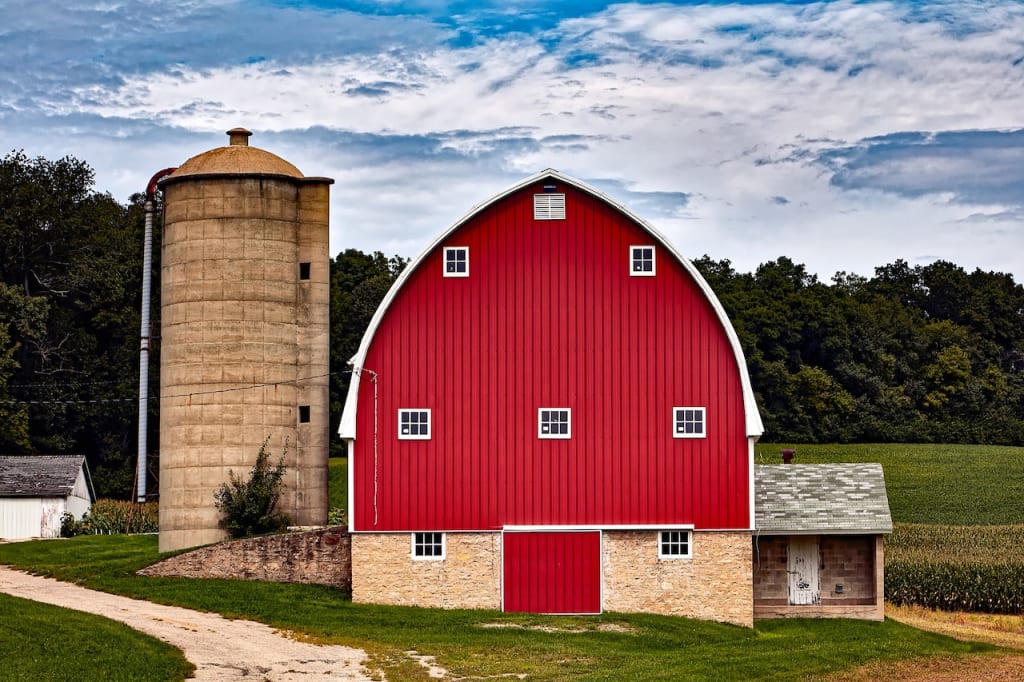
The first decision is what kind of shed you want to build. There are two basic options - a wood shed or a metal shed. A wood shed is constructed from timber and can be built quickly and at a reasonable cost. A metal shed is more expensive but will last longer and can be customized in a wide range of colors. A wood shed will not last as long as a metal shed, so you may need to replace it in 10-15 years. Once you have decided on a type of shed, you can think about the type of foundation you need to build for it. For a wood shed, you can use a concrete foundation or a slab-on-grade foundation. If you use a concrete foundation, you can build the shed directly on the ground. For a slab-on-grade foundation, you will need to dig holes for concrete footings. For a metal shed, you need a concrete foundation for the support posts. A dirt or gravel foundation is not strong enough to support the heavy posts.
This could be the biggest woodworking video cache the world has ever seen. <<
Decide on a Location for Your Shed
This may sound obvious, but it’s important to choose a location that has plenty of room and is protected from extreme weather conditions. A shed can be a great addition to your backyard, but you should consider its proximity to the rest of your property before building one. You will also need to consider where utilities like water and electricity are located. Your shed needs to be positioned so that the utilities can be run to it easily. If you are building a shed on your property that is not currently used, make sure you check with the relevant authorities to see if you need to get planning permission.
Mark and Dig Holes for the Footings
To support the weight of the shed, you need to build footings that go into the ground below the surface. The depth of these footings will vary according to your soil type, but you need to dig holes that are deep enough to allow the concrete footings to be fully submerged. Once the holes have been dug, position the concrete footings in the holes and check that they are level. Next, mix the concrete and fill the footings to the top of the hole. Take care not to put too much water in the concrete mix or it will not set properly. Once the concrete has been left to set, you can proceed with the rest of the shed build. Be sure to leave enough time for the concrete footings to fully dry and cure before building the shed.
This could be the biggest woodworking video cache the world has ever seen. <<
Install Beams and Framing Supports

A shed frame that is built in sections called bents is the most common type of framing. You will need to install a pair of framing supports at the top of the front and back walls. You can use two 2 x 8 beams to support the roof. A ridge beam at the top of the roof will support a ridgeboard (the main roof support). Install a tie beam on the outside edges of each side wall. This will support the wall studs.
The Roof Hook-up

The roof frame will be supported from the ends of the side walls. Secure the roof joists to the side wall with a 10d nail and then install a roof rafter for each joist. To support the roof ridge, attach a ridgeboard to the top of the ridge beam. Secure it with 10d nails from the underside of the roof.
This could be the biggest woodworking video cache the world has ever seen. <<
The Walls Hook-up
The walls of the shed are built from vertical studs that are attached to the beams at the top and to the tie beams at the bottom. Stand the walls upright and mark the stud locations onto the outside of the side walls. Make sure that the tops of the studs are level with the top of the side walls. Put a line of nails in the outside of the side wall at each stud location. Next, install the outside wall studs. Make sure they are level and nail them in place. Finally, nail the inside wall studs in place.
Conclusion
This could be the biggest woodworking video cache the world has ever seen. <<
Building a shed is an excellent way to put your carpentry skills to the test. The key to success is to plan ahead and make sure you follow good practices throughout the build. Once you have your shed built, you will have years of enjoyment from it. You can use it for all kinds of storage, from gardening tools to bicycles and even second hand furniture if you want! With a bit of planning and the right materials, even first-time builders can build a shed successfully. Follow this guide and you will soon be enjoying the benefits of having extra space in your backyard.
About the Creator
Keep reading
More stories from Majid Hussain and writers in Lifehack and other communities.
"Mastering Instagram Affiliate Marketing: How to Boost Your Income and Influence in 2023"
Affiliate marketing has been around for decades, but with the rise of social media platforms like Instagram, it has become more accessible than ever before. Instagram is an ideal platform for affiliate marketing due to its visually-driven nature and the vast audience that it has. In this article, we will discuss what affiliate marketing is, how it works on Instagram, and how to get started.
By Majid Hussainabout a year ago in Lifehack
Healthy Habits: Wellness Tips And Tricks For Harshad Valia’s Students
In school, students like those at Harshad Valia International School are often very busy with their studies. Sometimes, they forget to focus on staying healthy because they’re so busy. But it’s really important for them to remember to take care of themselves, even when they’re studying a lot.
By iDigitize Infotech LLP6 days ago in Lifehack


Comments
There are no comments for this story
Be the first to respond and start the conversation.