
How Are Sidings Installed? Tips from Siding Companies Jacksonville FL
Installing Sidings the DIY Way

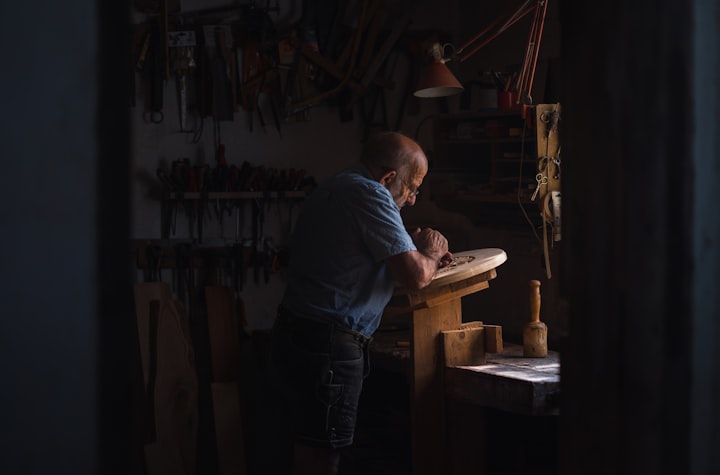
Installing sidings in your homes can add a splash of color and improve the overall aesthetic of your property. It is a great alternative for repainting your home. Sidings also add extra protection to your walls. Siding companies Jacksonville FL offers an affordable,long-lasting and durable alternative for painting your homes. Sidings, compared to paint, are generally easy to maintain and install.
Ideally, it would be best to work with a professional siding contractor if you are looking to have one installed in your home. They have the necessary tools needed to do the job, the experience, and the expertise to do the job right and fast. However, DIY siding installation can be an alternative approach, but can be challenging, but a fulfilling project you can do for your homes.
DIY Siding Installation Tips
Tools and Equipment
As mentioned earlier, a professional siding contractor most likely has complete access to tools and equipment used for installing sidings. However, if you choose to pursue the DIY avenue of things, you need these basic tools to make your DIY siding installation possible.
- Power saw
- Utility Knife
- Tin Snips
- Hammer
- Level
- Tape Measure
- Ladder
- Chalk Line
- Safety PPE
It pays to have these items readily available all the time to avoid nuisances and disturbances as you begin and proceed with your sidings installation. Access to special tools like lock punch, unlocking tools, nail slot punch, speed square, saw horse, circular saw and a nail gun can save you time and make the task easier while installing.
Soffit and Fascia Installation
Install the soffit at the inner edge of the fascia board. The soffit should meet the length of the fascia board. Sidings and soffit pieces all have nail slots. However, it would be ideal to avoid nailing anything tight for now so you can adjust as you proceed with the installation. Box soffit or hip roofs require a second band of J-channel along the soffit edge. This channel conceals the cut edges of the soffit as they meet the fascia. If you are planning to attach the fascia as the bottom of the ceiling joist, the J-channel is not necessary.
After the soffit is installed, remove the gutter and the slide preformed fascia cover located under the gutter apron. You can nail the upper portion of the fascia clearly by doing so. Reattach the gutter afterwards. Remove any obstruction such as address plats, porch lights, rails and clothesline reels. You can begin installing the metal starter strip. From here, you can measure and mark where you will install the sidings.
Tips for Siding Installation from Siding Companies Jacksonville FL
Use Wider Starter Strip
Ideally, it would be best to locate the bottom of the starter strip at least one inches below the top of the foundation, but lower than the siding installed.. This gives maximum protection from rain, snow and pests. Go for wider sidings and start your sidings a bit lower for optimum aesthetics and results.
Add Caps on Corner Posts
Mice, insects, bees, and other types of critters may end up living inside the vinyl corner posts. Avoid this by adding caps on each post before installing it. One can achieve this by cutting a few inches of the J-channel portion on the post. Fold this back and gently tap to crease it into the hammer. Snug Fit tight against the wall to secure the area.
Pull Up As You Nail
One of the most common causes of failure when installing vinyl sidings is when they unlock from each other. Once this occurs, it will only take a short time before wind begins to strip them from your wall. To avoid this, always apply a little upward pressure when nailing each piece. The technique makes it easier to keep the panels locked together and tight in place. However, do not apply too much pressure on the nailing flange because it may cause it to break.
Overlap Top J-Channels
To prevent the rainwater from getting inside the J-channel by creating a flap in the top J-channel that overlaps with the side channels. Although rain can still manage to seep in, it lessens the possibiility if you perform this technique during installation.
Are you still confused and pressured on how to install sidings for your home? Get professional help instead.
Quality Discount & Roofing Contruction can professionally install your sidings, fast and within your budget!
About the Creator
Joie Gahum
A stay at home mother that dreams of changing the world one article at a time.
Keep reading
More stories from Joie Gahum and writers in Lifehack and other communities.
Determining Your Roof Repair Cost with a Roofing Company Jacksonville FL
Repairing roof issues is not an option. It is a must. It is the structure that protects your home and the people that live inside. The question really is how much the cost of the repair will be. A homeowner has the responsibility to take care and oversee everything inside and outside his property that will affect the comfort and security of the people living inside their home. Whenever a roof leaks, the decision is easy, fix it.
By Joie Gahum3 years ago in Lifehack
Benefits of Having Cacti Mammillaria in Your Home
Title: Embrace Serenity: The Benefits of Incorporating Mammillaria Cacti into Your Home In the realm of indoor gardening, few plants rival the unique allure and practicality of the Mammillaria cactus. With its distinctive appearance and easy maintenance, Mammillaria cacti have gained popularity as beloved household companions. Beyond their ornamental value, these desert wonders offer a plethora of benefits that contribute to a healthier and more serene living environment. Let's delve into the myriad advantages of welcoming Mammillaria cacti into your home.
By Kavya Organic Garden6 days ago in Lifehack
Snacktime Sonata Challenge Winners
Well, your Snacktime Sonatas made us hungry, and that’s about the highest compliment we have. Food — taste, smell, sensation — is a powerful conduit to the past, to memories pleasurable and painful and sometimes bittersweet, a mixture of comfort and challenge. Congratulations to Penny Fuller for Sativa — it’s a first win for Penny — a hymn to the “secret, unbounded/freedoms” of fresh peas in the pod. The narrative voice of the poem doesn’t really want to be outside, but finds joy in the green things of the earth; this is a lovely work of resilience.
By Vocal Team4 days ago in Resources


Comments
There are no comments for this story
Be the first to respond and start the conversation.