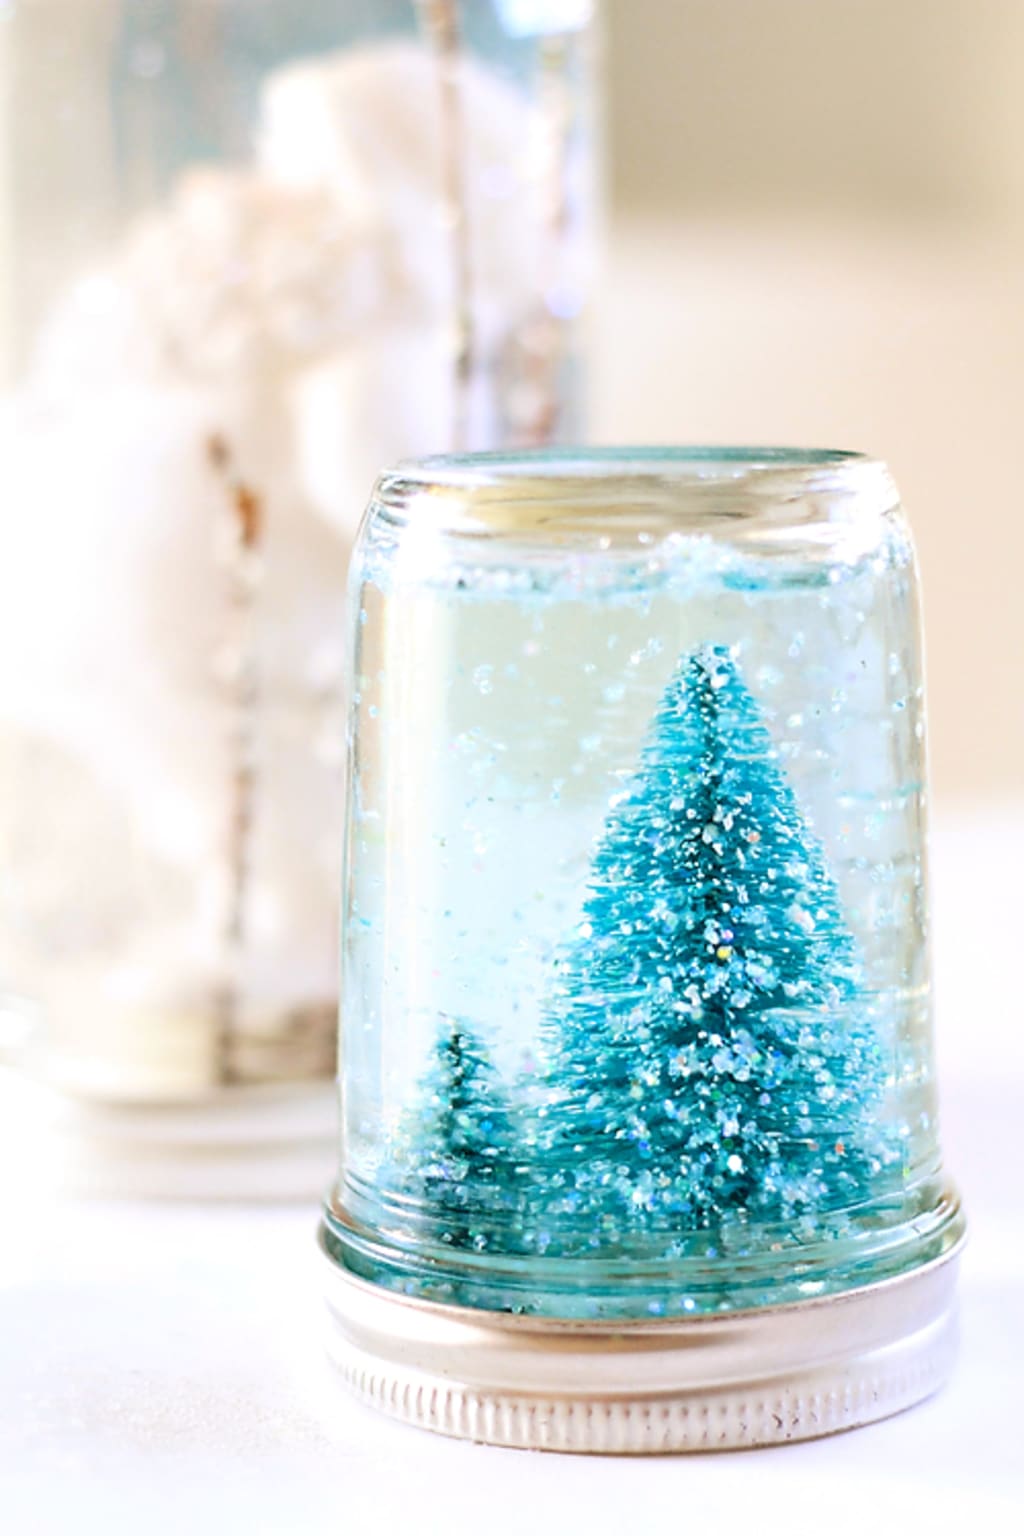
The holiday season was approaching and I wasn't sure what I was going to get for the adults in my family, but then I decided to do make snow globes. They're fun, not that hard to make, and they add a personal touch to my holiday presents. There are two different types of snow globes that I could have made. One is a normal snow globe with water, but the other would be a waterless snow globe. These are the steps to make a homemade snow globe.
Step 1: What You'll Need
- Mason Jar (can be glass or plastic, your choice)
- Glitter (whatever color or colors your heart desires)
- Glycerin (you can try baby oil, too, but I did and it didn’t really work)
- Figurines (anything from people to animals to trees, just make sure they can be put in water)
- Super Glue, Hot Glue Gun, or Gorilla Glue (some Gorilla glue should be waterproof)
- Water (boiled is best)
Step 2: Prep
First you’ll want to put down some newspaper or paper towels down for easier clean up. If you're okay with your table getting wet and glittery then go for it.
This next step depends on the covers you have because some mason jars, mainly the plastic ones, have solid covers while the glass jars have covers that come apart into two pieces. If you have the latter then you’ll need to glue the two pieces together to make sure there's no leaking.
After the covers are sealed, you glue your figurine to the cover of the jar and let dry. Depending on you glue, drying can take about two hours. I let mine set overnight.
Step 3: Making Your Snow Globe
Since you’ve prepped your jar lid, now comes the messy part: The snow globe itself.
First you have to boil the water. You don’t need to boil the water, but it takes the minerals out of the water and helps the glitter float.
After you add the water (not too much you want to leave some room at the top floor for your figurine and some empty space for shaking), now you add the glitter. You can add as much glitter as your heart desires, but don’t add too much. You want to be able to see your figurine.
After you add the glitter, add the glycerin. I would add half a teaspoon at a time to make sure you don’t have too much. The glycerin will help the glitter float longer and keeps it from going straight back up to the top.
Step 4: Putting Your Snow Globe Together
Now that you’ve successfully glued everything together, your figurine is in it and it is filled it with water glitter and glycerin, you can put it together.
Before you put the cover back on the jar, add some glue to the inside of the cover to prevent leaking and carefully insert your figure into the jar.
After you've put the two pieces together, let the glue dry and once the glue is dried, shake test it to make sure it doesn’t leak. If you do have a little leakage, all you have to do is add some glue to the top a cover, where it meets the jar, and let dry.
Once you’ve successfully managed to get rid of all the leaks, you get to enjoy your snow globe, and if you're giving it as a gift, wrap it! If it is a gift, then make sure to buy some present boxes and bubble wrap, that way you can securely and safely package and wrap your gift with love.


Comments
There are no comments for this story
Be the first to respond and start the conversation.