
This is How You Can Organize Your Fonts like Professional Designers
Organize Your Fonts

As a designer, you may find yourself collecting fonts for different projects or simply keeping them just if you need them one day. While downloading and installing the fonts can be done in a matter of minutes, organizing them is a struggle.
Imagine having to look for the right font when working on a project, but you cannot find them. This problem can only be solved through an effective organizing method and tools. Professional designers have their way to keep their font-finding jobs more effective, and now you can learn their secrets and find your path to organizing fonts.
Where to Start?
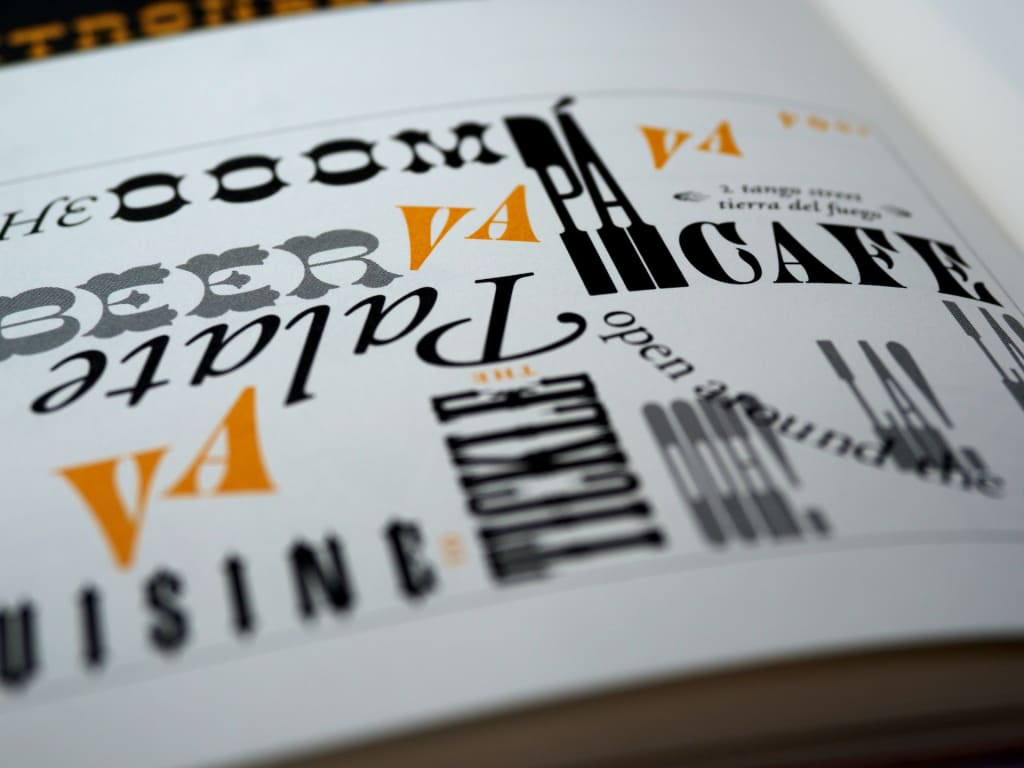
Looking at a collection of fonts online, the designer in you might want to click and download each one of them. Your mind starts wondering where the font would fit. The downside comes when you are about to install them: you got lost in the folder trying to match the font’s name with the visual.
So, how does the professional do it?
Begin by Investing Your Time and Effort
A system can only be made through time. There should be trial and error before you can find the perfect system and method for your organized fonts. Though many apps can help you with this, starting it the right way might come in handy.
One of the first things to do is to cluster your fonts as you collect them. Make custom folders and keep a “favorite” folder to store the fonts you are using the most. Next, pick out a way to classify your fonts in each folder. That may be the most traditional way to organize your fonts, but it would make things easier in the future if you do it as a habit.
Recognizing the Font Types
Their characteristics or purpose usually classify fonts. To recognize this, you may need to have basic knowledge of typography. Sure, some apps will do this for you, but it is useful to learn something yourself.
However, when you download and install a set of fonts, it usually describes the types and classifications. Look at the details of the font description to find out. Once you decide to start a collection of fonts, you will need to start structuring the folders.
Create Subfolders if Needed!
Folders and subfolders are important if you want to make a system where you can find the fonts easily. One pro tip from Letterhend Studio is to separate the fonts into two big groups: free and commercial licensed. It will help you work with a font based on its copyright limitation, so you will know which ones to use without issues.
Inside, classify the fonts into category subfolders such as Serif, Display, Symbols, Decorative, Script, Sans, Sans Serif, etc. Narrowing down the subfolders into subcategories can also work. For example, we are dividing the Script category into monoline, bold, and others.
Another way to organize the folders is by categorizing them according to the font designers, founder, and website origin. This way, you may remember which fonts belong to which designer and will find it more accessible.
The folders and subfolders can be as specific as you need. If you work on a certain type of design, you may also try to classify them into where you would put the fonts such as “posters”, “printed designs”, “websites”, “script”, or others.
Store New Font Downloads Elsewhere
You may have the time to download the fonts and remember how it looks, but you have not got the time to install them. To avoid letting it mix with the installed fonts, you can create a separate folder for the downloaded fonts. It is also recommended to categorize the fonts into subcategories to know which one to install when you need it.
Put the folder elsewhere on your computer, in a different main folder from your installed fonts. So, when you are looking for a new font, you will go straight to this folder and find them instead of scrolling through the installed fonts.
These steps may take more time and effort but will make your work easier. If you already have a collection of unstructured fonts, you may work extra and take time to classify them before you can start having them organized.
Think of Creative Ways to Categorize

Every designer has a way to remember things and organize them. If classifying the fonts into their category or style is the best for you, then go for it. If you have a hard time remembering which style looks like which font, you can also create descriptive and creative folders to categorize the fonts.
For example, you may want to label a folder as “Formal” and put the fonts used in formal or normative designs. You can also label it as “Ads” for fonts that are good for ads and posters. Other ideas for the label are “Playful” for fun fonts, “Music” for event posters, or “Script” for long text.
This kind of categorization can be done inside the main folders that divide the main style of the fonts. Remember, there are no rules that say you can only organize a set of fonts once. So, feel free to put a font into multiple folders that it fits into.
Evaluate the Use of Your Fonts

Some fonts look catchy and versatile, but we happen to let them stay in the folder because they just did not fit any design. You may be interested in a set of fonts but never had the chance to use them. If that happens often, it may be a sign to remove the font from your folder.
After several uses, you may also start to notice which font you use frequently. For these fonts, it is recommended to store them in cloud storage so that you can access them from any device you have.
If you collect many fonts in one project or a research process, you may end up with a pile of downloaded fonts that crowds your folder. As a designer, you may also find that there are fonts that are good for one project, and you cannot find any other design that fits into.
In this case, you should have the time to do a “general cleaning” and remove the fonts that you do not frequently use. When scrolling down the collection, you will find the ones that are “not good for any design”, “too versatile”, or simply “outdated”. When you minimize your collection, it will be easier to scroll through, too.
Think of Where You Store Them
Storing fonts in computer storage is easier because you do not have to re-install them when you want to reuse a font. However, for the fonts you use most frequently, storing them in a portable hard disk or cloud storage is highly recommended.
If you work from different devices, having it stored in a cloud will help you if you need an edit in a rush. Use your preferred method of cloud storage and categorize it just as on your computer.
As an additional note, if you are working on a project that uses specific fonts, you can also categorize the folder with the project’s name. It should be in the same place as other raw materials you use in the design. It will be a sort of reference for the project, and you know where to find it when you work for the same project or client.
Font Manager Apps to Help You Categorize
We talked about how we need to start organizing from scratch if we want to do it manually. The folder method is as effective as you make the system. If you are not sure how to categorize it or put it in the folder, you may find it confusing one day when you are looking for a certain font.
The manual method may also not effectively work if you have a large collection of fonts or frequently switch between projects requiring different fonts. It is where the font manager comes to help.
A font manager is an app that can help you categorize the extensive collection of fonts automatically. Keep in mind that it also needs several adjustments to work effectively. The features of the applet you to scroll through the collection and make custom folders as you go.
Though it mostly works the same as our folder method, it lets you do everything easier through its user-friendly interface. Some apps even have an automatic way to sort the fonts by category, style, or custom classification. When using the app, remember to do these things:
Use Tags for Your Collection
The tagging feature is one of the most useful features of the font manager app. You cannot create a tag with folders and need to put the font into multiple folders to see where the font fits.
With tagging, you can categorize the fonts into several categories or tags, and they will be automatically sent to the category folders. Instead of copy-and-paste the font into folders, you will only need to think of effective tags, which can be based on their style, thickness, purpose, and license.
Font Book, a Font Manager App for Mac
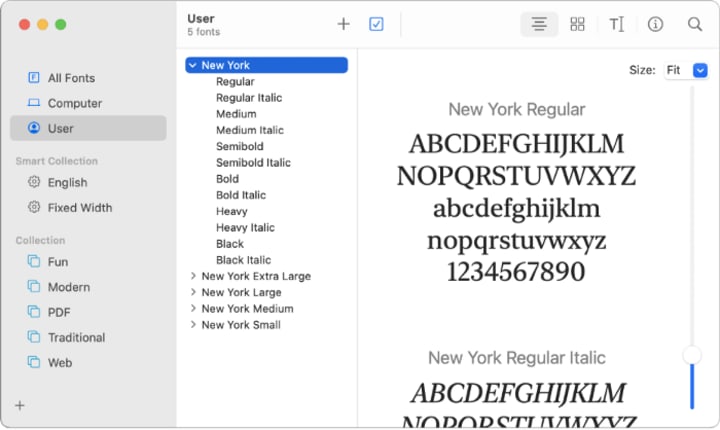
In this whole font organizing matter, Mac users can be considered lucky. They have access to use Font Book, which can help make fonts more structured.
First, it is a helpful tool for installing fonts. You can preview the fonts made by designers or users of Font Book. Once you download the font, it will be stored in the app, and the app will let you make a Smart Collection that automatically categorize the fonts. Or, you can also add your category to the collection.
The Collection and Smart Collection on Font Bookwork as folders n your computer. You can make a custom collection using the small plus icon at the bottom left of the app. More accessible than ever, adding a font to your collection can be done by just dragging the icon to the collection list.
Another brilliant feature of Font Book is the way it analyzes your frequently used fonts. You can set it to deactivate fonts that are less used automatically. This way, the unused fonts are not entirely removed but deactivated.
If you are interested in trying the font managing app, these are the ones that offer a free service or free trial:
Font Explorer X

FontExplorer® X starts from $100 with a free trial available. It is suitable for typographers and designers with AI-powered organizations to help you arrange fonts with smart categories.
RightFont
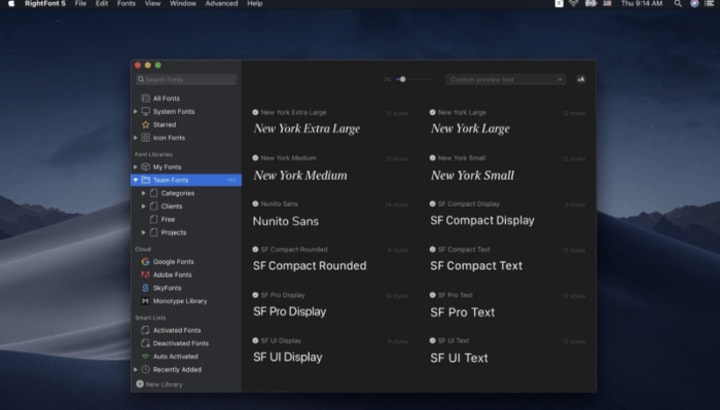
Works for Mac, RightFont enables you to preview, install, manage, and sync the font in the app and your computer. The application’s price starts at $35, with a free trial available.
Typeface App
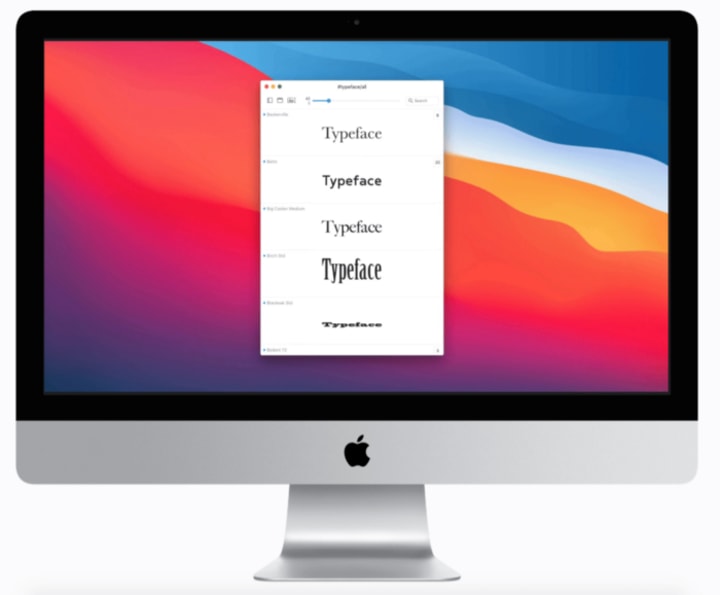
Available on Mac, the Typeface App can be bought for $25 with a free trial available. A clean and neat interface makes your font searching even more exciting and saves time.
FontExpert
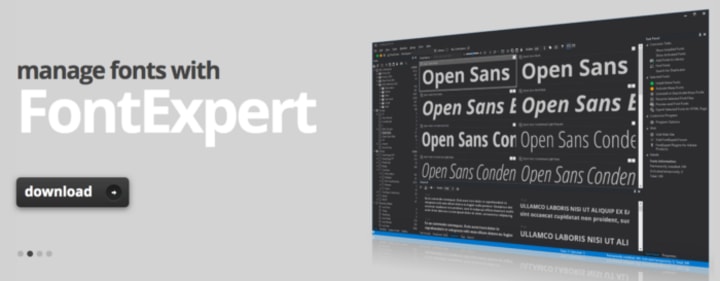
FontExpert is available for Windows users, and the price starts at $50. A free trial is available before you get to purchase the full version. It enables users to preview and manage font through a built-in library. Users can also group fonts and make collections for the fonts downloaded.
There is no perfect formula for finding the perfect way to organize fonts. Professional designers have gone through their journey in making a system that fits their working style. Each of the tools presented above has pros and cons, and the only way to find out is to take advantage of the free trial. Believe us, the only way to organize fonts is to find the correct method and apply it as you go.
Many thanks
Creatype Studio
Type Designer & Lettering
About the Creator
Creatype Studio
Type Designer & Lettering to design a font. Visit to www.creatypestudio.co
Keep reading
More stories from Creatype Studio and writers in Journal and other communities.
Typeface Vs. Font: Comprehensive Guide to What You Should Know About These Two
Many terms are swirling around the typography designing world, but most commonly referred to and confused at the same time are a typeface and a font. If you’re still in the middle of understanding these two, we welcome you aboard. You’re not alone. Do you know that sometimes designers also question them? To discover more about a typeface and font, read our complete information below.
By Creatype Studio2 years ago in Journal
Why Don't I Win Vocal Challenges?
Why Don’t I Win a Vocal Challenge? I have been a member involved in judging one of the Vocal challenges and have read numerous entries to different contests. I will say my choices in the works that I think are worthy of placement are often not equally appreciated by my peers, so my taste may be quite “out-of-touch” with the “norm,” so here’s one opinion in about a million; do with it as you wish.
By KJ Aartila3 days ago in Journal


Comments (1)
It's fun to read this sort of website! This is quite helpful and instructive for me and the other readers, which I appreciate. You elucidate this article. This is How You Can Organize Your Fonts like Professional Designers. I used to frequently utilize web tools in my hunt for the best types of report writing services. I advise all pupils to access this webpage. Thank you for introducing us to this website. click this link for more information. https://reportwritinghelp.com/blog/how-to-write-a-report/