
Image Slider Tutorial for Beginners – HTML CSS and JavaScript Project
In this article you will learn how to create simple image slider animation using HTML CSS and JavaScript code.

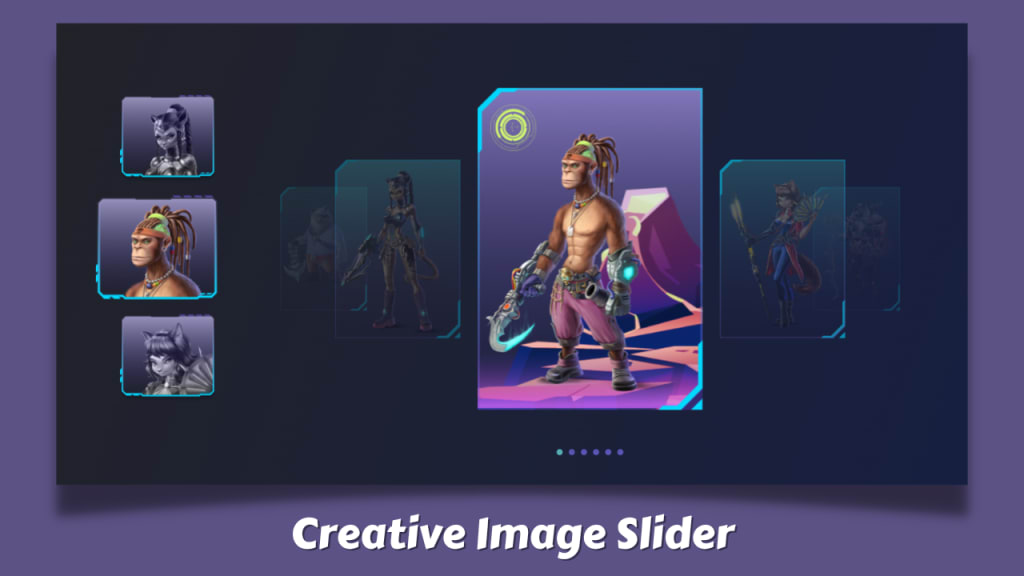
Creating an image slider is one of the most rewarding and useful projects for beginners learning web development. It’s not only visually engaging, but also introduces several important concepts in HTML, CSS, and JavaScript.
Whether you're building a portfolio, a product gallery, or a homepage banner, image sliders add dynamic interaction to your website.
In this article, we’ll walk you through the key concepts behind building a basic image slider using HTML, CSS, and JavaScript — no libraries or frameworks, just pure frontend skills.
While we won’t include the code here, we’ll explain the logic and workflow so you’ll feel confident when creating one yourself or following along with a video tutorial.
What is an Image Slider?
An image slider (also called a carousel) is a UI component that displays multiple images, often in a loop, either automatically or by user control.
It can include navigation buttons (like arrows), indicators (like dots), or autoplay functionality that cycles through images after a set time.
Want to build an image slider? Check out my article with the complete source code.
The basic structure involves three main parts:
HTML – to lay out the images and controls.
CSS – to style the images and animate the transitions.
JavaScript – to add logic like switching images, autoplay, or clicking arrows.
Step-by-Step Logic Behind the Project
1. Structure with HTML
Start by creating a container that holds all your images. Each image typically sits inside a slide wrapper. You can add left and right arrow buttons and dot indicators below the slider.
2. Styling with CSS
We will use CSS to style the size of the slider, position the slides, and control the layout. You can also use techniques like position: absolute or flexbox to place images on top of each other or in a row.
Responsive design is also important — your slider should adjust quickly on different screen sizes, which is where media queries and flexible units like % or vw come in handy.
3. Making it Interactive with JavaScript
JavaScript adds functionality. You’ll need to keep track of which image is currently active, and allow users to navigate using buttons or automatically cycle through the images.
The logic typically involves:
An index variable to track the current slide
Event listeners on navigation arrows or dots
A function to change the visible image
Optionally, a timer to auto-slide images at intervals
You may also like: Create Responsive Autoplay Carousel using HTML CSS and JavaScript
Why Beginners Should Try This Project
Building an image slider helps reinforce fundamental concepts like the DOM (Document Object Model), CSS animations, and JavaScript event handling.
It’s also a confidence booster — by the end of the project, you’ll have a working, polished feature that’s both practical and impressive.
You can start simple and then gradually add more features like swipe support, captions, or fading transitions. The more you practice, the more comfortable you’ll get with manipulating elements and creating user-friendly interfaces.
Final Thoughts
An image slider is an excellent hands-on project for beginners. It blends structure, design, and logic in one neat package. If you're just starting out and want a fun, visual project to practice with — this is a perfect choice. Once you build your first one, you'll see how versatile and customizable sliders can be across different web projects.
Happy coding!
About the Creator
Codebox
Codebox is a creative platform focused on web design. We specialize in HTML, CSS, and JavaScript, crafting dynamic and interactive websites. Our mission is to make coding simple with easy-to-follow tutorials and hands-on projects.
Enjoyed the story? Support the Creator.
Subscribe for free to receive all their stories in your feed.
Comments
There are no comments for this story
Be the first to respond and start the conversation.