
How to Use Wood Shims?
Tips and Techniques for Installing Wood Shims

Introduction
Wood shims are a versatile and essential component in various construction and home improvement projects. These thin, tapered pieces of wood are primarily used to fill small gaps, level surfaces, and provide stability. Whether you're hanging a door, installing a window, or leveling a piece of furniture, understanding how to use wood shims can significantly enhance the quality and durability of your work.
Types of Wood Shims
Different Varieties of Wood Shims
Wood shims come in several types, each suited to specific applications. Common varieties include cedar, pine, and composite shims. Cedar shims are preferred for their resistance to moisture and decay, making them ideal for outdoor projects. Pine shims are more cost-effective and are often used in indoor applications. Composite shims, made from a mixture of wood fibers and resin, offer uniform thickness and strength, making them suitable for precise installations.
Choosing the Right Type
Selecting the appropriate type of wood shim depends on the project's requirements. For instance, cedar shims are best for areas exposed to moisture, while pine shims are suitable for general interior use. Composite shims are excellent for applications requiring consistent thickness and strength.
Materials and Tools Needed
Essential Tools
To effectively use wood shims, you'll need a variety of tools, including:
Hammer or mallet
Utility knife
Carpenter’s level
Measuring tape
Saw (if trimming is necessary)
Selecting the Best Materials
Choosing high-quality wood shims is crucial for achieving the best results. Look for shims that are free of knots and cracks, as these imperfections can compromise the shim's integrity and performance.
Applications of Wood Shims
Common Uses
- Wood shims are commonly used in:
- Door and window installations
- Leveling floors and furniture
- Cabinet installation
- General carpentry and construction projects
Specialized Uses
In addition to common uses, wood shims can be employed in more specialized applications, such as adjusting the alignment of deck boards or providing temporary support during construction.
Preparing to Use Wood Shims
Safety Precautions
Before starting any project, it's important to take safety precautions. Wear protective gear such as gloves and safety glasses to protect against splinters and debris.
Workspace Setup
Ensure your workspace is well-lit and organized. Having all your tools and materials within reach will streamline the process and help you work more efficiently.
Installing Wood Shims for Doors
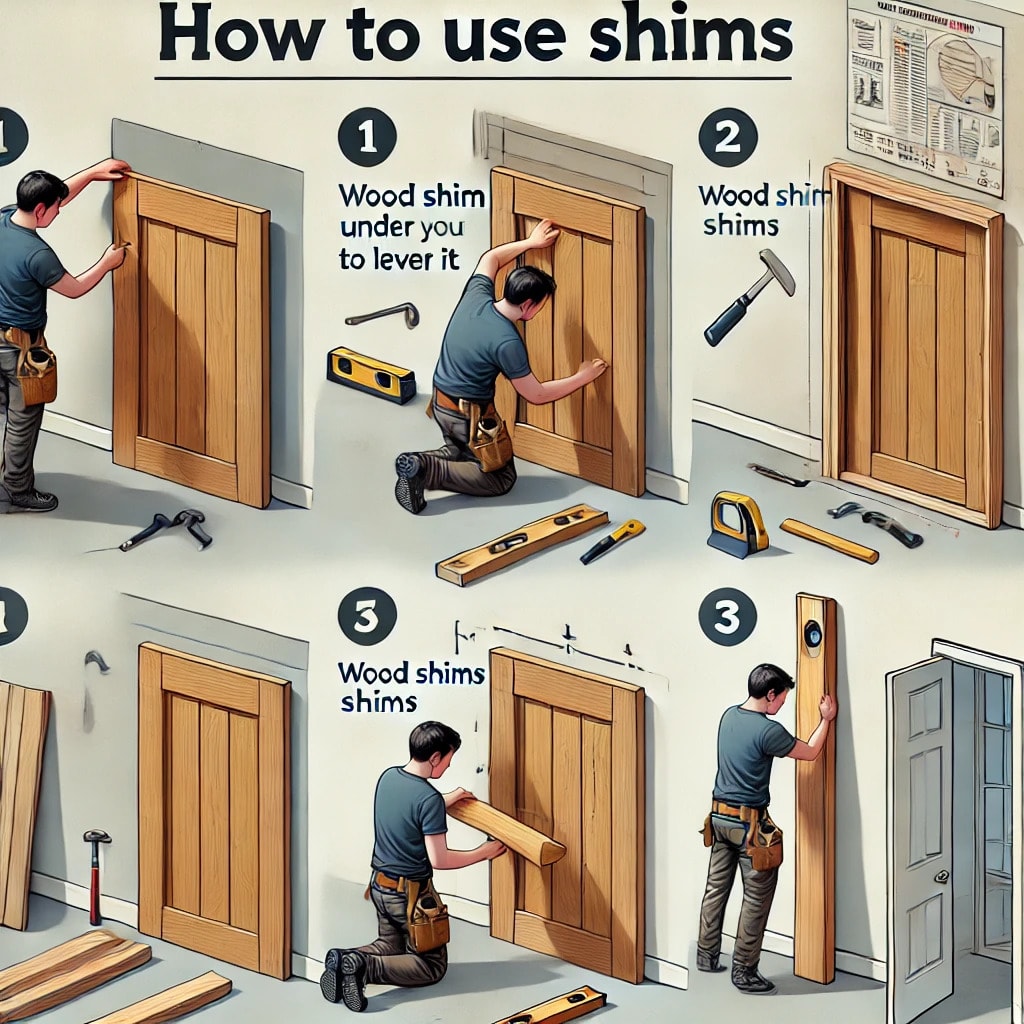
Steps to Shim a Door
- Remove the Door: Start by removing the door from its hinges.
- Position the Shims: Place shims between the door frame and the wall to align the frame correctly.
- Check Alignment: Use a carpenter’s level to ensure the frame is plumb and level.
- Secure the Frame: Nail or screw the frame into place, making sure the shims stay in position.
- Rehang the Door: Reattach the door to its hinges and check for proper operation.
Tips for Accuracy
Ensure the shims are evenly spaced and that you periodically check the level during installation. This helps prevent the door from binding or not closing properly.
Using Wood Shims for Windows
Procedures for Window Installation
- Prepare the Opening: Ensure the window opening is clean and free of debris.
- Place the Window: Insert the window into the opening and hold it in place.
- Position the Shims: Insert shims around the window frame to level and secure it.
- Check for Level: Use a carpenter’s level to verify that the window is plumb and level.
- Secure the Window: Nail or screw the window frame into place, keeping the shims in position.
Ensuring Proper Fit
Check for even spacing and alignment throughout the installation process. Proper shimming prevents gaps and drafts, ensuring a snug fit.
Leveling Furniture with Wood Shims
Step-by-Step Guide
- Identify the Uneven Area: Determine which part of the furniture is uneven.
- Insert Shims: Place shims under the legs or base until the furniture is level.
- Trim Excess Shims: Use a utility knife to trim any protruding shims for a clean appearance.
Avoiding Common Mistakes
Avoid over-shimming, as this can cause instability. Ensure that the shims are properly positioned and that the furniture remains balanced.
Wood Shims in Flooring Projects
How to Level Floors
- Inspect the Floor: Identify areas that require leveling.
- Place Shims: Insert shims under the subfloor or floorboards to level the surface.
- Secure the Floor: Nail or screw the floorboards into place, ensuring the shims stay in position.
Best Practices for Installation
Regularly check the floor's level during the installation process. Use shims made from durable materials to maintain stability over time.
Wood Shims in Cabinet Installation
Proper Techniques
- Position the Cabinet: Place the cabinet in its designated location.
- Insert Shims: Use shims to level the cabinet and ensure it is plumb.
- Secure the Cabinet: Fasten the cabinet to the wall or floor, keeping the shims in place.
Achieving Stability
Ensure the shims are placed at key support points to prevent wobbling and maintain the cabinet’s structural integrity.
Creative Uses for Wood Shims
DIY Projects
Wood shims can be used in various DIY projects, such as creating wall art, decorative frames, or custom furniture pieces. Their versatility makes them a favorite among DIY enthusiasts.
Decorative Uses
In addition to practical applications, wood shims can be painted or stained and used as decorative elements in home decor projects, adding a rustic charm to any space.
Maintaining and Storing Wood Shims
Long-Term Storage Tips
Store wood shims in a dry, cool place to prevent warping or deterioration. Keeping them organized in a tool chest or storage bin can make them easily accessible for future projects.
Maintenance Practices
Regularly inspect your wood shims for damage or wear. Replace any that are cracked or split to ensure they remain effective.
Troubleshooting Common Issues
Addressing Gaps
If gaps persist after using wood shims, double-check the alignment and placement. Adding additional shims or adjusting their position can help close any remaining gaps.
Fixing Misalignments
If a door or window is still misaligned after shimming, re-evaluate the shim placement and make necessary adjustments. Ensure the frame is square and the shims are evenly distributed.
Environmentally Friendly Practices
Eco-Friendly Materials
Opt for shims made from sustainably sourced wood or recycled materials. This choice supports eco-friendly practices and reduces environmental impact.
Recycling Wood Shims
Used wood shims can often be recycled or repurposed for other projects. Consider incorporating them into new DIY projects or composting them if they are untreated.
Cost-Effective Solutions with Wood Shims
Budget-Friendly Projects
Wood shims are an affordable solution for various home improvement tasks. Their low cost and versatility make them a budget-friendly option for both small repairs and larger projects.
Cost Comparison
When comparing wood shims to other leveling and spacing methods, they often provide a cost-effective and efficient solution. Their ease of use and availability contribute to their popularity.
Advantages of Using Wood Shims
Benefits Overview
Wood shims offer numerous benefits, including ease of use, affordability, and versatility. They are an essential tool for achieving precise alignment and stability in various projects.
Practical Applications
From door and window installations to DIY crafts, wood shims are invaluable in both professional and amateur settings. Their practical applications are extensive and varied.
Disadvantages of Using Wood Shims
Potential Drawbacks
While wood shims are highly useful, they do have some drawbacks. They can be susceptible to moisture and may require replacement over time. Additionally, they might not be suitable for all applications.
How to Mitigate Issues
To mitigate these drawbacks, choose the right type of shim for your project and ensure proper installation and maintenance. Using treated or composite shims can also help reduce moisture-related issues.
Frequently Asked Questions About Wood Shims
Q. What are wood shims used for?
A. Wood shims are used to fill gaps, level surfaces, and provide stability in construction and home improvement projects.
Q. How do you install wood shims?
A. To install wood shims, insert them between surfaces that need leveling or spacing, then secure the surfaces in place with nails or screws.
Q. Can wood shims be used outdoors?
A. Yes, but it's best to use treated or naturally moisture-resistant wood shims, such as cedar, for outdoor projects to prevent decay.
Q. How do you cut wood shims?
A. Wood shims can be cut to size using a utility knife or saw. Score the shim with the knife and snap it off, or use a saw for a cleaner cut.
Q. Are there different sizes of wood shims?
A. Yes, wood shims come in various lengths, widths, and thicknesses to accommodate different needs and applications.
Q. Can wood shims be reused?
A. In some cases, wood shims can be reused if they remain in good condition. However, for critical applications, it's recommended to use new shims for maximum reliability.
Conclusion
Wood shims are an indispensable tool for any DIY enthusiast or professional contractor. Their versatility, ease of use, and cost-effectiveness make them essential for a wide range of projects, from hanging doors to leveling floors. By understanding the proper techniques and applications for wood shims, you can ensure your projects are completed with precision and durability. Whether you're tackling a simple home repair or embarking on a larger renovation, wood shims will help you achieve perfect alignment and stability every time.
About the Creator
Tool Equipment
Unleash the power of your projects with tool equipment - Sigma tile cutter, tile cutter, milwaukee tools, milwaukee packout, milwaukee earbuds, tile tools, Variable speed grinder, https://www.toolacademy.com/
Enjoyed the story? Support the Creator.
Subscribe for free to receive all their stories in your feed.
Comments
There are no comments for this story
Be the first to respond and start the conversation.