

Sublimation print transfers are a magical way to bring any design to life. With the power of heat and sublimation ink, these custom sublimation transfers can transform plain and ordinary products into eye-catching, personalized pieces that are truly one of a kind. From T-shirts to mugs, phone cases to pillows, the possibilities are endless. With the ability to print intricate details and vivid colors, sublimation print transfers can turn even the simplest design into a stunning work of art. It's amazing to watch as the ink transforms from solid to gas, permanently bonding with the fabric or material to create a vibrant and long-lasting image. Whether you're a small business owner or simply looking to add some personal flair to your belongings, sublimation print transfers are an incredible way to express yourself and make a statement that's uniquely yours.
Custom Sublimation Transfers
Sublimation print transfers are a great way to create custom designs on a variety of products, such as T-shirts, mugs, and phone cases. Here are the general steps for designing custom sublimation transfers:
1. Choose a Design Software
Choosing the right design software for custom sublimation transfers can be crucial in creating a successful final product. When selecting software, it's important to consider your level of experience and the complexity of your designs. For beginners or those with limited design experience, user-friendly software such as Canva or PicMonkey can be a great option. If you're more experienced and looking for more advanced features, Adobe Photoshop, Illustrator, and CorelDRAW are popular choices. It's also important to consider the file formats supported by your sublimation equipment and choose software that can export designs in those formats. Ultimately, the best design software for sublimation print transfers will depend on your specific needs and preferences, so it's important to research and test out different options to find the one that works best for you.
2. Choose the Transfer Type
When it comes to sublimation print transfers, there are generally two types of transfers to choose from paper transfers and direct transfers. Paper transfers involve printing the design onto special transfer paper using sublimation ink, and then heat pressing the transfer onto the substrate (such as a t-shirt or mug). This method is best suited for designs with a lot of detail, as the paper allows for crisp lines and accurate color reproduction. However, paper transfers can be less durable than direct transfers and may crack or fade over time.
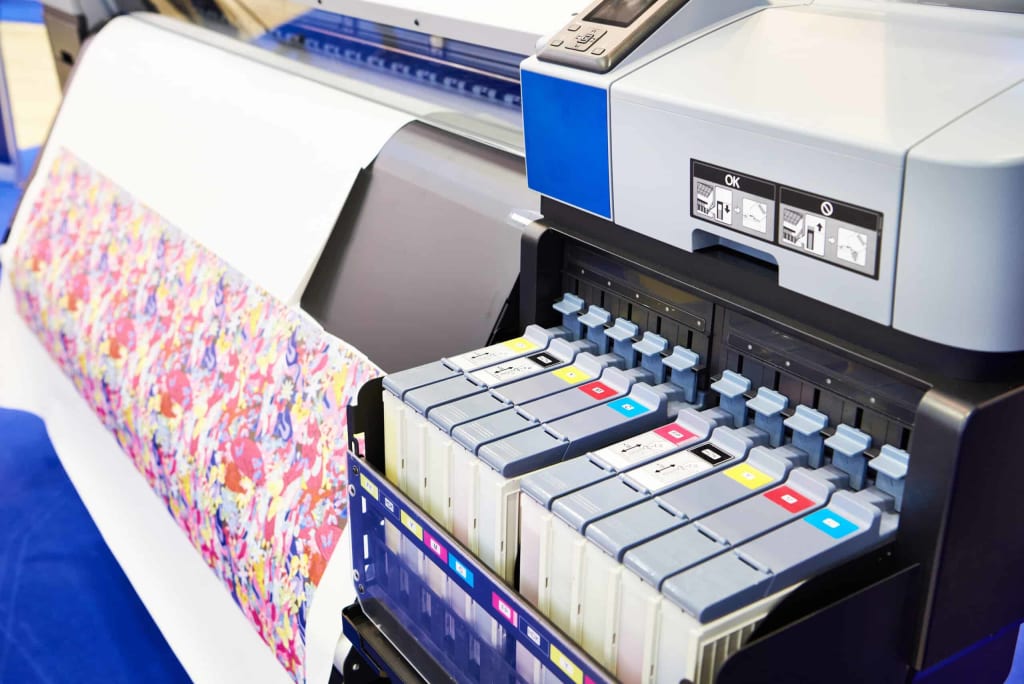
Direct transfers involve printing the design directly onto the substrate using sublimation ink and a specialized printer. This method is best suited for designs with large, solid blocks of color, as it allows for a more seamless and long-lasting transfer. However, direct transfers can be more difficult to master and may require more specialized equipment. Ultimately, the choice between paper transfers and direct transfers will depend on the specifics of your project, such as the type of substrate, the level of detail in your design, and your overall budget and skill level. It's important to carefully consider these factors and consult with an expert in custom sublimation transfers if you're unsure which method to use.
3. Create the Design
Creating the design for custom sublimation transfers typically involves using graphic design software to create a digital file of the artwork or design you want to transfer onto the substrate (such as a t-shirt or mug). Some popular design software options include Adobe Illustrator, Photoshop, or CorelDRAW. Once you have your design software, you can create your design by selecting your desired colors, shapes, and other elements, and arranging them in a way that fits your desired aesthetic. Keep in mind that sublimation ink will not work on dark colors, so you'll want to choose light-colored substrates for the best results.
When designing for sublimation print transfers, it's also important to keep in mind the size and shape of the substrate you'll be using. Be sure to adjust your design to fit the dimensions of the substrate, and consider any potential areas where the design may be cut off or distorted during the transfer process. Once your design is complete, you can print it onto sublimation transfer paper using a sublimation printer and ink. From there, you can use a heat press to transfer the design onto your desired substrate, following the specific instructions for your equipment and materials. With a bit of practice and patience, you can create custom sublimation transfers that are unique, vibrant, and long-lasting.
4. Print the Transfer
Printing the transfer during sublimation print transfers involves using a specialized sublimation printer and ink to print your design onto transfer paper. First, you'll want to ensure that your design is correctly set up in your design software and that your printer is configured to print using sublimation ink. Next, load the sublimation transfer paper into your printer, making sure to load it on the correct side (most transfer paper has a side coated with a special polymer that helps the ink adhere during the transfer process).
Once your printer is set up, you can print your design onto the transfer paper using the sublimation ink. It's important to ensure that your design is printed in the correct orientation and that you allow the ink to fully dry before attempting to transfer it to your substrate. When printing your design, it's also important to keep in mind the resolution and color profile of your printer and ink, as well as the color gamut of the substrate you'll be using. These factors can all impact the quality and accuracy of your final transfer, so be sure to consult with a professional in custom sublimation transfers or reference technical documentation for specific guidance.
5. Cut the Transfer
Cutting the transfer during custom sublimation transfers typically involves using a cutting plotter or vinyl cutter to cut the transfer paper into the desired shape or size. Before cutting the transfer paper, it's important to ensure that your design is correctly positioned on the paper and that you've allowed enough space around the edges to accommodate the cutting process. Depending on the type of cutting plotter or vinyl cutter you're using, you may also need to adjust your settings to ensure proper cutting depth and accuracy.
After cutting, you'll want to carefully weed away any excess transfer paper or vinyl, leaving only the desired design on the transfer sheet. From there, you can use a heat press to transfer the design onto your desired substrate, following the specific instructions for your equipment and materials. With a bit of practice and precision, you can produce custom sublimation transfers that are accurately cut and perfectly aligned.
6. Apply for the Transfer
Applying for the transfer during sublimation print transfers typically involves using a heat press to transfer the design from the transfer paper onto the desired substrate. To begin, you'll want to preheat your heat press to the appropriate temperature and pressure for your specific substrate and transfer paper. It's important to follow the manufacturer's instructions carefully to ensure that you achieve the best possible results of sublimation print transfers.
Once your heat press is ready, you can position your substrate on the lower plate and place the sublimation transfer paper with the printed design face down onto the substrate. Be sure to carefully align the design to ensure accurate placement on the substrate. After positioning the transfer paper, you can close the heat press and apply the necessary pressure and heat for the recommended period. This will typically involve applying a high level of pressure and heat to the transfer paper, causing the sublimation ink to vaporize and permanently bond with the substrate.
Once the process of sublimation print transfers is complete, you can carefully remove the transfer paper from the substrate, leaving behind a vibrant and long-lasting sublimation print. With proper technique and attention to detail, you can produce custom sublimation transfers that are precise, durable, and visually stunning.
7. Peel the Transfer
Carefully peel the transfer during custom sublimation transfers typically involves gently removing the transfer paper from the substrate after the transfer process is complete. To begin, you'll want to wait until the substrate has cooled down to a safe handling temperature. This will typically involve waiting several seconds to a minute, depending on the substrate and heat press used. Once the substrate is cool, you can carefully peel the transfer paper away from the substrate, taking care not to disturb or damage the transferred design. It's important to peel the transfer paper slowly and gently, working from one corner or edge to another, rather than pulling it off quickly or aggressively.
If you encounter any resistance or difficulty in peeling the transfer paper, you may want to wait a bit longer for the substrate to cool or adjust the pressure or temperature of your heat press for better results. After peeling the transfer paper, you can inspect the transferred design for any imperfections or issues, such as incomplete transfer or misalignment. If necessary, you can repeat the process of custom sublimation transfers or make adjustments to your equipment or technique for better results. With patience and precision, you can generate custom sublimation transfers that are beautifully transferred and perfectly peeled.
About the Creator
Another Factor That Separates Sages From Masters
Read to the End to Help "Change The World" with our Earth Week Impact Launch Initiative! --- In my article The 8 Stages to a Quality Career, I detailed each of the steps one must go through to advance to the highest levels in any Industry.
By Cody Dakota Wooten, C.B.C.5 days ago in Journal


Comments
There are no comments for this story
Be the first to respond and start the conversation.