
How to Build the Perfect Stock Tank Pool: Simple Steps for a Fun Backyard
Easy DIY Tips for Setting Up Your Stock Tank Pool in No Time

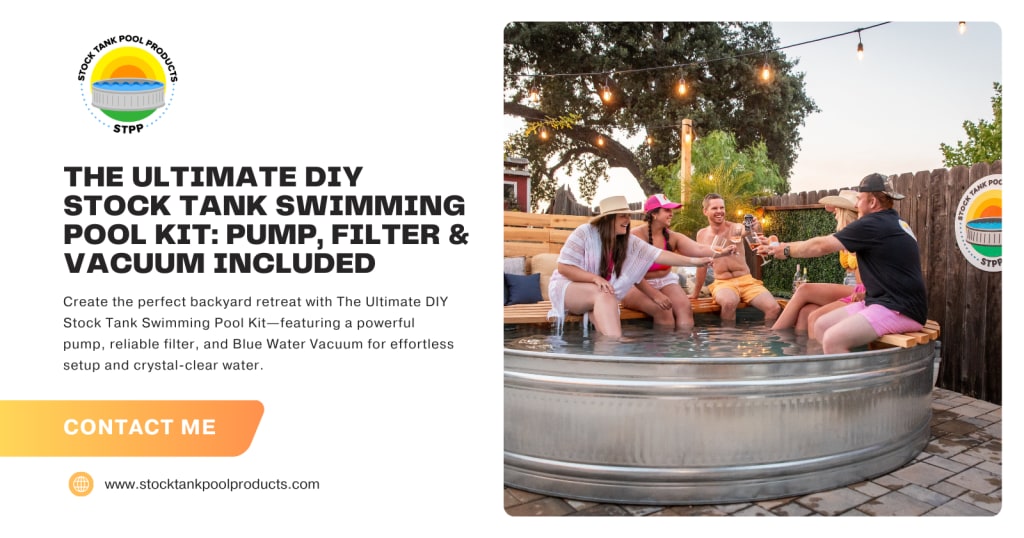
If you’re dreaming of a backyard pool but want to avoid the high costs and complicated installation of traditional pools, a stock tank pool is a great solution. These pools are affordable, easy to set up, and provide a charming rustic vibe. In this guide, we’ll walk you through the process of building your own stock tank pool, using a stock tank for swimming pool and stock tank pool kit for a hassle-free setup.
Why Go for a Stock Tank Pool?
Stock tank pools have become increasingly popular due to their budget-friendly nature and ability to fit into smaller yards. Made from durable galvanized steel, stock tanks resist rust and offer a low-maintenance alternative to traditional pools. They're easy to install and cost far less than a typical above-ground pool. Whether you're a seasoned DIY enthusiast or just looking for a fun weekend project, a stock tank pool is a smart choice for creating a cool oasis right in your backyard.
Choosing a stock tank for swimming pool provides you with a sleek and durable design that can be installed in just a couple of days. With the right stock tank pool kit, you’ll be able to enjoy your new pool with minimal effort. Whether you opt for a simple pump kit or an upgraded kit with added features, you can make the most of your pool setup.
Essential Items for Building Your Stock Tank Pool
Before you begin, here’s a list of all the supplies you’ll need to get your stock tank pool up and running:
Stock Tank: A galvanized steel tank, either 6ft or 8ft, is typically used. These can be found at feed stores or online retailers.
Stock Tank Pool Kit: This kit includes the essentials—pump, filter, hoses, fittings, and a hole saw to make the installation easy.
Cordless Drill: A good drill, like the Milwaukee M18 FUEL 1/2 in. Drill/Driver Kit, will make drilling precise holes in the tank a breeze.
Personal Protective Equipment (PPE): Safety glasses and ear protection are essential when drilling metal.
Flat, Stable Ground: Your pool needs a level surface to avoid water issues.
Waterproof Silicone Sealant: This ensures a leak-free setup.
Cleaning Supplies: Clean your stock tank thoroughly before filling it with water.
Step-by-Step Guide to Building Your Stock Tank Pool
Now that you have all your tools and materials, here’s how to set up your stock tank pool:
1. Select the Right Spot
Choosing the right location for your stock tank pool is critical to ensure that it lasts and functions properly. Consider the following:
Flat and level ground: The area should be free of rocks, grass, or roots. If your ground isn't level, you can create a flat base by digging down a few inches and adding sand or gravel.
Sunlight and space: Make sure the area gets enough sunlight and provides space for seating or lounging around the pool.
Access to water and electricity: Ensure that there is a water source nearby to fill the pool and an electrical outlet for the pump.
2. Clean the Stock Tank
Before setting up your pool, give the stock tank a good cleaning:
Scrub the inside: Use soap and water to remove dirt, oils, or debris.
Rinse thoroughly: Make sure there’s no soap left in the tank.
Inspect for damage: Check the tank for any dents or cracks that could cause leaks later on.
3. Drill Holes for the Pump
Next, you’ll need to drill two holes in the stock tank for the pump and water circulation:
Mark the spots: The first hole should be around 3-6 inches from the bottom of the tank (for the inlet) and the second should be a few inches below the top waterline (for the outlet).
Use PPE: Safety glasses and ear protection are essential when drilling metal. We recommend using the Milwaukee M18 FUEL Drill/Driver Kit for smooth, efficient drilling.
Drill carefully: Take your time to drill precise holes to ensure a secure setup for the pump and fittings.
4. Install the Pump and Fittings
Once the holes are drilled, it's time to install the pump and fittings. The stock tank pool kit you’ve purchased will come with pre-assembled fittings to make this step easier:
Connect the fittings: Attach the inlet strainer and outlet jet using the fittings provided in your kit.
Seal the holes: Apply waterproof silicone sealant around the edges of the holes both inside and outside to prevent leaks.
Attach hoses: Follow the instructions provided in your kit to connect the hoses to the pump. Test the pump to ensure water flows properly.
5. Fill the Pool
With the pump installed, you’re ready to fill the pool with water:
Fill slowly: Use a garden hose to fill the tank, stopping 4-6 inches from the top to prevent overflow.
Check for leaks: As you fill, keep an eye on the tank to ensure there are no leaks around the fittings.
Test the pump: Run the pump to circulate the water and ensure everything is working smoothly.
6. Maintain Your Stock Tank Pool
Once your stock tank pool is set up, you’ll want to keep it clean and well-maintained. Here are a few tips to help:
Test water regularly: Check the pH and chlorine levels of the water at least once a week to ensure it's safe for swimming.
Run the pump daily: For proper circulation, run your pool pump for 4-6 hours each day.
Remove debris: Use a skimmer net to remove leaves and other floating debris from the water.
Vacuum: If you have the deluxe kit, use the Blue Water Vacuum to clean the pool floor.
Winterize: If you live in a cold climate, it’s important to drain the pool and store it properly during the winter months.
Why Choose Our Stock Tank Pool Kits?
Building your own stock tank pool is a simple and affordable project when you use the right stock tank pool kit. Our kits come with everything you need to set up your pool quickly, including:
Complete pool setup: From the pump and filter to the fittings and sealant, all you need is included.
Clear instructions: Step-by-step guidance ensures you can set up your pool with confidence.
Easy maintenance: The deluxe kit includes a Blue Water Vacuum and skimmer net for effortless cleaning.
Whether you choose the DIY Stock Tank Pool Pump Kit or upgrade to the All-in-One Deluxe Kit, you’ll have all the tools to create a fun, functional pool in your backyard.
Conclusion
Building a stock tank pool is an easy, cost-effective way to enjoy a refreshing swim without the hassle of installing a traditional pool. With a stock tank pool kit, you can set up your pool in just a few simple steps and have it ready for use in no time. Visit Stock Tank Pool Products to explore our range of kits and start building your perfect backyard oasis today.
About the Creator
Stock Tank Pool Products
Stock Tank Pool Products is a family-owned business offering stylish, affordable alternatives to traditional pools.
Enjoyed the story? Support the Creator.
Subscribe for free to receive all their stories in your feed.
Comments
There are no comments for this story
Be the first to respond and start the conversation.