
How Custom Laser Cutting Supports Detailed Acrylic and Wood Designs
Learn how custom laser cutting creates sharp acrylic and wood designs with precise cuts, clean engraving, layered builds, and professional-quality finishes.

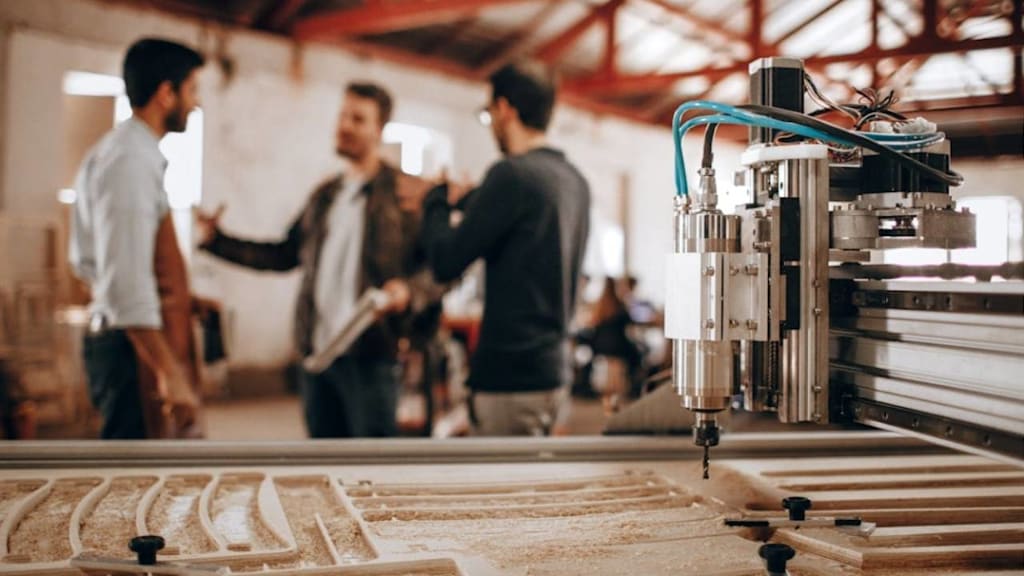
A small detail can render a project truly spectacular. Think of a name tag with neat letters, a model kit with perfect slots, or a wall sign with a clean pattern. Doing that by hand with a knife or saw is hard work, and small mistakes show up fast. Laser machines help because they cut with heat and light, not with a blade that can slip.
This article explains how laser work supports detailed designs in acrylic and wood, what makes a cut “clean”, and what to watch out for when you want a great finish.
Custom laser cutting for fine detail: what happens in the machine
A laser cutter uses a focused beam to melt or burn through material along a set path. The toolpath generally originates from a digital file, for example a vector design (usually in SVG, DXF, or AI formats). The tool tracks the lines in great precision, which allows the cutting of fine detail and repeatable components.
Here’s why the results can look so sharp:
- Precision Control: Adjust the speed, power, and focus settings based on the material.
- Exact copies: If twenty exact copies are required, the design can be repeatedly cut.
- Consistent curvature and angles: Curves will be drawn by the file and will be exact.
- Reduced physical force: Unlike with a saw, no physical force will distort or deform thin components when cutting.
A key word you might hear is kerf. That is the tiny width of the cut line. Designers allow for kerf so slots fit properly and text stays readable.
How acrylic designs stay crisp (and where engraving helps)
Acrylic is popular because it can look glossy, colourful, and modern. It is also good for detailed shapes, like small icons, delicate lettering, and layered signs.
Acrylic tends to cut with a clean edge when settings are right, but a few things matter:
- Cast vs extruded acrylic: Many makers prefer cast acrylic for engraving because it can give a frosty, high-contrast look.
- Protective film: When using acrylic sheets, there will be protective films on each side. Keeping this on when cutting helps prevent surface scarring.
- Heat Control: The excess heat may lead to extra melting marks and flaring along the edges.
This is also where laser engraving acrylic comes in. Engraving means marking the surface instead of cutting all the way through. It helps you add:
- Names, dates, or short messages
- Line art drawings
- Logos and simple maps
- Texture fills (like dots or hatch patterns)
Good engraving needs enough contrast to be easy to read. Font choice matters a lot too. Very thin fonts can vanish, so slightly thicker lettering often works better.
How wood designs get detail without falling apart
Wood is great for warm, natural-looking projects, but it has its own challenges. Lasers cut wood by burning it, so you usually get a darker edge. Many people actually like that “toasted” outline because it makes the shapes stand out.
Still, fine detail in wood needs careful planning:
- Grain can change the look: The same setting can cut slightly differently across soft and hard parts of the grain.
- Thin bridges can snap: If your design has tiny connecting bits (like lace patterns), they may break when you remove the piece.
- Soot and smoke marks: Wood smoke can leave stains on the top surface if it is not protected.
Common wood materials include plywood, MDF, and solid woods. Plywood is popular for detailed items, but the inside layers can sometimes have gaps. If a design has lots of tiny parts, higher-quality ply often gives more reliable results.
Design tips for small text, slots, and layered builds
When you use custom laser cutting, your design file becomes the “instructions” for the machine. So good design choices make a big difference. These simple tips help a lot:
1) Choose the right text style
- Avoid super-thin fonts for tiny labels.
- Use bold or medium weights.
- Increase letter spacing if letters are close together.
2) Make weak areas stronger
If a shape has thin “necks” or narrow joins, thicken them slightly. Even 0.5 mm can help on small parts.
3) Plan for slot fits
For press-fit kits (like boxes or models), test first. Material thickness can vary, and kerf changes the fit. A small test strip with different slot widths saves time and waste.
4) Think in layers
Acrylic and wood both work well for layered designs. Instead of cutting one super-detailed piece that might break, you can cut 2–3 simpler layers and stack them for a 3D look.
Finishing: how to make the final piece look tidy
Cutting is only one part. Finishing turns a “good” part into a “wow” part.
Acrylic finishing ideas
- Peel film carefully after cutting.
- Wipe with a soft cloth to avoid scratches.
- For engraved areas, clean gently so dust does not sit in the marks.
Wood finishing ideas
- Light sanding can remove smoke marks (but be careful near fine detail).
- Masking tape on the surface before cutting can reduce stains.
- Seal with oil, wax, or varnish depending on the project.
Always check what finish is safe for the item’s use. For example, food-contact items need special care and suitable coatings.
Laser Cutting Services in the UK: what to ask for
Not everyone owns a laser cutter, so people often use laser cutting services. In the UK, different workshops offer different machines and material options. Some makers may know UK-based providers such as RazorLAB, but the key thing is understanding what any provider needs from you.
Before ordering, it helps to ask:
- What file types do you accept (SVG, DXF, PDF)?
- Do you cut customer-supplied materials, or only in-house stock?
- Can you advise on minimum line widths and smallest readable text?
- Do you offer both cutting and laser engraving acrylic?
- What tolerances should I expect for slot fits?
If you are designing a small, detailed object, it's important to communicate clearly to avoid surprises.
Quick FAQ
Can a laser cut very tiny holes and patterns?
Yes, but the smaller the detail, the more important the material choice and settings become. Very small features can weaken the part.
Why do wood edges look darker after cutting?
Because the laser burns through wood fibres. The dark edge is normal and can be reduced with masking and sanding.
Does acrylic always have a clear edge after cutting?
Often it does, but edge quality depends on the acrylic type and the machine settings. Heat marks can happen if the settings are not right.
What is the easiest way to avoid mistakes?
Do a trial cut first, particularly for slots, very small fonts, or very thin lines.
Final thoughts
Detailed designs in acrylic and wood are much easier to achieve when your cut path is precise, repeatable, and made for the material. If you care about clean text, neat slots, and sharp shapes, custom laser cutting is a strong option, especially when you pair it with smart design choices and good finishing steps.
About the Creator
RazorLAB
RazorLAB provides versatility of Laser cutting & Engraving services! Our team of skilled professionals can handle a wide range of projects. We specialize in four distinct materials for custom projects like acrylic, wood, fabric & card.
Enjoyed the story? Support the Creator.
Subscribe for free to receive all their stories in your feed.
Comments
There are no comments for this story
Be the first to respond and start the conversation.