
A Practical Guide to Enhancing Old and Blurry Videos With AI Technology
AI Technology

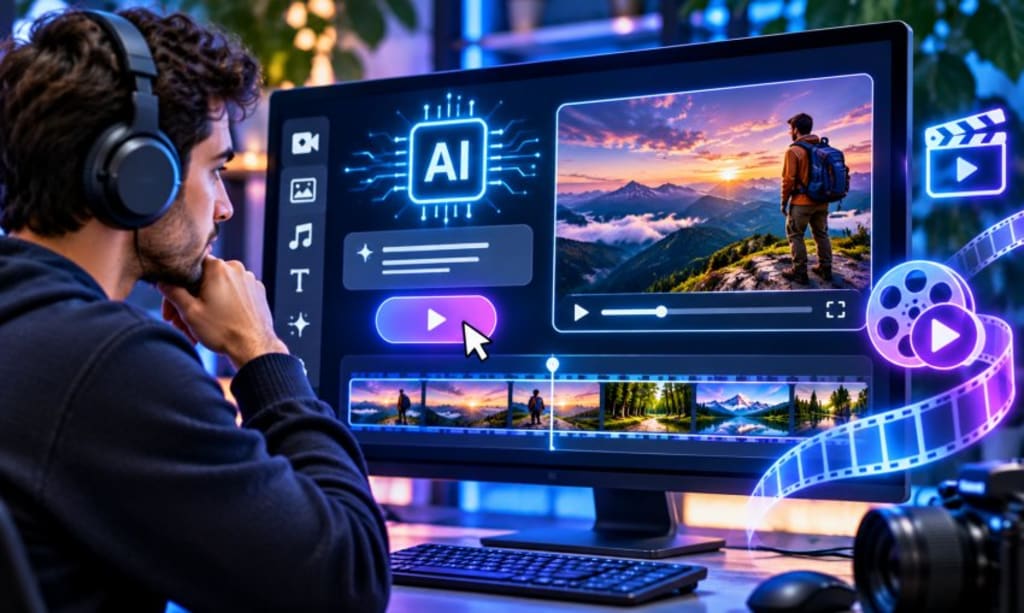
There is something frustrating about finding an old video you genuinely want to watch, only to discover that the picture looks nothing like you remember. Perhaps it shows a family holiday, a birthday celebration, or a trip you recorded years ago. The people and places are still familiar, but the footage looks faded, soft, or pixelated on a modern screen. You cannot go back and record those moments again. However, you can give the existing footage a better presentation. An AI video enhancement tool can help improve the appearance of older recordings, particularly when low resolution makes them difficult to enjoy today.
Old Footage Has a Problem That Bigger Screens Make Obvious
Many older recordings were never intended for the screens we use today. A video captured on an early smartphone might have looked perfectly acceptable on its original display. Play the same clip on a modern television, however and its weaknesses become much easier to notice.
Faces may lose definition. Background details can turn into indistinct shapes, while straight lines appear jagged. Sometimes, the entire picture looks slightly out of focus, even when the original camera was working properly.
There is another issue worth considering: video compression. Files shared through messaging apps or uploaded to social platforms may have been compressed to reduce their size. Each stage can remove some visual information. Consequently, a clip that has been downloaded, edited and shared several times may look considerably worse than the original.
Understanding these problems is important because not every blurry video needs the same treatment.
Not Every Video Needs the Same Kind of Enhancement
One mistake people make is treating every quality problem as a resolution issue. Increasing resolution can help certain recordings, but it will not solve everything.
Consider a holiday video filmed from a moving car. The buildings might look soft because the camera was moving while recording. Increasing the resolution will not automatically remove that motion blur.
A different recording might look grainy because it was filmed indoors with limited lighting. Another could contain compression artefacts that make flat surfaces appear blocky. These are separate problems, even though all three videos might initially seem low quality.
Before editing, watch the footage carefully and identify what bothers you most. Is the picture too small? Are faces difficult to recognise? Does the image contain distracting grain? Or does everything look slightly washed out?
This simple check gives you a more realistic starting point. It also prevents you from spending time applying adjustments that cannot address the actual problem.
What AI Actually Does When Improving Video Quality
Traditional upscaling increases the dimensions of an image by adding pixels. It can make a video fit a larger display, but simply adding pixels does not guarantee convincing detail.
AI-based upscaling takes a more advanced approach. It examines visual patterns and estimates additional information that can make an image appear more defined. Depending on the software and source footage, this may improve edges, textures and overall clarity.
Imagine an old recording of someone standing in front of a historic building. The original footage may show the building clearly enough, but its windows and decorative details appear soft. AI processing can estimate visual details and create a cleaner-looking result.
However, there is an important distinction. The software is estimating missing information, not recovering the exact details captured by the original camera. That means some results may look different from the actual scene.
For personal recordings, this matters. You want to improve the footage without changing the appearance of the people, places, or objects that make it meaningful.
Choose the Right Footage Before Opening an Editing Tool
Some videos respond much better to enhancement than others. A slightly soft recording with recognisable faces and visible background details may produce a noticeable improvement. Footage that is extremely dark, heavily compressed, or severely out of focus can be much harder to improve.
Start with a short list of recordings worth restoring. You might have dozens of old clips, but not all of them deserve the same amount of attention.
A useful approach is to prioritise videos that contain important moments. Family gatherings, childhood recordings, travel memories and early business footage are good examples. These are the files people are more likely to revisit.
Also, check whether you still have the original recording. A file transferred directly from an old phone or camera will usually provide a better starting point than a copy downloaded from a social platform.
If several versions exist, compare them before choosing one. The highest-quality source is generally the best candidate for enhancement.
A Sensible Workflow for Improving Older Videos
The editing process does not need to be complicated. In fact, working through a few deliberate steps is often better than applying every available effect.
Keep the Original File Safe
Make a separate copy before editing. This gives you a backup if the final result looks worse or you decide to try another approach. Never replace the only copy of an important recording.
Test a Short Section
Choose a section that contains different visual elements. A person's face, moving objects, text and background details can reveal how well the software handles the footage.
Process this section first rather than uploading an entire long recording. You will quickly see whether the result is worth pursuing.
Review More Than One Frame
A single screenshot cannot tell you whether an enhanced video looks natural. Play the processed section and watch how details behave during movement.
Pay particular attention to faces and moving edges. Some enhancement methods can produce flickering or inconsistent textures between frames. If that happens, the result may look less convincing during playback.
Make Additional Adjustments Carefully
Once the picture looks better, consider whether it needs colour correction or stabilisation. These adjustments address different issues, so there is no reason to apply them automatically.
A little correction may improve a dull recording. Too much can make skin tones, skies and other familiar details look unnatural.
Using CapCut to Give Older Footage a Fresh Look
For creators who want to explore AI-based upscaling, CapCut provides an online AI video upscaler. It offers a convenient starting point for people who want to improve existing footage without building an elaborate editing setup.
The process is worth considering when an old recording looks soft or has limited resolution. Start with a suitable video, explore the available enhancement options and examine the output before deciding whether it meets your needs.
However, do not judge the result simply by its resolution number. A larger output file does not automatically mean better visual quality. Look closely at faces, background textures and moving objects.
The final video should also suit its intended destination. A clip prepared for a social media post may have different requirements from one being saved for a family archive or a presentation.
When Enhancement Makes Things Worse
More processing does not always produce better footage. This is particularly true when the original recording has serious quality problems.
Excessive sharpening is one common mistake. It can create bright outlines around objects and make faces look harsh. Aggressive noise reduction can also remove natural textures, leaving skin and backgrounds looking unusually smooth.
Another issue is unrealistic colour correction. Old recordings often have imperfect colours, but changing them too aggressively can remove the atmosphere of the original scene.
There is also little value in selecting an extremely high output resolution just because the option exists. If the source contains very little detail, the result may become larger without looking substantially better.
The best approach is to make small changes and compare them with the original. If an adjustment makes the footage look artificial, reduce it or leave it out.
The Goal Is to Make Old Videos Worth Watching Again
Restoring old footage is a practical editing task, but it can also be personal. A recording that has been sitting untouched on an old hard drive may contain a moment you would otherwise never see again.
AI technology makes it easier to improve certain visual problems, especially when older recordings struggle on modern displays. Still, good results depend on choosing suitable footage and understanding what enhancement can realistically achieve.
Keep the original files, test short sections and review the finished video in motion. Most importantly, avoid changing details simply to make the picture look sharper.
A successful restoration does not need to make an old recording look as though it was filmed yesterday. It simply needs to make the footage clearer while preserving the moment that made it worth keeping.
About the Creator
Mohammad Akhtar
Mohammad Akhtar is an SEO and SEM Expert with over 10 years of experience in digital marketing and search engine optimization. A 2013 graduate of The Islamia University of Bahawalpur, he has worked with various IT companies.
Enjoyed the story? Support the Creator.
Subscribe for free to receive all their stories in your feed. You could also become a paid subscriber, letting them know you appreciate their work.
Comments
There are no comments for this story
Be the first to respond and start the conversation.