
Tomb Raider Retrospective - 5
Chapter 5: Atlantis to Avalon

Okay, so now that we’ve covered the development side of the Legend series, let me share my personal experience with the trilogy. For starters, I played these three out of sequence. I started with Anniversary, which is the second game in the trilogy and was released in 2007. The previous entry, Legend, released in 2006.
I’ll explain why in a bit, but for now let’s get into Anniversary.
Tomb Raider: Anniversary (2007)
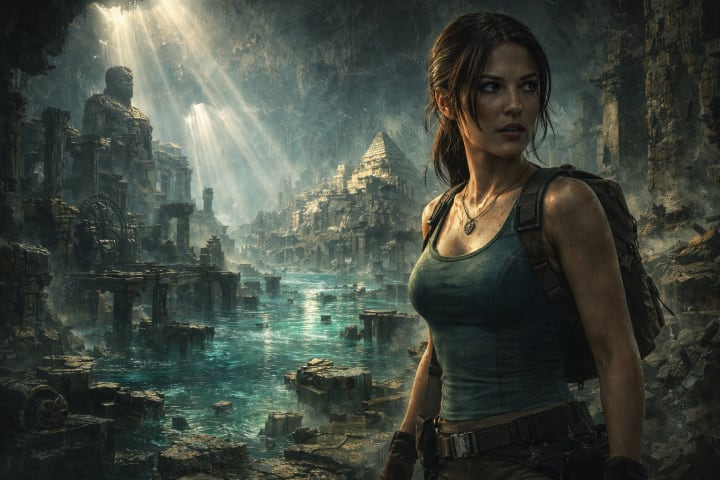
I played Anniversary a few times while writing this retrospective. The first playthrough for the retrospective was just to re-familiarize myself with the controls as it had been a while since my very first playthrough and I needed a refresher. The second playthrough was a bit more…complicated. See, one of the big draws for Anniversary was the unlockable bonus content, cheat codes, developer commentaries, artwork, outfits and so on.
Notice how I said this was unlockable content? Well each chapter has both artefacts and relics and collecting these will unlock certain bonus content. Now, these are pretty much this game’s equivalent of the secrets from the original games. The main difference is that the relics actually show up at Croft Manor in the trophy cases in the library after you’ve gotten them. All that in mind, I went into my third playthrough with a goal: collect all artefacts and relics in the game.
This is an interesting challenge because many of the artefacts are in places that require tricky platforming and spot-on timing. Additionally, most of them were in places that made it hard to spot them. Of course, I became like a crow. That is to say, I wanted, no, NEEDED the shiny things! It got to the point where I spent almost an hour in one room to get a relic and an artefact, who puts that much time into one room in a game?! Unfortunately, that happened more than once and I eventually had to give up - my brain literally couldn’t take anymore, I was about to throw my PC against a wall, I was so frustrated.
Maybe I’ll try again some time, but it won’t be anytime soon. With all that said, however, I think it’s time to go into detail, don’t you? I believe we’ve discussed how Anniversary is a sort of remake of Tomb Raider I.
Looking at it, you’d be forgiven for thinking it’s a 1 to 1 remake with everything exactly the same. There are, however, some noticeable tweaks here and there.
Let’s start with Croft Manor.
Croft Manor
Croft Manor is the tutorial level where you learn the controls of the game in a relatively safe environment. There’s a lot more to do here than in the original game with puzzles, a maze, a gymnasium, and several books to read. There are also several artefacts to collect. Now, I don’t know what the purpose of these things is - apart from giving players something shiny to find. This is particularly true in the rest of the levels because every level has a different number of artefacts and relics (the relics are trophies that show up in the trophy room at the manor).
You can revisit Croft Manor at any time to view the trophies you’ve found, listen to music, and change your outfit (assuming you’ve unlocked them). I should note that, to the best of my knowledge, these outfits cannot be used in the campaign and are limited to the time trial mode of play.
Right, I think that’s everything for Croft Manor so let’s go to Peru!
Peru
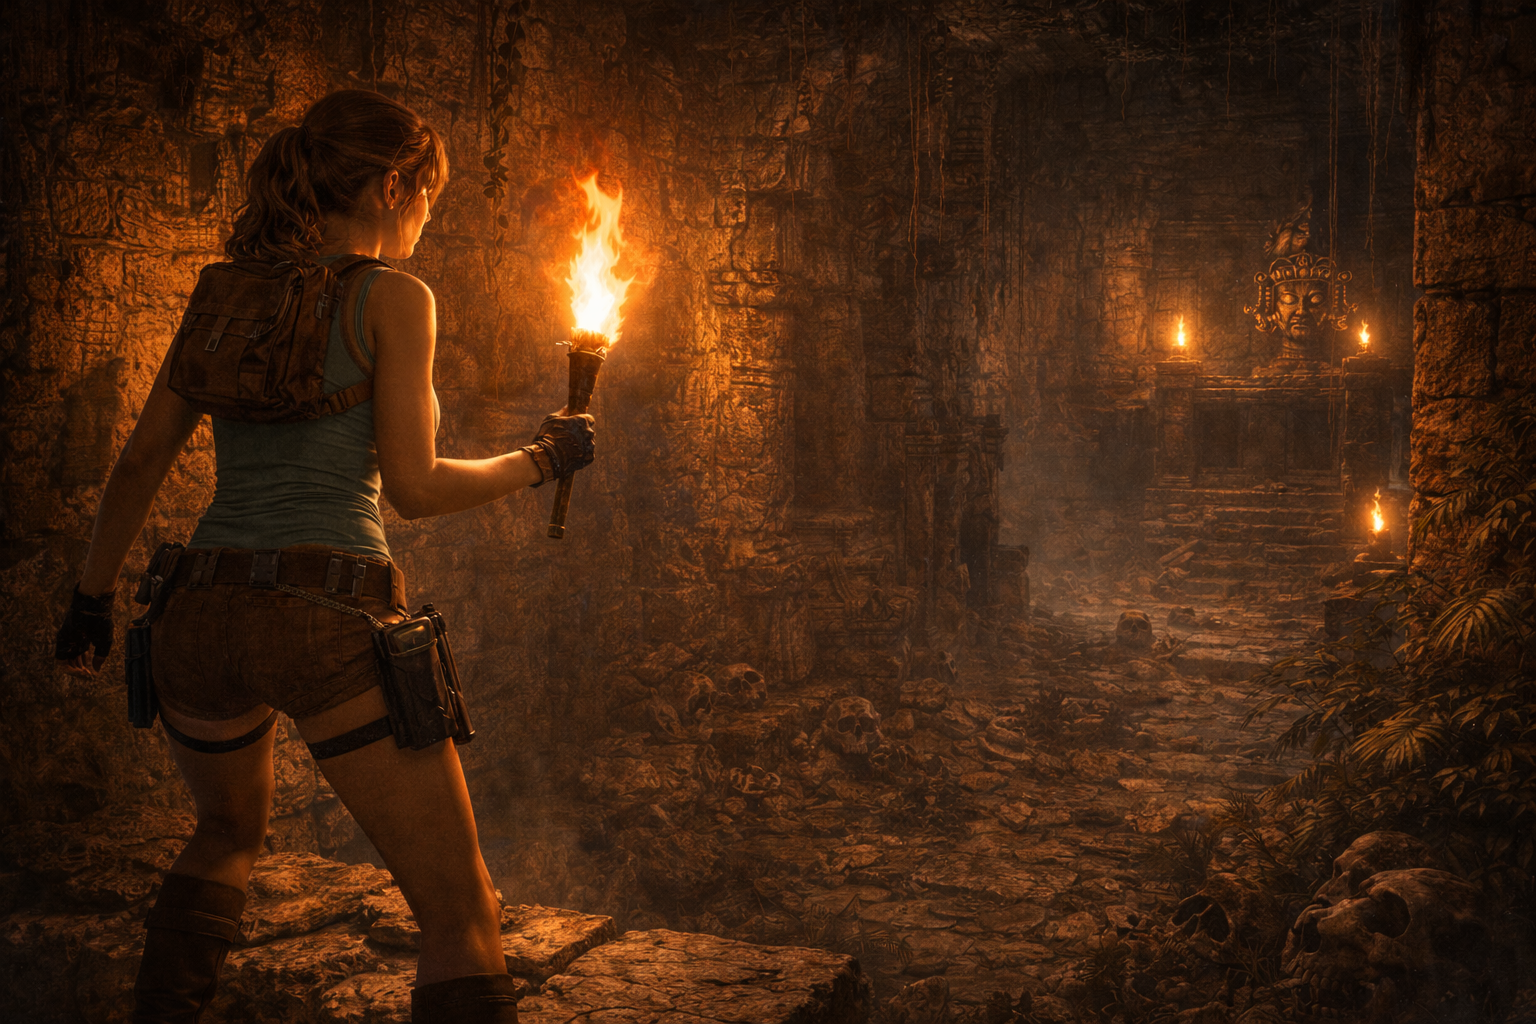
Peru’s levels were:
- Caves
- City of Vilcabamba
- Lost Valley
- Tomb of Qualopec
These remain largely unchanged with the most noticeable differences being in the appearances of levels 2 to 4.
So, we start off outside the first level - which is already a major change - and we learn some basic platforming stuff before heading into the caves.
Caves is still mostly empty with an occasional wolf jumping out to scare the hell out of you and the bats are…huge. It’s like someone took the bats from the original game and fed them steroids or something. Yeah, not exactly something I’d like to deal with on the daily. Still, it serves its purpose.
City of Vilcabamba is the second level and I don’t have much to say about it. There’s a lot more to look at here than what was in the original game. Not like that’s a surprise, however, considering the hardware of the mid-90s. There are more gates and houses, it actually looks like people lived in the place. Of course, the wildlife attacks are still a thing here, but thankfully that’s limited to a few wolves and a bear.
The colors are rich and the combination of earthy browns with rich greenery makes for a stark contrast and gives off a sense of eeriness that makes you uneasy.
It’s a very nice level, but, as with the original, it’s the Lost Valley that really stands out. The greenery is phenomenal, and the cinematic view - especially as you enter the level - is fantastic. The introduction of the T-Rex is reminiscent of Jurassic Park, where it emerges from the bushes to capture and eat a smaller herbivore. Of course, in this case, he’s throwing velociraptors around like toys.
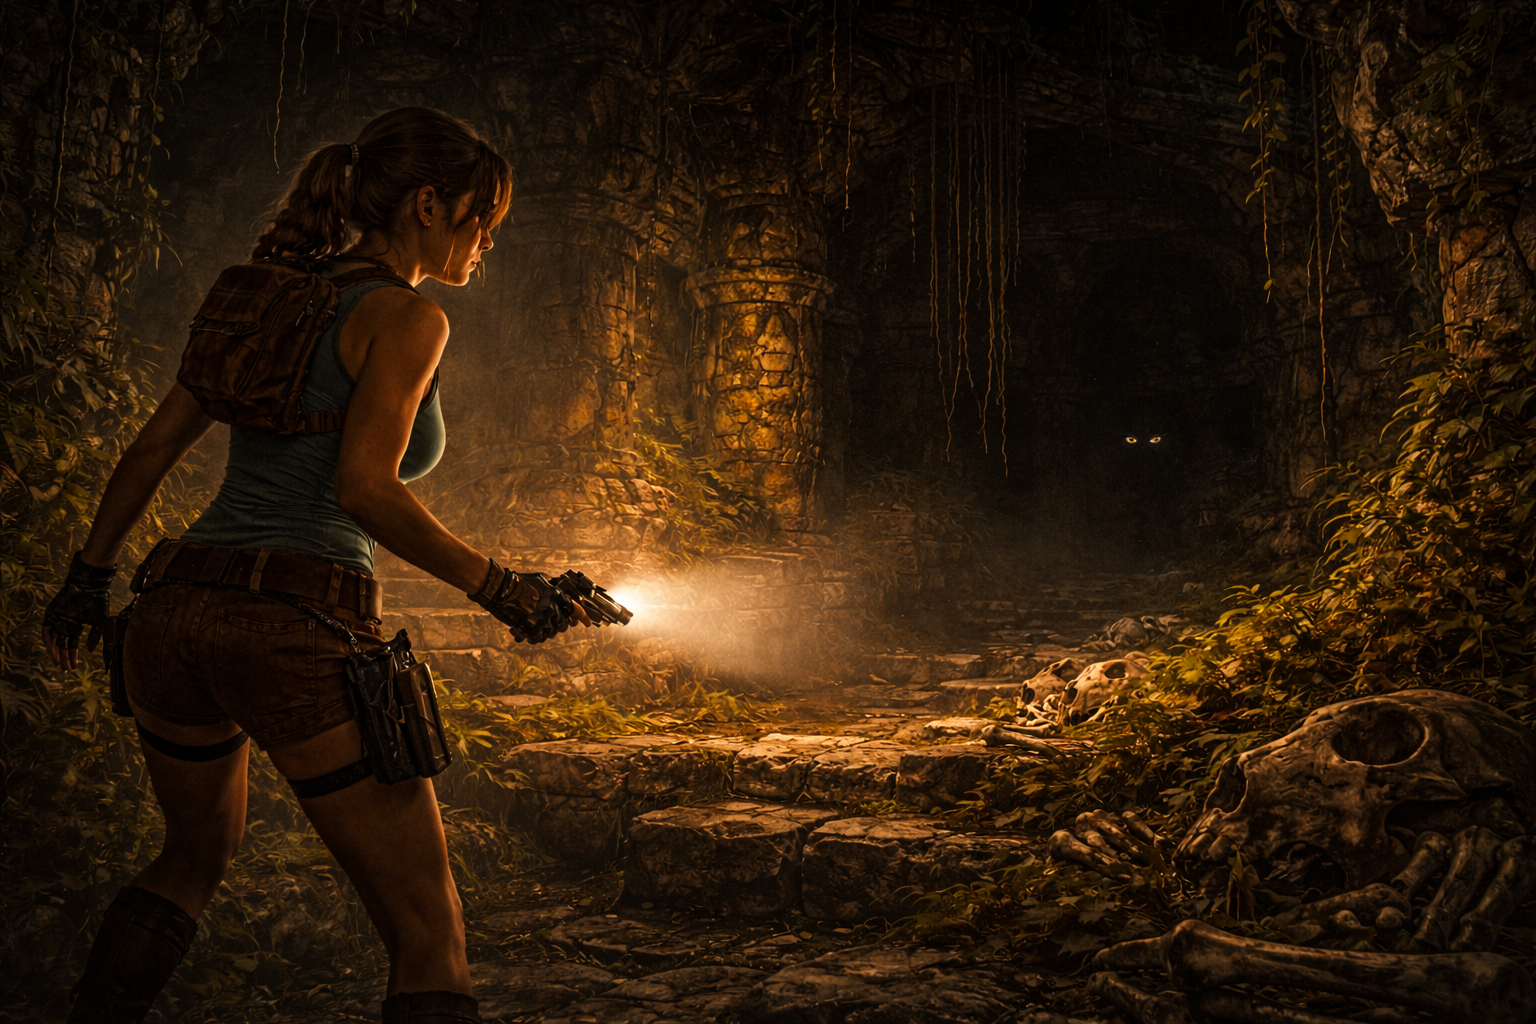
This is also where we’re introduced to the adrenaline dodge. Basically, you shoot the bad guy until he gets upset and charges at you. Once they charge, you jump in any direction and shoot ‘em in the noggin for a quick kill. It takes some practice, and there’s no guarantee that you’ll pull it off every time, but it’s super satisfying when you are successful. Once you’ve dealt with the dinosaurs, you collect the remaining cogs and head off to the level’s puzzle.
Unlike before, where it was a series of tricky jumps back and forth over the river banks, here you’ve got a lot of climbing and pole swinging to do. It’s a lot more complicated than the original cog puzzle, but the result is the same; we open the tomb of Qualopec. Now, this may be an unwelcome opinion, but I think I like this version of Qualopec’s tomb just a tiny bit more than the original version. Before you come after me with pitchforks and torches, let me explain.
The original Tomb of Qualopec was great for what it was, but it was also pretty easy to get turned around, and it was basically running between rooms and pulling switches. Here you have the same idea, but the switches are harder to get to and require some thinking to reach. My only complaint with this level is that it looks a little bit dull color-wise. Other than that, I enjoyed it. Peru was fun, but Greece - which is the next section - stood out quite a bit.
Greece
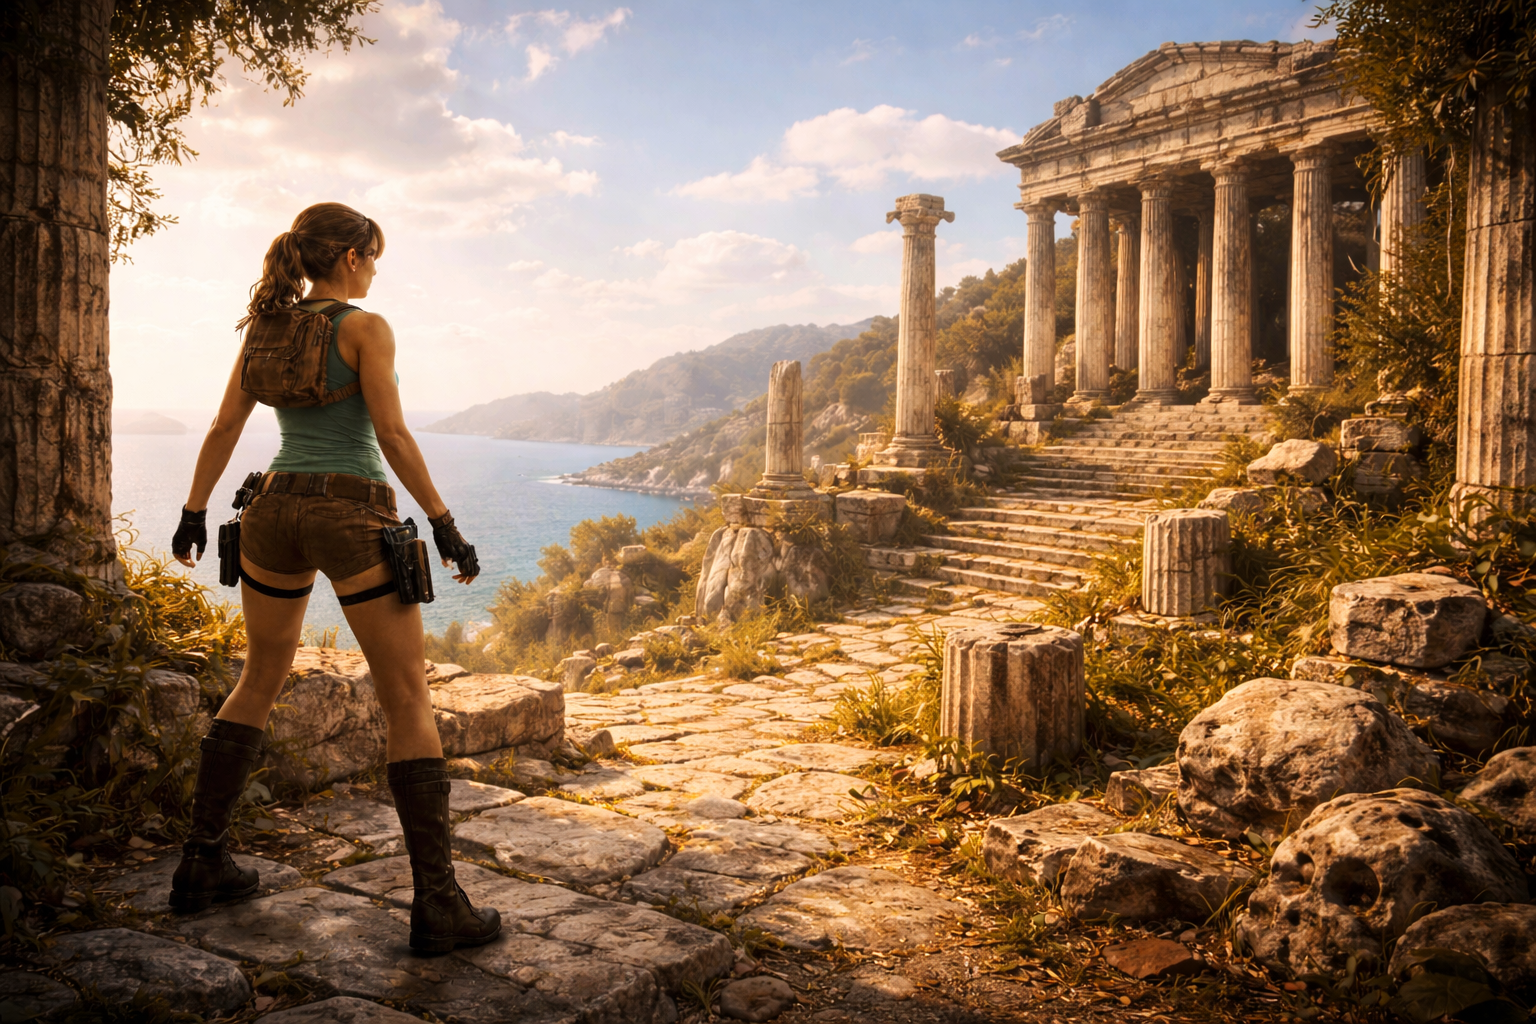
The Greece Levels were:
- St. Francis’ Folly
- The Coliseum
- Midas’s Palace
- Tomb of Tihocan
St. Francis’ Folly is just as cool here as it was in the original. The level has a few minor differences, but the central goal is the same: collect four keys to unlock the level exit. The names above the doors now represent all Greek deities so Thor is now Hephaestus and Neptune is now Poseidon - which is a nice change. An even better change, however comes with the puzzles in each of these rooms. So, to refresh your memory, the rooms are: Poseidon, Atlas, Hephaestus, and Damocles.
The Damocles room, for instance, as soon as you pick up the key, you’re locked in and have to do some pretty tricky platforming to get to the exit’s lever - all while trying to avoid being shishkebabed by a spiked floor or a falling sword. In the Atlas room, you’re confronted by a statue of Atlas with the world on his shoulders and a few buttons to shoot. Hmmm…I wonder what that’s going to do. Well, you had best be able to run and jump real quick or you’re gonna get squished.
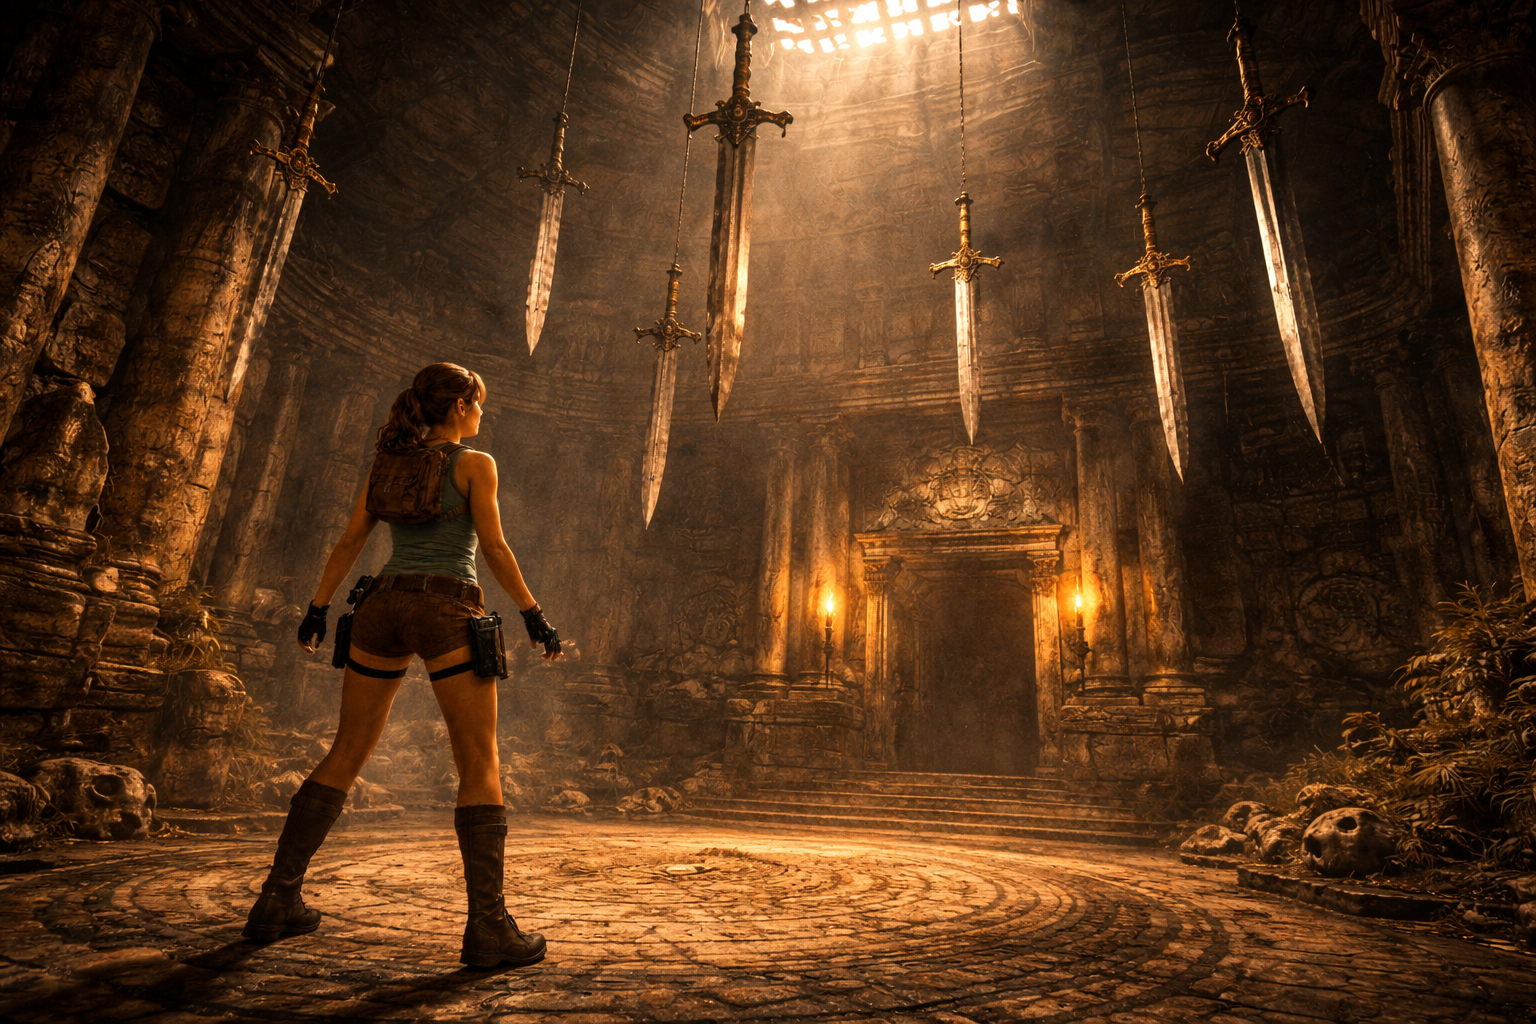
The Poseidon room has an interesting room it’s a mixture of manipulating the water levels and platforming, and the Hephaestus room needs you to move some statues into the correct place. The catch on the last one? Some of the statues are stuck in movable blocks which need to be broken with a big-ass hammer. One misstep and, well, SPLAT! Lara Croft Pancake.
Palace Midas is still a gorgeous level, and the platforming in some of the puzzle rooms is ridiculously challenging - but in a good way. I think my favorite puzzle room here is, ironically enough, the fire room. The fire room is the one that gave me the most trouble in the original game. Another change to the Palace Midas level is that instead of four lead bars, you only need three - this cuts back on tedious backtracking and is very welcome.
Tomb of Tihocan actually combines the Cistern and Tomb levels from the original game, which makes sense. It doesn’t look the best initially, with a lot of dark grey and black coloring the environment making it rather dull. The actual tomb is nice, but we don’t really get to see it. Coming to the front entrance, the switch to open it is in the same place as in the original, but we don’t even make it inside before trouble starts. Pierre du Pont, the French explorer who had been messing with Lara throughout the Greek section, appears and holds her at gunpoint for a second before two centaur statues come to life and trample him to death.
Pierre’s death in Anniversary is way more brutal than in the original game which I actually really liked. Instead of being shot to death by Lara, as he was in the original, he tries to avoid death by throwing the scion to Lara. In response, the centaurs trample him…ouch.
Egypt
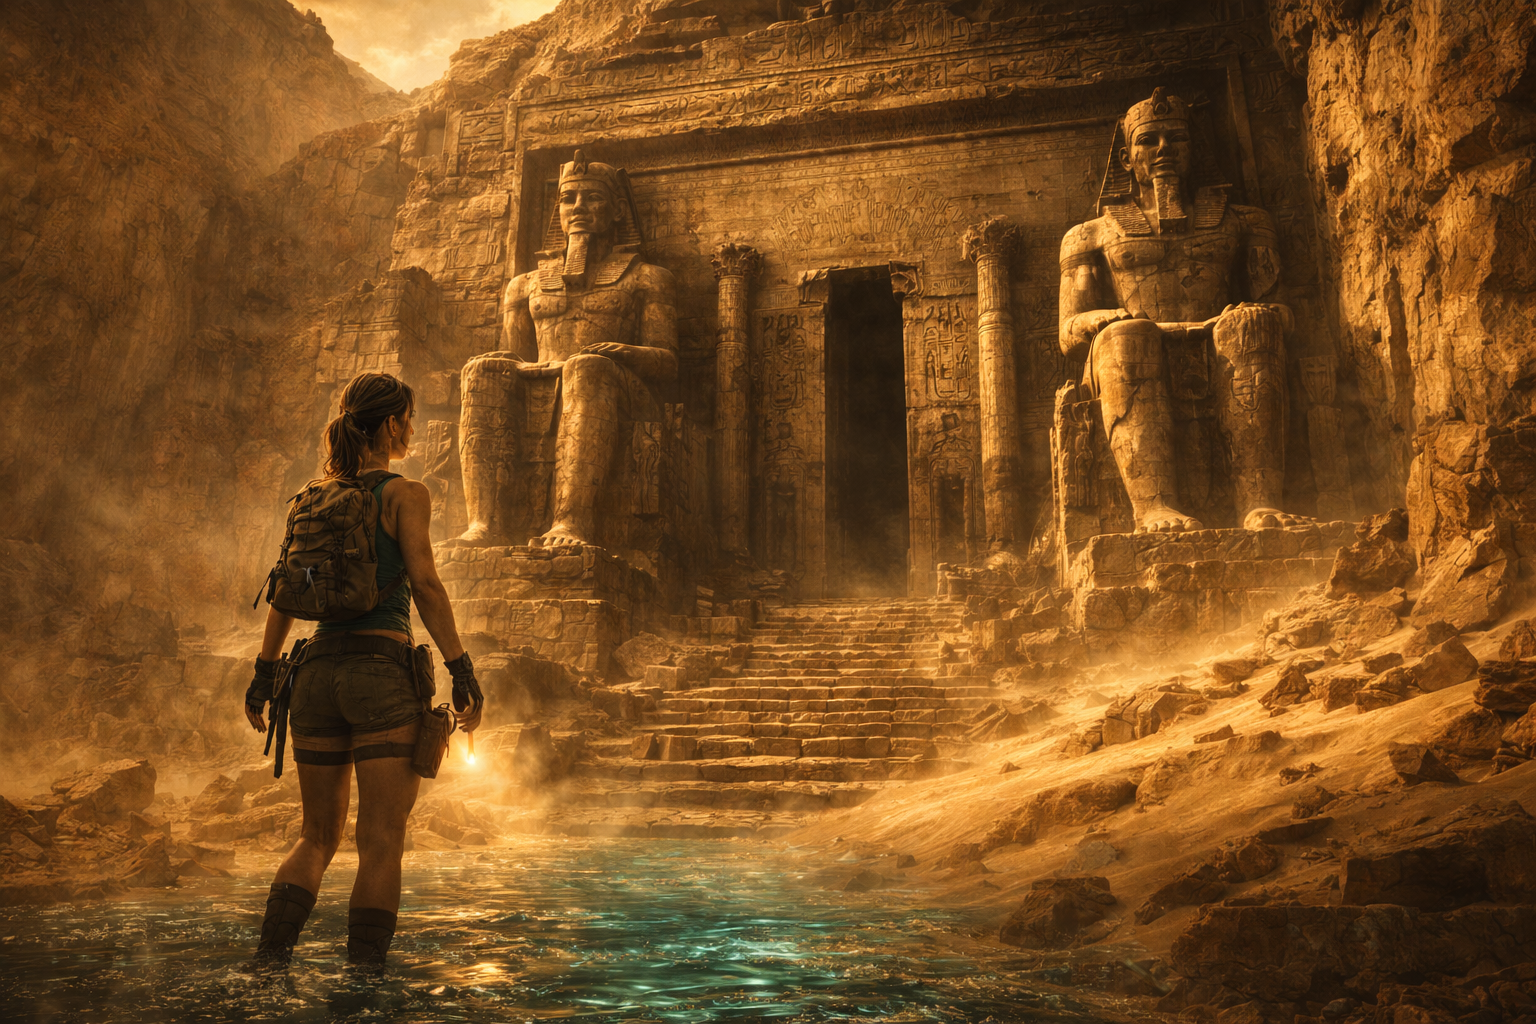
Egypt is an interesting section of the game, it looks a little dull in some places, and the platforming is very tricky in several sections, but I liked it…mostly.
The Egypt levels were:
- Temple of Khamoon
- Obelisk of Khamoon
- Sanctuary of the Scion
Temple of Khamoon was the entry level to Egypt and it’s where the game’s platforming gets a lot more complicated. Handholds can now fall apart if you’re not fast enough, poles and ledges can retract, and certain ledges are only accessible with a well-timed jump from a descending handhold. The puzzles are mostly navigation and traversal-based with Lara having to move around the level to get to switches or other ledges. That doesn’t mean there aren’t any puzzles, the most notable one - to me - is at the end of the level. You’re in a room with four pillars and a set of movable blocks. Each pillar has a symbol on it, and moving the blocks around reveals images matching those symbols. From here, it’s pretty obvious you match the pictures with the symbols to open the level exit - just watch out for big cats!
Obelisk of Khamoon is pretty much the same here as it was in Tomb Raider I in 1996; a large chamber with a large door - the level exit - on one side and an obelisk in the center of a small lake. Some tricky platforming later, you come to a much larger obelisk in the center of a larger lake. This larger obelisk holds a series of items that you need, the only problem is that to get to these items you need to drop some walkways. Dropping the necessary walkways is done by pulling on levers and, oh, boy, you need some serious practice and patience here!
The first switch is easy enough to find, it’s on your right as soon as you enter the area where this huge obelisk is. Lever two is higher up, and will open a door on the opposite side of where you’re standing. There’s also an opening at the base of the obelisk. That lower opening leads to two rooms - each of which has a set of traps to get through - and their respective levers. Getting to those levers is a bit of a nightmare, but I got it done in the end. The room right at the top of the obelisk - opposite Lever 02 - is…frustrating. You start out by sliding down into a room where you fight off an Atlantean and pull a lever.
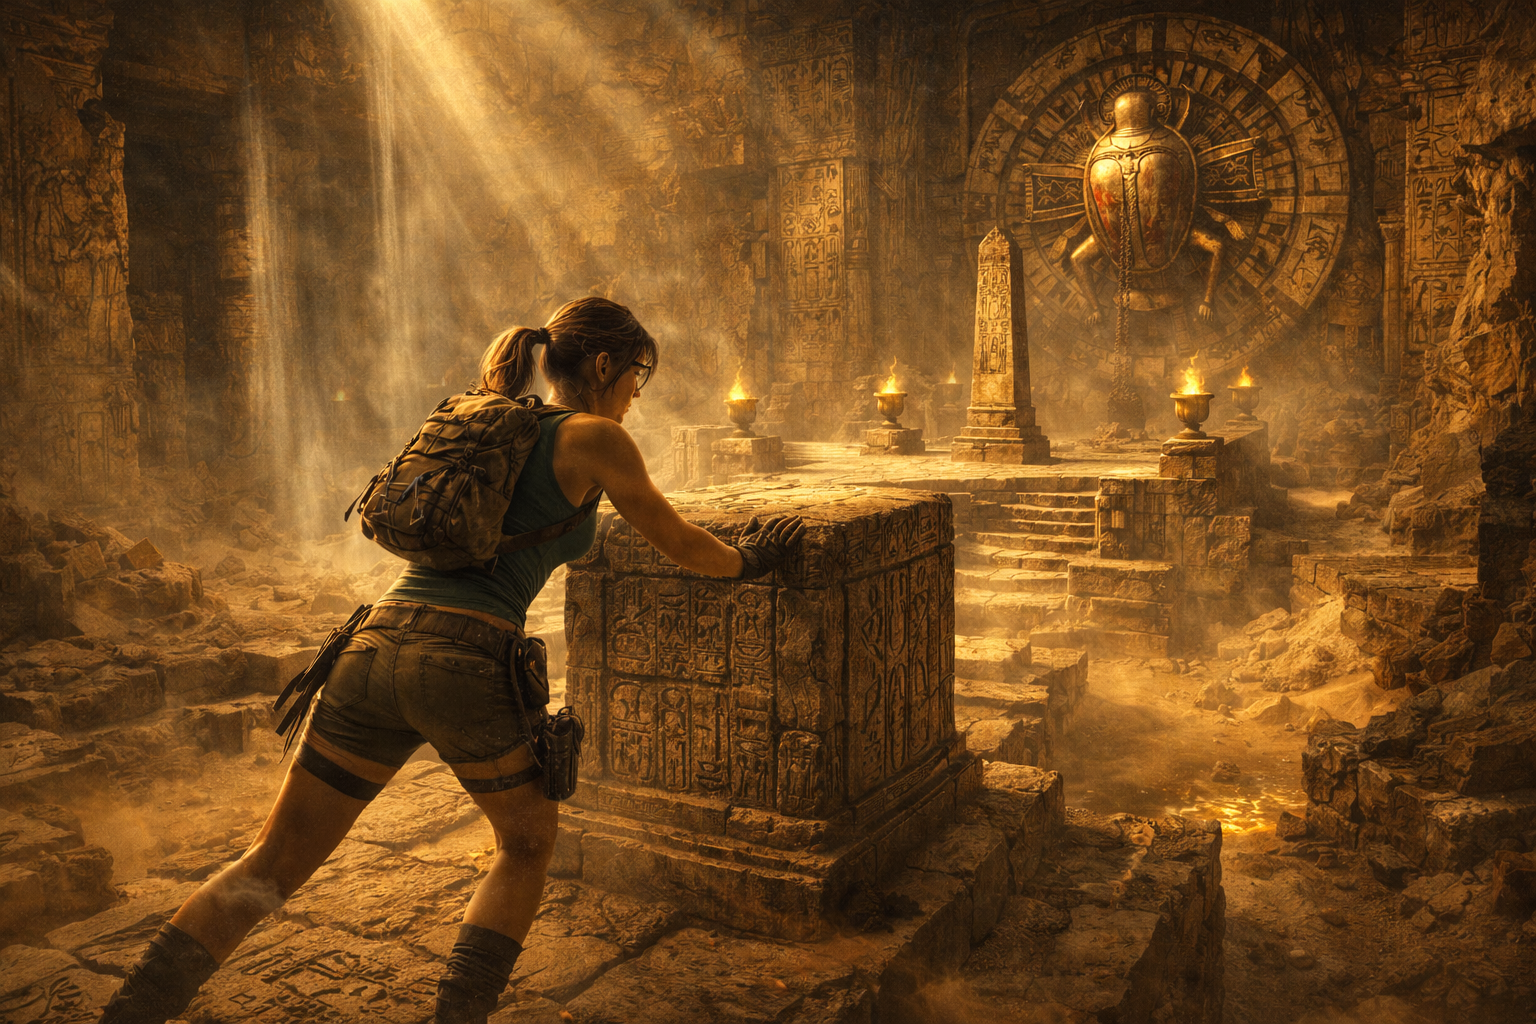
That lever opens a door and creates a set of stairs. The walls of this room have ledges, descending ledges, and rotating blades that extend and then retract from the wall. Now, there are two ways to get to the switch in this room. One is to leap across the walls and use the grappling hook to swing to specific points and then make the final leap to a ledge which will lead to the switch. On the other hand, you can exit the room through the doorway (after pulling the first switch) and make your way back to the central column/obelisk and then up to the doorway, and back to the top of the room.
Obviously, this second method is more time-consuming, but it’s also less of a struggle. Would you believe I figured it out by accident? See, when you come to the entrance to the room initially, there are two rings at on opposite walls with a 90 degree angle between them. I got the bright idea to go back the way I came, and try bypassing all the blade nonsense.
So, I get back to the top of the room, drop to the staircase, take a running leap, and attach to the first ring. I should probably note here, that I had NO idea if this was going to work but I did some wall-running to generate momentum, jumped and threw my grappling hook and…it worked! I can’t tell how surprised and, frankly, relieved I was. Like I said, I’d had no idea if this crazy idea would even work, but it did, and now all I had to do was pull a lever and the last walkway would drop. With the last walkway lowered, I jumped into the water below and then climbed out and climbed a ladder to the first walkway. From there, I just hopped from one walkway to the next until I had all the items.
Now, if you haven’t played this game, you’re probably wondering:
“Okay, but how are you going to get back to the starting point?”
I’m glad you asked, it’s a quick swim through a tunnel to a chamber with a switch and a ladder. Pull the switch, climb the ladder and you’re out. Now, you just go down the hall back to the main chamber (where you started) and place the items in the column to open the level exit.
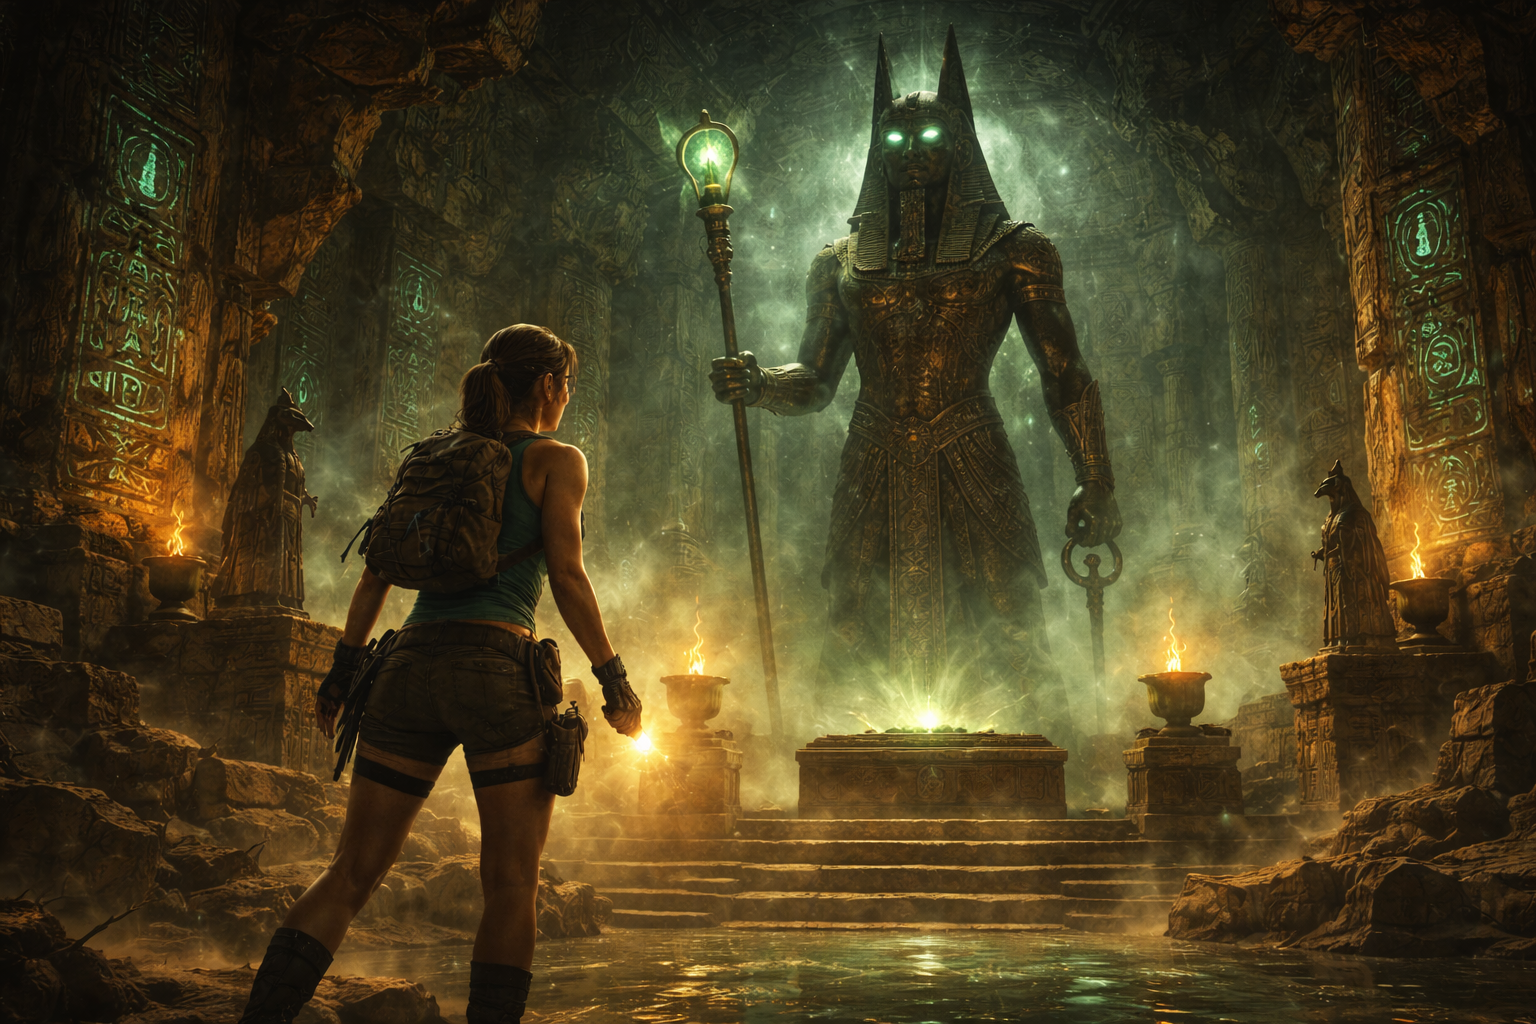
Sanctuary of the Scion is the third and final level of the Egypt section of the game. It has a more frustrating entrance with four rotating cylinders. The solution is right there on the walls, unfortunately, however, when you rotate all other cylinders rotate as well. Finally, when I got the entrance open, the chamber has a large sphinx statue. The aim is to find two ankh keys to open the sphinx’s main door which leads to a water-logged temple of sorts. Much like the Tomb of Tihocan level, you have to manipulate the water level to get to the exit.
The final chamber is a bit irritating because the traversal involves rope swinging and climbing. Doesn’t sound so bad, and, on one side, it isn’t. On the other side…not so much. The left side of the room requires a fairly easy rope swing to a series of climbable pillars, the right side of the room needs you to swing past one column and jump to a third one. That jump took me forever! It took me hours - around a full night - to successfully navigate.
Still, once I got it and the doors were open, it was a simple case of collecting that last piece of the Scion. Now, in the original game, you would fight Larson before getting the final piece of the Scion. This time around, it goes into a cut-scene which details who Natla is - Queen of Atlantis - and the subsequent escape from her and her lackeys. We also get to see a re-imagined version of Lara’s crazy motorcycle jump to Natla’s yacht.
I do have to wonder about something, however, how the blazes did Lara manage to avoid being found on the yacht? She literally drops into a compartment and nobody on the ship goes down there at all throughout the trip to Atlantis? It makes no sense to me, especially when you think that in the original game that compartment was a small cargo hold.
Atlantis
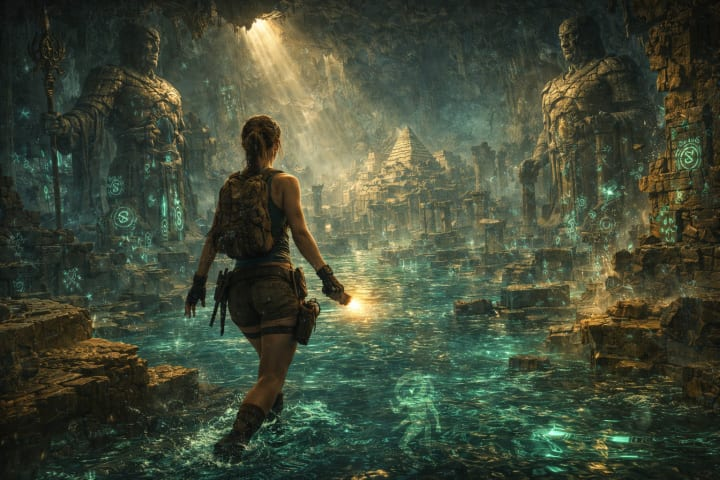
The Atlantis Levels were:
- Natla’s Mines
- The Great Pyramid
- The Final Conflict
Natla’s Mines are a short scavenger hunt for three fuses and MOST of your weapons. The level is a scavenger hunt for three fuses. Unlike in the original, the fuses are closer together which makes the level much more compact and, frankly, coherent. Getting to the end, and the fight with Larson was pretty easy and the fight itself was direct and easy enough, but it feels far more impactful as a first kill.
After that we reach the pyramid, and a second boss fight with two other lackeys. Now, I’m not really a huge fan of this second interaction because while the one guy is just psycho and wants to kill you for sport there isn’t really a ‘fight’ in the typical sense. The one guy stabs the other in the stomach and is subsequently shot in the back.
These are great - from a cinematic perspective - but only Larson’s death feels major. The 2nd and 3rd minions’ deaths are dramatic, sure, but Lara had nothing to do with them; it was just two guys killing each other out of spite.
I also noticed the absence of one of the lackeys from the original game - the cowboy. It’s not a problem per-se, but it is noticeable (especially considering he had one of my weapons in the original).
Climbing the exterior of the pyramid was surprisingly enjoyable, it’s essentially a game of hopscotch from one pillar to another. Some pillars sink into the side of the pyramid to unlock the entrance. It’s much easier than what you had to do in the original game because, if you remember, in Tomb Raider I, the pyramid had these ledges that you had to stand on.
That might not sound like a problem except that there were huge boulders that would occasionally fall on you. On the other hand, if you’re like me, and you probably had a slightly different issue. See, I don’t have 3D vision which means my depth perception is pretty much non-existent. I couldn’t really tell which ledges I could stand on in the original game’s ascent. At least with Anniversary’s climb I could just jump in the general direction and, if I landed right, it was smooth sailing. If not…I tried again.
Now, I should point out that these last levels (Natla’s Mines, Great Pyramid, and Final Conflict) are fairly linear and very short. That shortness, however, leads to one of, if not the most frustrating, and taxing sequences in a Tomb Raider game. The interior of the pyramid starts off with a long hallway to a hatchery of sorts and beyond the hatchery is a lava pool at the base of a shaft…you see where this is going. In the original game it was a simple case of jumping from ledge to ledge bypassing traps along the way and going down hallways. Evidently, the game devs decided they wanted to make things more difficult this time around because now we have to deal with retracting platforms.
The first one is actually pretty easy to deal with, but the second one is a genuine pain in the ass. For the second retracting ledge, you have two grappling rings and a set of poles to traverse (the poles are for swinging on - obviously). Oh, and these retracting ledges are timed - as if the flying mutants weren’t enough to deal with - so, good luck getting to the other side before the timer runs out. Seriously, I tried for HOURS before saying:
“Stuff it, let’s just try a direct jump.”
It took a few tries, but I was eventually able to attach to the first ring. Unfortunately, however, this direct leap puts you very low on the rope so you have climb up the rope a bit before attempting the second jump. I, of course, bungled it several times and even after making the second jump you still have to climb - again - before trying the final jump to the pillar on the other side of the room. This second jump was an absolute, bloody nuisance; it drove me nuts! If the mutants weren’t knocking me off the ledge, then the poles and grappling rings would retract. The result was that I took several dips in the lava pool below.
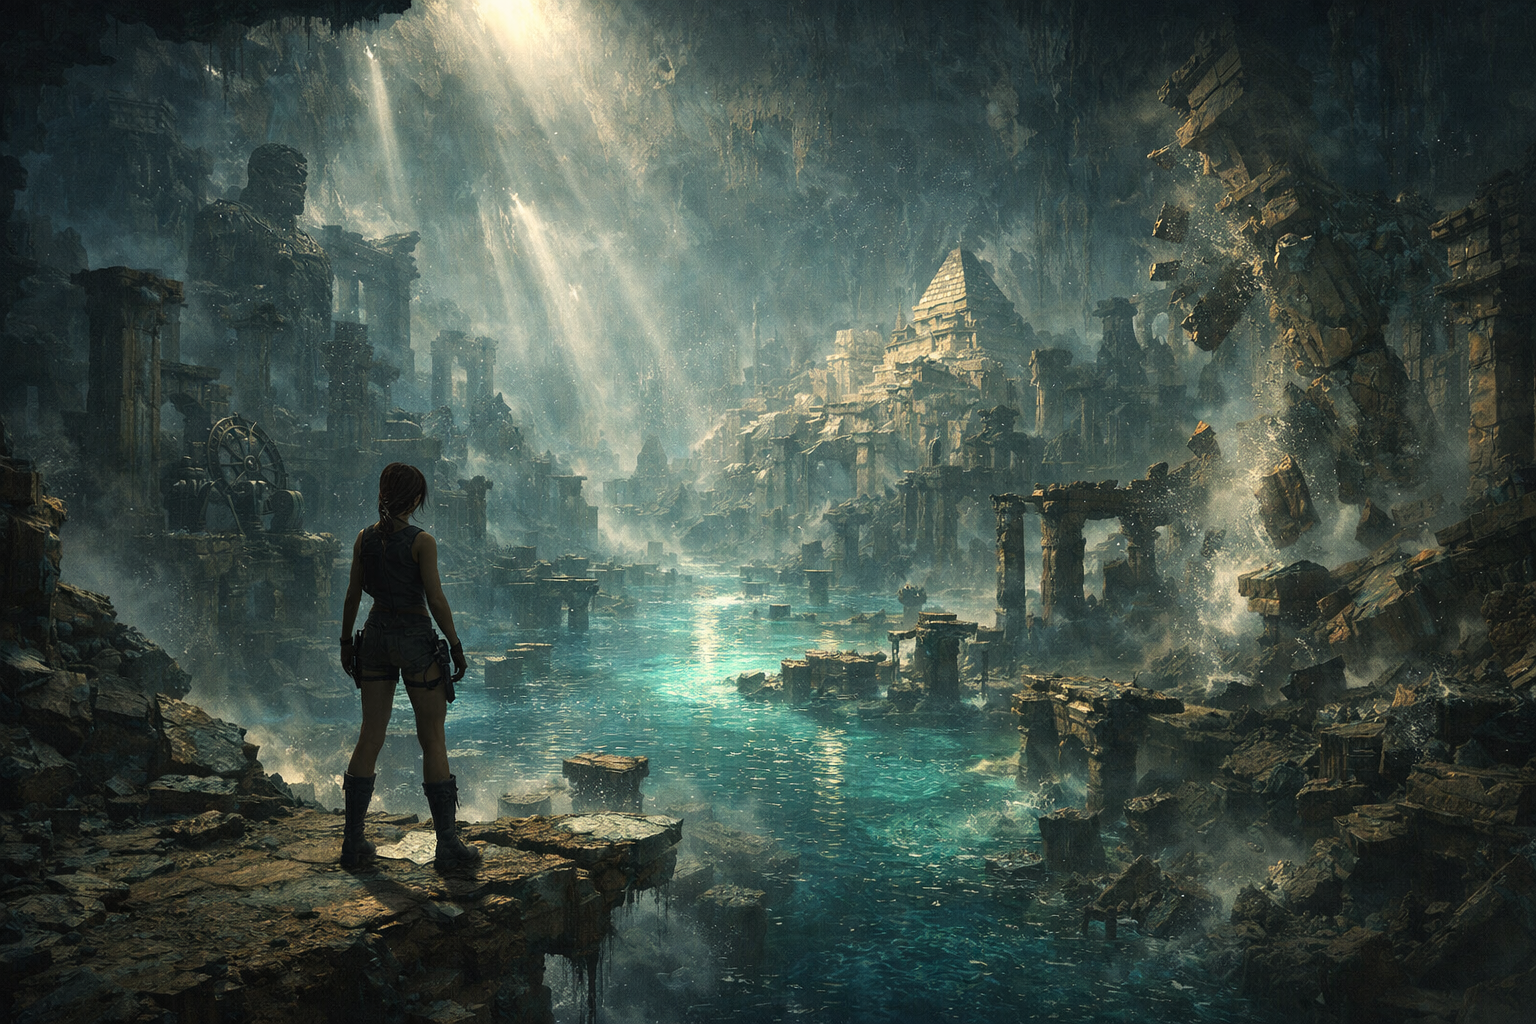
Eventually, after approximately 70-ish tries, I made it to the third ledge. The third and fourth ledges weren’t too bad, and I managed those in two or three tries each, but that second ledge gave me a serious headache.
The next puzzle room is the doppelganger puzzle; the idea is to lure a doppelganger into a flaming pit. In the original it was fairly straightforward, here it took me two tries - mostly because of my inability to correctly judge distances. Anyways, once you’re through there it’s pretty much a straight run to the Scion. This is where Natla gives her grand monologue about the so-called ‘Seventh Age’ - which she refuses to explain. This is also where I have to defer to the original game because there Natla explains that she plans to resurrect Atlantis and sort of drive evolution forwards - in a sick, twisted way. Evolution on steroids, as Lara puts it.
I can only assume that this Seventh Age is the new name for Natla’s grand plan to change evolution. There’s a cool moment here where Natla basically tempts Lara with the idea of immortality and she responds by (1) apologizing to her father, and (2) shooting the Scion. Lara and Natla have a bit of a tussle which ends with the latter taking a swim in the molten lava and the former on a ledge. Of course, this is where we fight the abomination or torso creature from the original and, wow, this guy looks so much scarier.
This version of the fight has you trying to get the torso creature to fall into the lava below. To do this you need to shoot off an arm and then trick him into falling off the edge. You then have to shoot the hand that’s holding onto the ledge until he lets go. Now, it’s much trickier than I make it sound, but that’s the gist of it.
Once the torso creature is dealt with, you move on through a hallway with some tricky platforming until you reach the final chamber and the boss fight with Natla. This one is actually really frustrating as well. It works in two phases:
- Phase 01: Natla is flying around the room throwing fireballs at you and you have to shoot her wings so that she’s grounded.
- Phase 02: Driving her crazy so that she charges and then gets her hand stuck so you can shoot and damage her.
Phase 02 is where it gets frustrating because it’s hard to know when you can damage her. Still, the fight is really satisfying to win. The game’s ending with Lara taking Natla’s boat and sailing off into the sunset is really great.
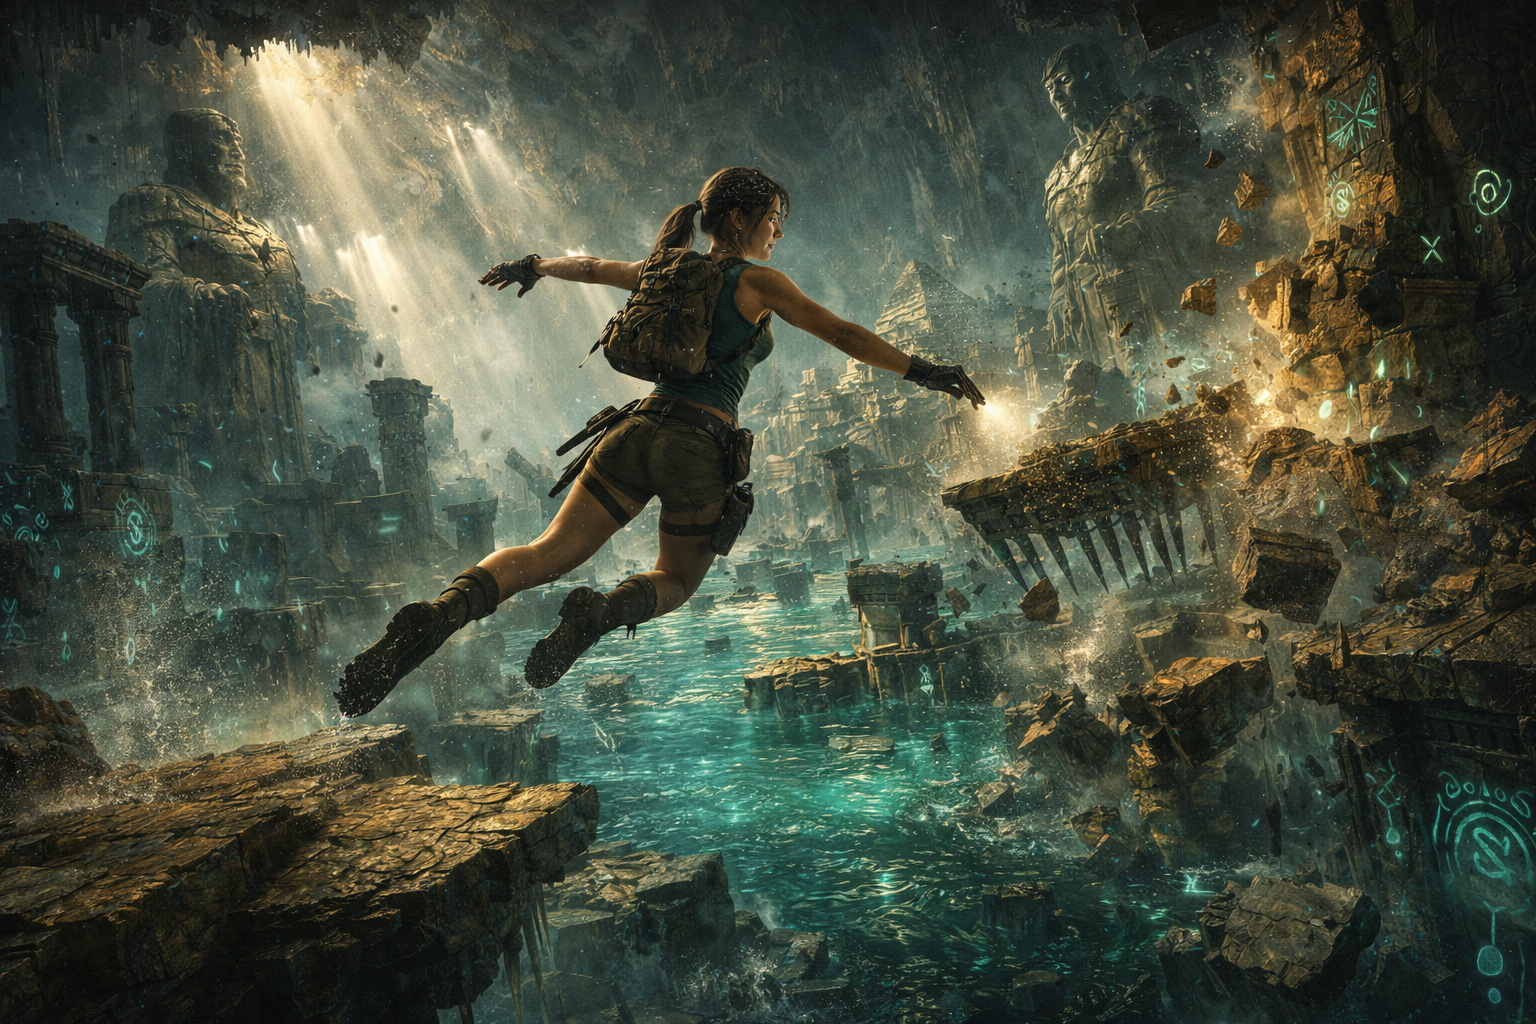
Now, I know I did an awful lot of complaining while discussing anniversary, but I really did enjoy playing it - that last playthrough not withstanding.
The graphics in Anniversary are gorgeous, and the music is great. As far as the levels themselves go, they’re very nice - as I said before - and the timed sequences (doors and ledges) are few and far between but are beyond frustrating when they’re in play..
Puzzles were very well done and the combat was also quite satisfying - especially against the winged Atlanteans. Speaking of Atlantis, I like Anniversary’s depiction of the mythical city here is much better. Stone architecture, mysterious glyphs, it was great.
Crystal Dynamics remastered Lara’s classic look and I loved how it came out. The fact that you can use different outfits makes things even more interesting.
Tomb Raider: Legend (2006)
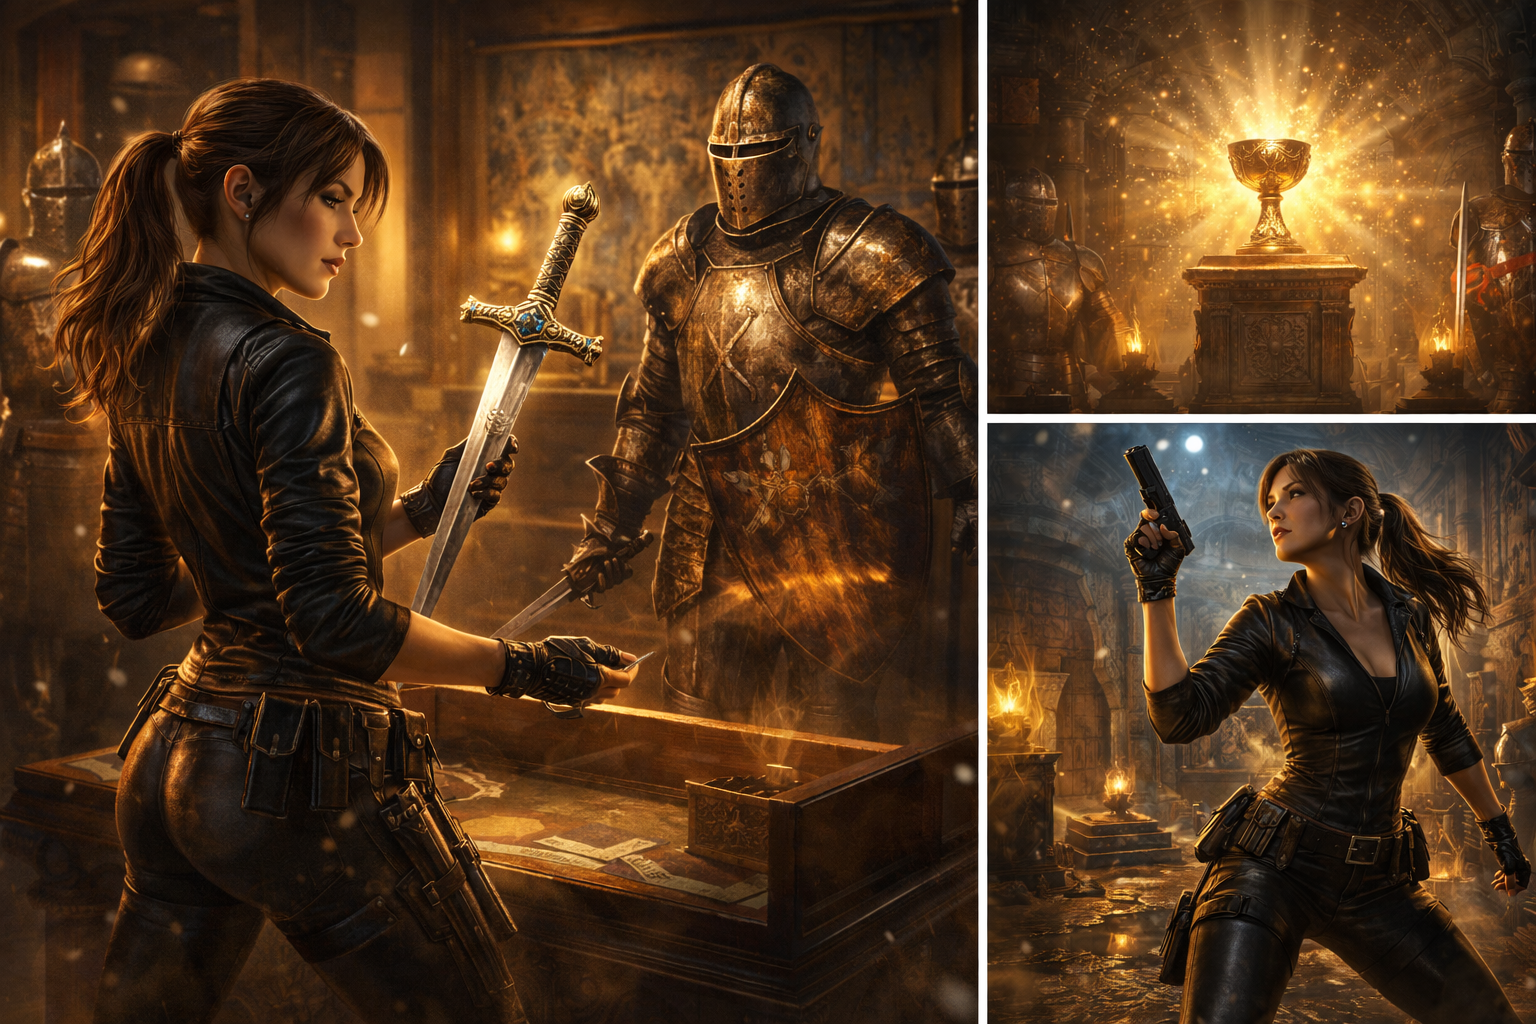
Legend was an interesting experience, it sees Lara going after the sword Excalibur and trying to solve the mystery of her mother’s death/disappearance. The game’s story is divided into eight sections:
- Bolivia (1)
- Peru
- Japan
- West Africa (Ghana)
- Kazakhstan
- Cornwall, England
- Nepal
- Bolivia (2)
Let’s start with the first chapter.
Bolivia - Part I
The intro sequence with Lara’s backstory is really well done and it leads to a great introduction to the main game with Lara climbing up a cliff face in Bolivia. This is also where we first meet Zip, who comments:
“You know, I think you left your climbing gear on purpose. - Zip, Tomb Raider: Legend”
Lara responds rather playfully:
“What would give you that idea? - Lara Croft, Tomb Raider: Legend”
Right off the bat, we know we’re in for something fun as Keeley Hawes fires through her first scene as Lara Croft. Her first bit of dialogue is very reminiscent of Pierce Brosnan’s James Bond - it has that same mischievousness to its tone. We also meet Alistair - the historian/anthropologist - and he and Lara also have a few quips. The Bolivia section of the game introduces the grapple hook - although, here it’s a ‘magnetic grapple’ because I guess calling it a grappling hook wasn’t cool enough. I also figured out that you could now kick your enemies around like soccer balls…that was fun.
The end of the Bolivia section gives us a flashback to Lara’s mother’s death and a fight with a group of mercenaries employed by one James Rutland. Rutland mentions someone named Amanda before leaving Lara to fight his guys - this is where I discovered you could kick ‘em around like soccer balls.
We go back to Bolivia at the end of the game for the last major confrontation.
Peru
Chapter 2 is set in Peru, with Lara returning to an old digsite where Amanda - an old friend of hers - apparently died alongside several other archaeologists. For the most part, I enjoyed this chapter of the story. It starts with Lara arriving in a little town in Peru and plays out like something out of a spaghetti western - close ups of Lara’s eyes and guns, windows and doors being slammed shut, you get the idea. The gunfight in the town square is fun and satisfying which is great because the next bit is…not so much.
After the gunfight, we have our first of three vehicle sections with Lara hopping on the conveniently parked, gassed up Ducati motorcycle and chasing after more mercenaries who are after her Peruvian friend Anaya. Apart from Zip’s cringey dialogue, the bike itself is very awkward to drive and the rough terrain doesn’t help much. It took several tries to get through that bit without smashing into rocks…
The digsite itself is an interesting level with a lot of challenging platforming and very devious traps that could make for some nasty accidents. This is also where we get a version of the Arthurian mythos.
Japan
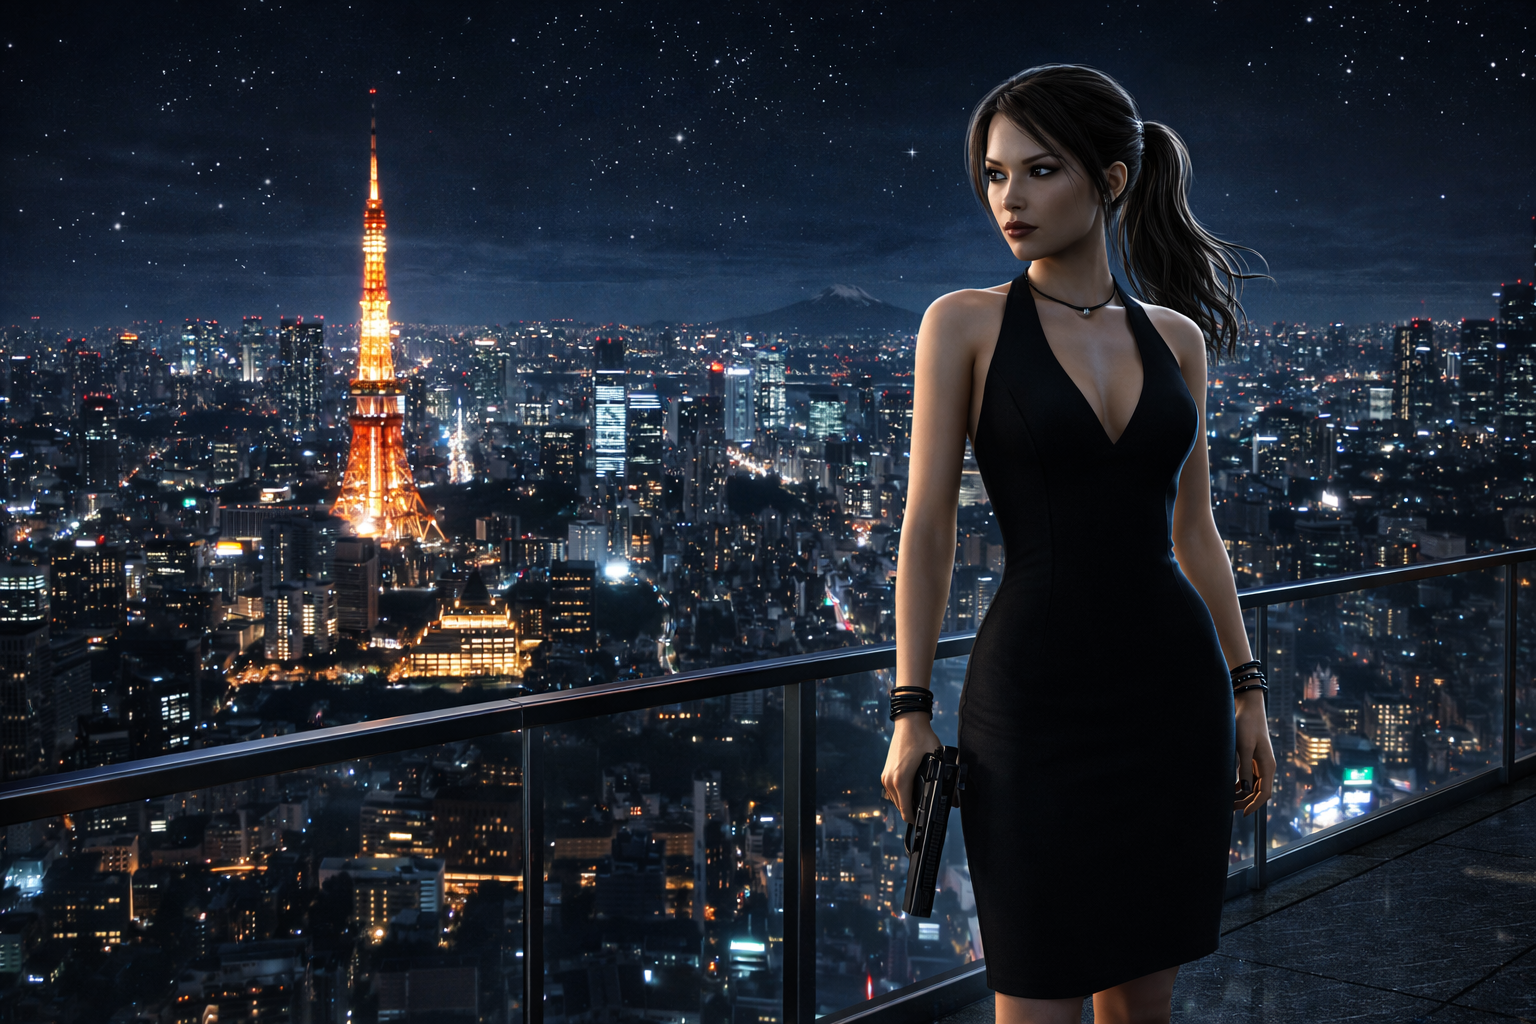
Japan is a more urban level, Lara heads off to meet with a yakuza leader named Takamoto and get an artefact that matches what she found in Peru. This is probably where Lara has some of her most Bond-like dialogue.
The urban level design was well designed, it was a great experience playing through this level. There were a few times where things got a bit complicated at times, but it was a great time. Lara’s dress is great and the humorous dialogue between her and her colleagues makes this section of the game fantastic.
Ghana
Ghana is one of my favorite parts of the game. The traps were absolutely terrifying, but it’s Lara’s constant commentary on the area that really makes this level special. Diving off of a cliff into a lake and then swimming to shore she says:
“The water’s absolutely perfect, I’ve missed Ghana!” - Lara Croft, Tomb Raider: Legend
Later, after avoiding an Indiana Jones-style rolling boulder trap, she repeats that sentiment with a more adrenaline-fueled voice.
The humor in this chapter is also really great, with Lara and Zip sharing some nice, playful banter between them. Additionally, Lara also has a bit of a flirtatious, almost Bond-like chat with James Rutland. The final confrontation with Rutland is tricky, but not impossible; in fact, it’s actually rather underwhelming in comparison to the rest of the level.
Between the lovely terrain and the nasty traps, there’s a lot of challenging work to be done here, although not as much as in the next chapter - we’ll get to that in a bit. One of the more interesting traps is a water wheel room. Of course, the water’s not flowing which means the traps aren’t working. So your next task is to find the sluice and get it open so that water will flow to the wheel and get the traps active again. Upon completing this task, which is surprisingly complicated if you’re playing for the first time, Lara remarks:
“Ah, much better!” - Lara, Tomb Raider: Legend
To which Zip replies:
“You know, you scare me.” - Zip, Tomb Raider: Legend
My favorite exchange, however, occurs after Lara escapes a rather nasty trap with spinning blades, where she says:
“I must install some of these in the gym.” - Lara, Tomb Raider: Legend
Zip responds with:
“Remind me to cancel my membership.” - Zip, Tomb Raider: Legend
Comedy gold, and that’s not the only instance of it either!
Kazakhstan
Kazakhstan is…frustrating. That’s the kindest word I can use to describe it. Lara is going after another artefact - obviously - this is where we get the second vehicle section - more motorcycle chasing. Of course, this time we’ve got cars to deal with as well which adds a whole new level of difficulty. I noticed it in the Peru chapter, but firing your gun while steering is ridiculously tricky! Lara takes her eyes off the road and is suddenly very likely to end up as roadkill courtesy of a copse of trees or a rocky outcrop.
Still, the final bit where you land on the back of the train is really fun and the quick time event that leads into the base where the artefact is kept…epic. Although, I do wish I hadn’t lost my coat. Anyways, I digress, you make your way through the base to power up one of Nikola Tesla’s inventions and meet up with Amanda Evert - an old friend and colleague of Lara’s whom she’d presumed dead after some crazy stuff happened in Peru.
Now, Amanda was a friend of Lara’s who got caught in a cave in after she pulled some sort of mystical stone out of a wall. Sadly, Lara had to leave her behind and this has apparently left her rather bitter - though she says she got over it. Honestly, I’d probably be pretty miffed too if my bestie suddenly left me behind in a cave in and went on to have a successful tomb raiding life. The final confrontation of this chapter sees Amanda summoning the shadow beast that caused all the trouble in Peru. You have to run to fuse boxes to power up another invention which you use to get to the artefact.
I HATED the bits with the Tesla gun turrets. They’re clunky and slow, but ridiculously sensitive. If you move - even a little bit - the whole turret spins and you have to re-align the damn thing. This made getting the artefact in this level really difficult because the shadow beast kept blasting me across the room. Needless to say I was thrilled to be out of there.
England
Apart from Ghana, the England chapter of the game is another favorite of mine because of the sheer comedy on display. This chapter is set in a King Arthur-themed museum in Cornwall, and it’s very reminiscent of Tomb Raider: The Last Revelation’s Egyptian Adventure park…just much more interesting.
Getting through doors involves pulling switches that are shaped like swords placed in stones. Once you’ve got the power on and are inside the museum proper, you can interact with the various exhibits. One of those exhibits discusses the Holy Grail and how nobody found it, except Galahad.
Zip, of course, comments on this asking how they know he found it if nobody returned from the search (something else the exhibit mentions). This is a good point, and I vaguely remember some variations of the story where the knights that went after the grail never came back, but I could be wrong. By far, my favorite exhibit is the one that discusses Excalibur and the Lady of the Lake. Zip asks whether the Sword in the Stone isn’t the same as Excalibur.
“I’m confused, weren’t Excalibur and the Sword in the Stone the same thing?” - Zip, Tomb Raider: Legend
Alistair has a bit of a meltdown about that comparison - obviously.
“They were two bloody different swords!” - Alistair, Tomb Raider: Legend
Like I said in my Tomb Raider: Legend review, I’ve replayed this section several times just to laugh at that exchange. Of course, the museum is built on a much older structure - an actual tomb, because of course, it is. Getting into the older structure, we’re met with far more interesting hazards crumbling ledges are present, of course, but there are also ledges that now collapse when you land on them, there are some nasty spinning blade traps and fire traps that even people who walk on fire for fun would avoid!
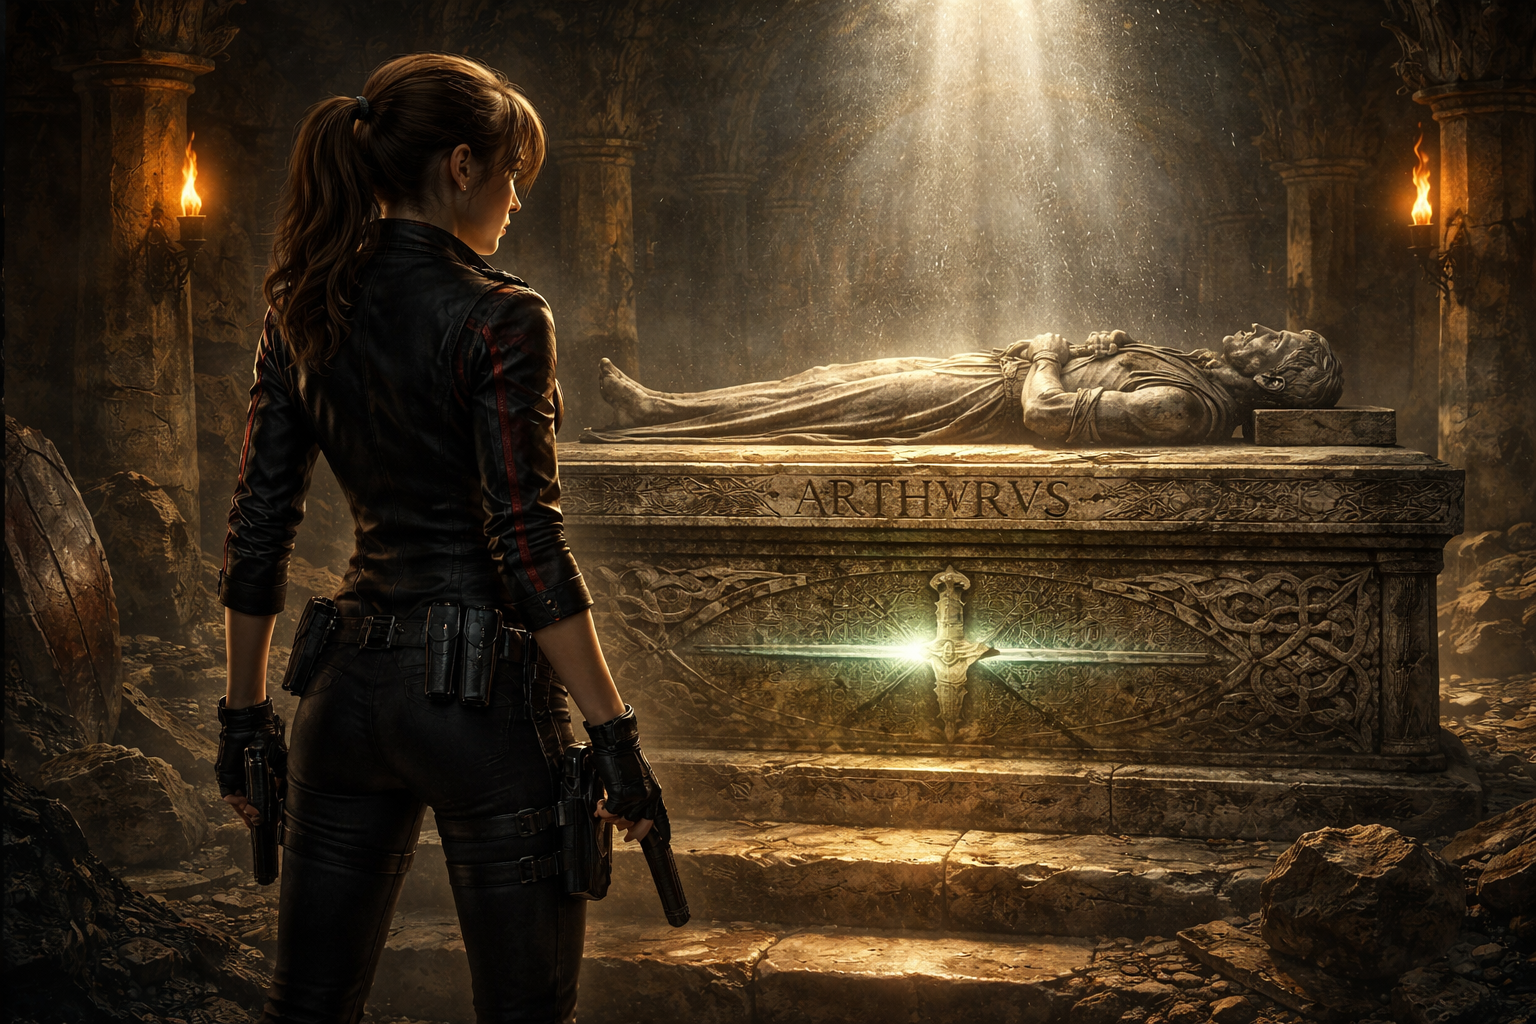
Eventually, you end up at the tomb of King Arthur and his knights, take his piece of Excalibur and make your way out only to have a giant sea serpent appear for you to fight. Yes, that’s a real encounter in the game, I’m not making it up. Fighting the sea creature involves distracting it with loud noise from four bells and dropping cages on its head (ouch). After the fourth time, it has this dramatic sequence that ends with it looking like the snake skin in the Chamber of Secrets. Of course, it’s not dead - just asleep - and apparently it’s not too happy with Lara because when he reappears in the next QTE, he’s hellbent on eating her. Poor guy must’ve had one hell of a headache too!
Now, as I said, I love this chapter, but the sea serpent makes no sense to me. I grew up on King Arthur stories. I read everything in my local library on Arthur and his Knights of the Round Table, I loved Disney’s Sword in the Stone (1963), and I love watching Excalibur (1981) from time to time, but nowhere in any of the Arthurian myths did I see anything related to sea serpents or sea creatures in general. The only sea creature I can think of is the Loch Ness Monster and ol’ Nessie’s in Scotland, not England. So, where’d this sea thing come from? No idea, it’s a cool design, though, and the fight is very cleverly done.
Nepal
Nepal is the penultimate chapter and sees Lara going back to the wreckage of the plane she and her mother had been on at the game’s start. In the wreckage is her mother’s pendant, which is needed to re-forge Excalibur. She also revisits the monastery where she encountered the original - or what I think is the original - sword, and where her mother actually died.
With the sword re-forged, she makes her way back to Bolivia for the final showdown.
Apart from the gorgeous visuals, I really liked the idea of Lara going back to a place that held such traumatic memories to face them - so-to-speak. I don’t think it would really count as exposure therapy, but it’s still a nice idea. Although, I have to say, I’m curious to know how Lara and her mother made it all the way from the crash site to the monastery.
For starters, the terrain is harsh. Just getting to the place involved some really tricky platforming and a risky river crossing. Additionally, the weather can turn on a dime going from cold to really cold in no time at all. Amelia and Lara weren’t dressed for that kind of weather. We also have to consider the distance they would’ve had to travel. Between their clothes, the weather, and the distance between the plane and the monastery, they’d have been popsicles pretty quickly.
The musical pieces here are really, really good. Troels Brun Folmann did a stellar job creating tracks that matched the different locations and Nepal is probably one of the best examples of this. We’ve got a lot of Asian instrumentals and chants
Bolivia - Part II
The return to Bolivia is short - too short, frankly. It’s basically just a boss fight with Lara first wiping out Rutland, Amanda, and their lackeys. The use of Excalibur makes it easy enough to deal with them. Of course, James Rutland dies which upsets Amanda and, being a sore loser, Lara’s former bestie unleashes the shadow thing from before.
As cool as this enemy is, and it really is a cool enemy, the boss fight is…disappointing. The process is basically swing Excalibur around to knock this thing down, then stab it. This has to be done 2 or 3 times with the final time you knock him down, he’s destroyed, and Amanda is rendered unconscious.
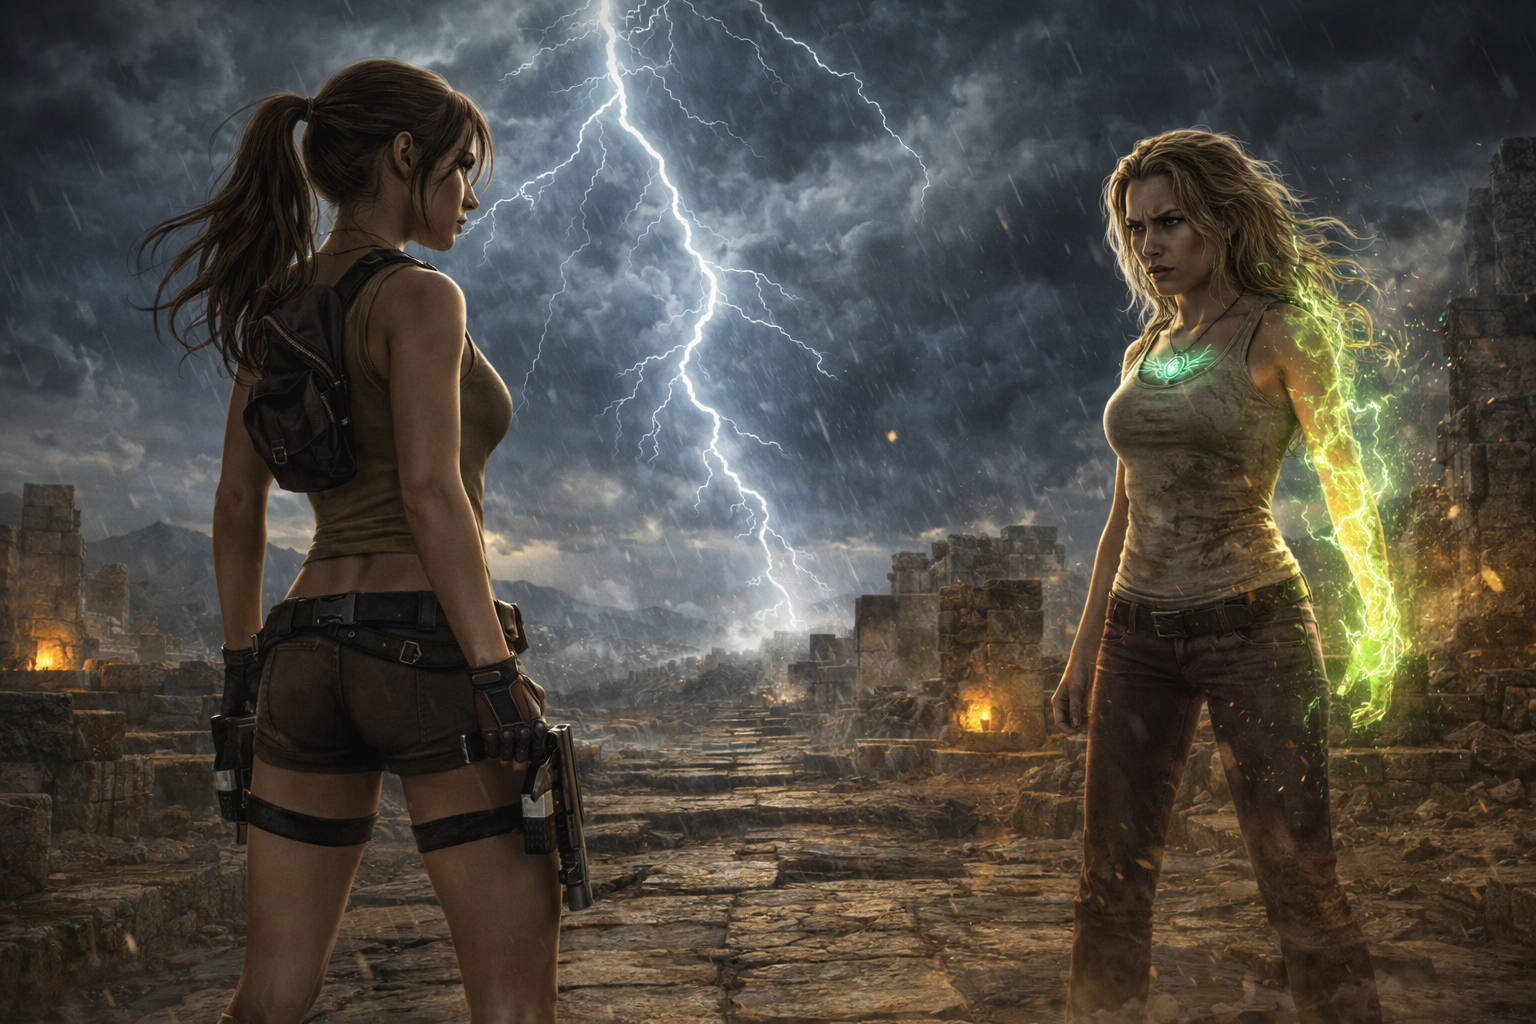
This is also where we get to hear what Amelia heard back in Nepal and we learn that Amanda was the catalyst for Lara’s mother’s actions. Understandably, Lara is rather upset about this and interrogates the other woman who tells her that Amelia is in Avalon.
“Avalon! It’s not a myth, don’t you get it?! You’ll never understand, I’m wasting my breath.” - Amanda, Tomb Raider: Legend
Lara’s response is to pistol-whip her, knock her out cold, and leave with plans to look for Avalon.
Tomb Raider: Underworld (2008)
Underworld was…interesting. The game combined elements of both previous titles with both Amanda Evert and Jacqueline Natla making a comeback to serve as antagonists. The game’s controls were further streamlined from the previous titles with Lara getting one or two new moves and some cool new enemies to fight
The new physics puzzles are somewhat hit and miss, I’ll admit, but there were a few good ones. Visually, the game looks great, with long, interesting levels and the musical score by Troels Brun Folmann is phenomenal. I’d even say that Underworld has the best soundtrack of the Legend series. Additionally, Keeley Hawes’ performance as Lara is fantastic, but here she does come across as angry and hostile - even towards her allies. It’s almost like her search for answers has driven her somewhat crazy.
Unfortunately, we don’t get a Croft Manor tutorial level this time around, additionally, the James Bond-style opening sequence from Tomb Raider: Legend is also absent. That opening sequence was great and its absence is sorely missed. It starts out with an explosion that destroys Croft Manor. This serves as the game’s tutorial.
After that, it cuts to a week earlier.
The game starts out with Lara on a yacht in the mediterranean sea getting ready to make a dive to find the possible location of Avalon. Lara’s rebreather means you don’t have to worry about oxygen. Instead, you can just explore at your own pace until you find two giant keys (I don’t know what to call them) and open an underwater door. On the other side is a lot of moving through dark caves and a fight with a kraken…wait…what?! Yeah, the devs clearly wanted something interesting to fight and it works; although, the fight isn’t all that hard once you’ve figured it out.
Thailand reminds me of the Lost Valley and India levels from Tomb Raider I and III, lots of vibrant greens and jungle nasties that want to eat you. The platforming is great, and the puzzle involving the Shiva/Kali statue and the sunlight was genuinely fantastic.
Returning to Croft Manor was interesting. We get to explore an entirely new section to the manor which means we get more puzzles - yay! Of course, that doesn’t last long because the whole house goes up in flames and Lara comes face to face with a doppelganger of herself. Unfortunately, poor Alistair doesn’t make it out alive as the evil Lara kills him.
This is also where we get a glimpse at just how far gone Lara is with her obsession. She lays Alistair’s body down and tells Zip and Winston that she’s going after the next artefact - Thor’s belt. This obviously upsets Zip and he tries to argue, Lara shuts him down cold saying, and I quote:
“I need the belt to find the hammer, and I need the hammer to kill a god!” - Lara Croft, Tomb Raider: Underworld
Now, this isn’t the first time we’ve seen obsession in Tomb Raider - hell, Lara literally unleashed the Egyptian God of chaos in her fourth adventure - but Keeley Hawes adds a lot of anger to her voice which gives a significant edge to her delivery.
The rest of the game is pretty much your standard Tomb Raider fare, but the ending with Lara finding her ‘mother’ is bittersweet. Amelia Croft has become some mutated half-human thing and Lara is forced to kill her properly.
It’s not a happy ending, but the idea of Lara making peace with her past makes it a very powerful one.
Overall, Tomb Raider: Underworld is a very cinematic experience, but the timed doors and QTEs are a bit frustrating. Still, Tomb Raider wasn’t done with the cinematic, theatrical stuff.
About the Creator
Greg Seebregts
I'm a South African writer, blogger and English tutor; I've published 1 novel and am working on publishing a 2nd. I also write reviews on whatever interests me. I have a YouTube Channel as well where I review books, and manga and so on.
Enjoyed the story? Support the Creator.
Subscribe for free to receive all their stories in your feed.
Comments
There are no comments for this story
Be the first to respond and start the conversation.