
PS2 BIOS Explained: The Complete Guide for PCSX2 Emulation in 2026
The Complete Guide for PCSX2

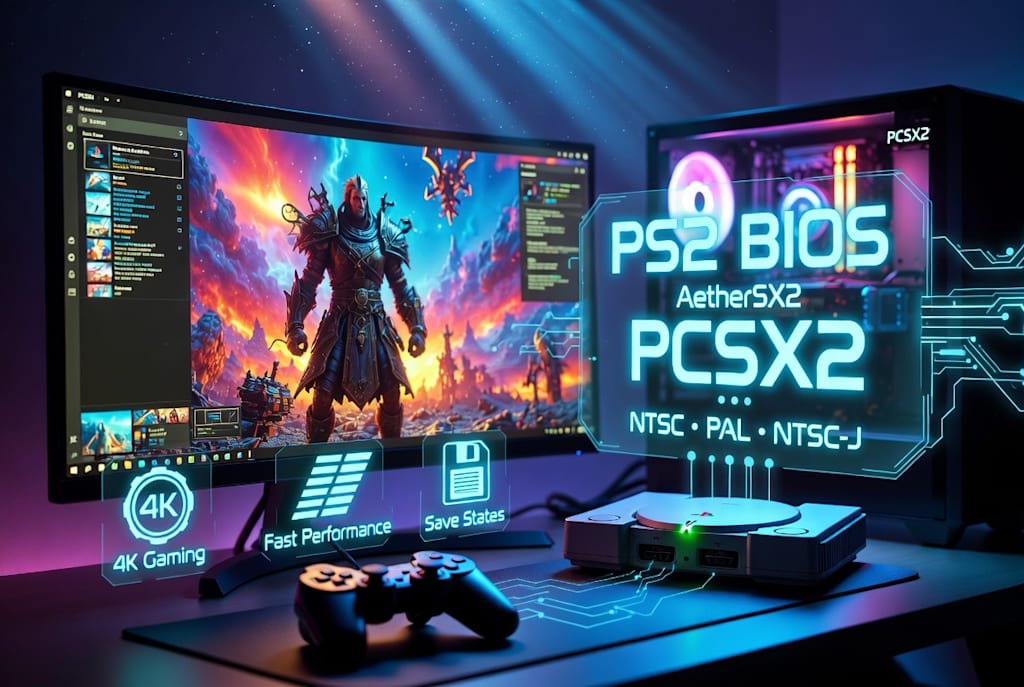
So you finally decided to relive your childhood. You downloaded PCSX2, grabbed a couple of your favorite PS2 games, double-clicked the emulator... and got slapped with a black screen or a "BIOS not found" error. Welcome to the club. Almost everyone hits this wall on day one.
Here's the thing nobody tells you upfront: PCSX2 does not come with a PS2 BIOS, and it never will. The emulator literally cannot boot a single game without one. That tiny missing file is the entire reason your setup isn't working. So before you start blaming your PC or your game files, let's talk about what the BIOS actually is, why you need it, and the right way to get it.
I've been messing with emulators for years, and I'll keep this real and simple. No fluff.
What is a PS2 BIOS, really?
BIOS stands for Basic Input/Output System. In plain English, it's the firmware that Sony baked into every single PlayStation 2 console ever made. It's a 4MB chunk of code sitting on a chip inside the machine, and it's the first thing that wakes up when you press the power button.
That little file does a lot of heavy lifting. It boots the console, initializes the hardware, talks to your controllers and memory cards, reads the disc, and handles region locking so the right games run on the right machines. Basically, the PS2 is a dumb brick without it.
Now here's where emulation comes in. PCSX2 recreates the PS2's hardware in software, but software alone isn't enough. It needs the actual system code to behave like a real PlayStation 2. That's the gap the BIOS fills. Feed PCSX2 a proper ps2 bios file, and suddenly the emulator starts acting like the real console — that familiar boot animation, the menu, the works. No BIOS, no boot. It's that black and white.
One quick thing people constantly mix up: PS2 BIOS and PS1 BIOS are not the same. PS1 emulators like DuckStation or ePSXe use their own separate file. Don't try to cross them. They won't work.
Why you can't just grab any random file off the internet
Okay, real talk. I know exactly what most people do. They Google "ps2 bios," click the first sketchy link, download a zip, and hope for the best. Sometimes it works. A lot of the time it doesn't.
Here's why that's a bad idea:
The files are often corrupt or incomplete. Half the "BIOS packs" floating around are broken, mismatched, or missing the extra files PCSX2 wants for accuracy. You end up with crashes, freezes, or games that boot to a black screen anyway. Then you spend three hours troubleshooting a problem that was the download's fault all along.
Some of them carry malware. This is the part people ignore until it bites them. Random emulation sites aren't exactly known for their security. You're trusting a stranger's zip file with admin access to your machine. Not smart.
And then there's the legal side. The PS2 BIOS is copyrighted software owned by Sony. Sony doesn't put out an official public download, and grabbing it from a third party is technically a copyright violation in most countries. I'm not your lawyer and I'm not here to lecture you, but you should at least know where the line is.
The legit way: dump the BIOS from your own console
This is the method PCSX2's own developers recommend, and it's the one I'll always point people toward. If you own a PlayStation 2 — fat or slim, doesn't matter — you can pull the BIOS straight off your own hardware. It's free, it's clean, it's matched perfectly to your console's region, and there's zero malware risk because it came from your machine.
The whole thing takes about 20 to 30 minutes if you've got your gear ready. Here's the basic rundown.
What you'll need:
A working PS2 console (yours)
A USB flash drive, ideally 1GB to 16GB, formatted to FAT32. USB 2.0 drives play nicer with the PS2's finicky USB port than newer ones
A Free McBoot memory card (this is the homebrew launcher that makes everything possible)
A BIOS dumper tool copied onto the USB or memory card
The steps, roughly:
- Format your USB drive to FAT32. Create a folder on it for the dumped files so things stay organized.
- Boot your PS2 with the Free McBoot memory card inserted. You'll land on the FMCB menu instead of the normal PS2 dashboard.
- Launch the BIOS dumper tool through the file manager (uLaunchELF / wLE is the common one).
- Let it run. The tool reads the firmware straight off the motherboard and copies it to your USB drive. This takes a few minutes — do NOT power off the console mid-process or you'll get a corrupt dump.
- When it shows a success message, shut down, pull the USB, and plug it into your PC.
- Verify the files. You should see multiple BIOS files, not just one. Don't rename or delete any of them. PCSX2 wants the complete set.
That's genuinely it. If you don't have Free McBoot already installed, you'll either need a friend with a modded PS2 to set up the memory card, or you can do it yourself with a software exploit through a compatible game disc. There are a ton of free tutorials covering every PS2 model — if you want a clean step-by-step walkthrough for your exact console, the full ps2 bios download and dumping guide breaks it all down without the guesswork.
Loading the BIOS into PCSX2
Once you've got your dumped files, the rest is easy. Modern PCSX2 (the 2.x build with the Qt interface, which also runs natively on Apple Silicon Macs now) makes this painless.
- Head to pcsx2.net and grab the latest stable release for your OS.
- Install and open it. On first launch, a setup wizard pops up automatically.
- When it asks for the BIOS, hit "Browse" and point it to the folder where you saved your dumped files.
- PCSX2 scans the folder, detects the valid BIOS, and lists it. Select it and you're done.
From there, load up a game in ISO, CHD, or CSO format and you're back in 2004. Modern PCSX2 auto-detects the game's region (NTSC-U, NTSC-J, or PAL) and matches the right BIOS automatically, so you don't have to micromanage anything.
A few tips so you don't pull your hair out
Keep your BIOS files together in one folder and back them up somewhere safe. Dumping again is annoying, and a clean dump is gold.
If your games run slow, update your graphics drivers before you touch any other setting. I've personally seen 30-40% performance jumps just from updating GPU drivers. Start there.
Don't go crazy with upscaling and enhancements on day one. Get the game running at native resolution first, confirm it's stable, then crank the eye candy. Adding ten settings at once just makes it impossible to tell what broke.
And if you hit a black screen even with a valid BIOS, nine times out of ten it's the game file, not the BIOS. Re-check your ISO.
Wrapping up
The PS2 BIOS is the one piece that trips up basically every new emulator user, but once you understand it, it stops being scary. It's just firmware. PCSX2 needs it to think it's a real PlayStation 2, and the cleanest, safest, most reliable way to get it is to dump it from a console you already own.
Do that once, store it properly, and you'll never think about it again. Then you can get back to what actually matters — replaying the games that ate up half your childhood. Enjoy the trip back.
Heads up: dumping your own BIOS from a console you own is the legal route. Downloading BIOS files you don't own may violate copyright in your country, so know your local rules before you do anything.
About the Creator
Ethan James
A passionate gamer and tech enthusiast with a deep love for retro consoles, especially the PlayStation 2. Sharing insights, guides, and stories from the world of gaming to help others relive iconic memories. Let's level up together! 🚀
Enjoyed the story? Support the Creator.
Subscribe for free to receive all their stories in your feed.
Comments
There are no comments for this story
Be the first to respond and start the conversation.