
THE NAKED TREE
or Christmas on a Budget, Part 1
Winter is here, Christmas is just around the corner, and I am supposed to be settling into my new home in Montana. Yet, here I am in Washington with most of my belongings packed and in storage. But that is a story for another day.
Today let’s focus on how I am going to pull off Christmas with no tree, no decorations and almost no budget.
Obviously the first and most important feature, at least in my family, is the tree. But around here, four years ago, a real tree cost us $80. This cost was really ironic as we live in a forest surrounded by trees; but the government restrictions are so severe we can’t just go out and cut a tree. So we have to pay what the sellers charge, or find an alternative.
The next year my teenage granddaughter got creative and made a tree out of different sized cardboard boxes stacked one atop the other for a very squarish tree.
The year after that, I got creative and made one out of tomato plant supports, you know those cone-shaped wire cages, wrapped them up with garland and lights.

Last year we decided a week before the big day to bite the bullet and spend the money, but to our dismay discovered all the tree lots were already sold out, the lots were cleaned and the proprietors had moved on to their next venture. We were resigned to a Christmas without a tree when we heard from a neighbor she was getting rid of a beautiful tree she had used as a display at a holiday craft booth. I grabbed that baby up so fast, my head was spinning. And so my great-granddaughter had a tree for her first Christmas at my house.
This year I wasn’t taking a chance. Accepting that I would probably have to pay as much for an artificial tree as a real one, I braced myself and headed into the store. And quickly exited the store without a tree. A cheap looking, fake tree now starts at $199. In desperation, I grabbed up a 12 inch living spruce for $20. It was small and plain, but it had the right shape and color and I was desperate. Now all I had to do was keep it alive for three weeks.
Then, while doing my Christmas shopping online, I came across a six and a half foot tree on sale for half of what I originally had planned to spend. How could I pass it up?
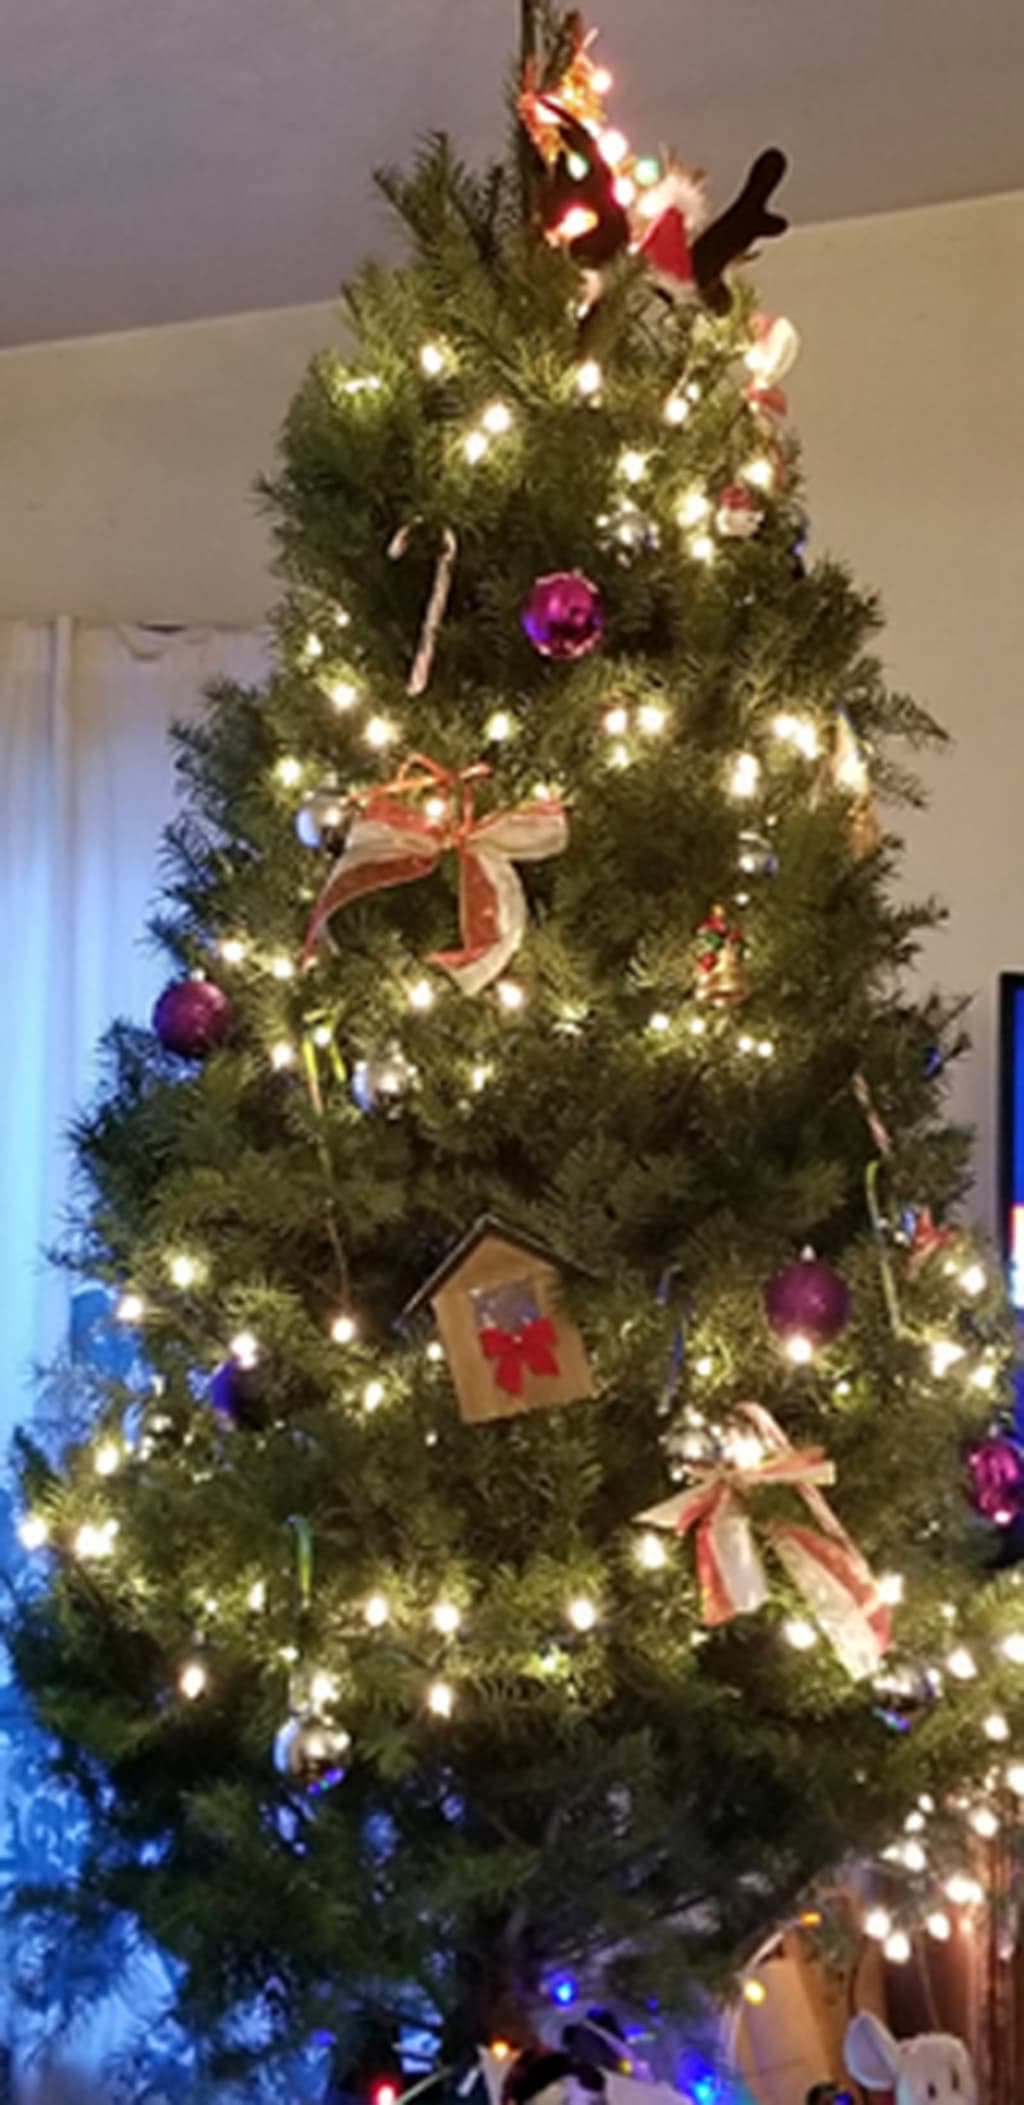
You get what you pay for. Although the picture online showed a very full, almost dense tree, what I got was a bit flimsy with lots of empty spaces. Oh well, I would just fill it up with decorations.
Now to hide the sparseness with decorations.
DECORATING THE TREE
I had three priorities for decorations, 1. They needed to be pretty and plentiful. 2. They needed to be inexpensive and 3. They couldn’t take up much room as everything will need to be packed and shipped when we move later this year. Since I was basically starting from scratch, and because there are no longer any small children living with me, I decided to go for an elegant, themed look of gold, white and silver.
Off to the dollar store to get decorations or materials to make the same.
To light the tree, I purchased a 100 light string of mini, clear lights. This was barely enough to cover the tree but as we rarely put decorations on the bottom of the tree, preferring to keep them out of reach of the smaller dogs, I felt it was okay not to light it either.
Next I made balls and fans from paper. You can use decorative paper like wrapping paper, or dress up card stock or plain printer paper with acrylic paint.
Cut the paper in half lengthwise and accordion fold each half. Punch a hole through all the gathered folds about a half inch from the end, thread some ribbon through and tie it leaving two long tails. Tie the tails together to form a hanging loop, then fan out the paper.

The balls are also made from your choice of paper, decorated as you want. I used standard sized printer paper painted gold. Fold the paper in half lengthwise, unfold and then fold each edge into the centerfold. Cut the pattern from both sides with the straight edge of the pattern on the folds. You will need 20 pieces for each ball.

Glue each piece closed at the center and allow it to dry fully. Next stack the pieces gluing them at the top and bottom, being sure to line them up as closely as possible. Use binder clips to hold the stack in place until the glue is fully dry.

Remove the clips, turn and pull the outer pieces together forming the ball, glue the top and bottom together. When dry, thread some yarn, string or ribbon through the center leaving a 2 inch tail, add a bead or bell at the bottom and thread the string back up through the ball. Tie a knot close to the top of the ball and another at the end of the tails to form a loop for hanging.
Next I added the store bought decorations, a pack of silver and gold balls and a wide mesh ribbon. At the top I added a silver star I had originally bought for the little tree.
The final pieces (I thought) were two little ceramic pieces my great granddaughter painted for me placed front and center in a place of honor.
As I was cleaning up, I came across a plastic pencil box in my craft stash. Inside were some paper snowflakes one of my granddaughters had made for me. I never put them on the tree because they are so fragile. I decided to use them this year. First though, I “painted” them with several layers of white school glue. Instead of punching a hole to add a hanger, I glued a loop of thin, white, satin ribbon to the back.
All told, I spent $60 for the tree and under $20 for the lights and decorations, not including the cost of items from my craft stash. Still within the amount I had budgeted just for the tree. Disclaimer, I never decorate the back of the tree as the only ones who will see the back of the tree are our goats and birds. It may not be the most glamorous tree ever, but it is pretty, homey and I believe shows the love with which it was made.

And the little spruce? He got some red lights, red garland and gold discs made from air dry clay. He lives in the foyer to welcome our guests.

THE STOCKINGS ARE HUNG
Three stockings for the humans are hung to the right of the fireplace and four, for the dogs, are to the left. My granddaughter asked why only stockings for the dogs and not all the animals. I thought I was being smart when I told her we were only doing stockings for the pets, not the livestock. And she pointed out the guinea pigs are pets (this child has always been to smart for my own good.) So off to the local thrift store I went in search of little stockings. Those three are now centered over the fireplace.

My intention was that the stockings were just for decoration. But here comes packages ordered by my daughter with candy canes and chocolates to fill the stockings. So glad she is catching the holiday spirit.
Stay tuned for Part 2 to learn about our holiday traditions, cooking and candy making.
About the Creator
CJ Flannery
I have been writing for over 50 years, just now getting the nerve to share my work. Be gentle in your critiques.
Keep reading
More stories from CJ Flannery and writers in Fiction and other communities.
Dragon Riders
Dragons, can it be any better? I first discovered Pern in Anne McCaffrey’s The Dragonriders of Pern, a three book compilation offered on discount through a book club. As a young adult I would read pretty much anything with dragons and being on a budget, three books for the price of one instantly made it a winner in my eyes.
By CJ Flannery3 years ago in Fiction
Clinging to Childhood
The playground is empty, as it should be past sundown. There is a warm breeze, and I can see everything despite the late hour. What time is it, anyway? It could very well be past midnight. I can never keep track of time, especially in the summer. A prickly piece of popcorn hides like a stowaway in the left cup of my padded training bra. I stuffed the tissue in last minute— a decision I’m beginning to regret, based on the events that are unfolding rapidly before me. To my left, laying non-chalantly on his back, is my date for the evening. He is two years older, could probably grow facial hair if he wanted to, and drives a secondhand Honda. He may as well be a Man. I, on the other hand, feel like a fraud with my too-short short-shorts, sparkly lip gloss, and makeshift push-up bra. I keep my arms pinned to my sides as I feel the dreaded circles of sweat beginning to manifest on my brand new Abercrombie top. I cup my elbows with my hands and stare down at my hint of cleavage, praying that the tissue doesn’t pop out like a white flag surrendouring my lack of womanhood.
By Marti Maley6 days ago in Fiction
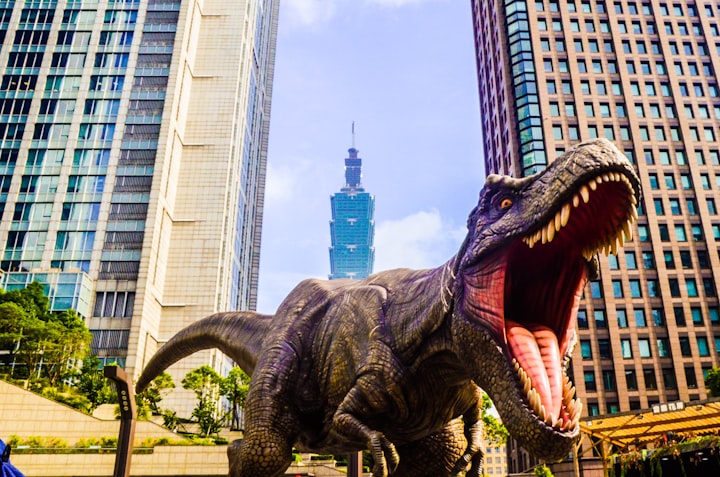
What happen If He came back?
If T-rex suddenly reappeared in the modern world, it would be a monumental event with far-reaching consequences. First and foremost, the ecological balance would be disrupted as T-rex would likely dominate its ecosystem due to its immense size and predatory nature.
By Praveen Pk6 days ago in Fiction
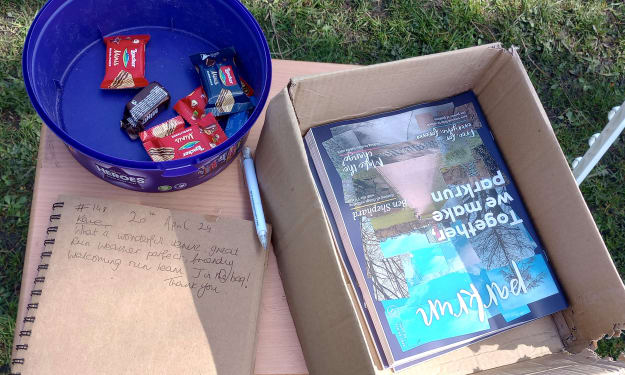
Pints & Parkruns: Jubilee, Spennymoor
If MC Escher created a parkrun, it might look a bit like Jubilee. Based in a compact – but surprisingly lovely – park in the small County Durham town of Spennymoor, it twists and turns its way up repeated hills. Although basic physics says it must come down again, somehow this route never feels like it gives runners a proper descent.
By Andy Potts3 days ago in Longevity


Comments
There are no comments for this story
Be the first to respond and start the conversation.