

I receive money for Christmas most years. I do not mean to be hard to shop for, but I guess I am.
Because of this, one year I had been eyeing a cricut machine, but I knew I wanted the latest and greatest version, for that time. So for my Christmas present to myself, with lots of help from those individuals who gave me cash that year, I bought a Cricut Maker.
If you are familiar with the Cricut brand, then you know the latest machine now is a Maker 3. Y0u have to love how quickly technology makes changes.
I just knew, this was the way I was going to pay off my credit card. Obviously, this after the failed attempts to pay it off by selling wreaths alone.
If you are a true crafter, you know you have to be careful about thinking your crafts are going to get you out of debt instead of into more debt.
Needless to say, I have yet to pay off that credit card. Instead it just sort of sits there mocking me most days. It will happen one day. Just probably not while I have kids at home.
I started with vinyl crafts: stickers for everything. I made signs for some of my wreaths. I made cups with permanent vinyl (which I just recently learned you can use htv on instead and it will stick longer!) I made stickers for car windows. Oh, and lots not forget one of my first projects which was a monogram for my daughter's bedroom door.
Then I started playing around with htv. For the newbie, htv just stands for heat transfer vinyl. This is the vinyl used on fabric to make that t-shirt for your son's Dr. Suess' school day (we love The Lorax).
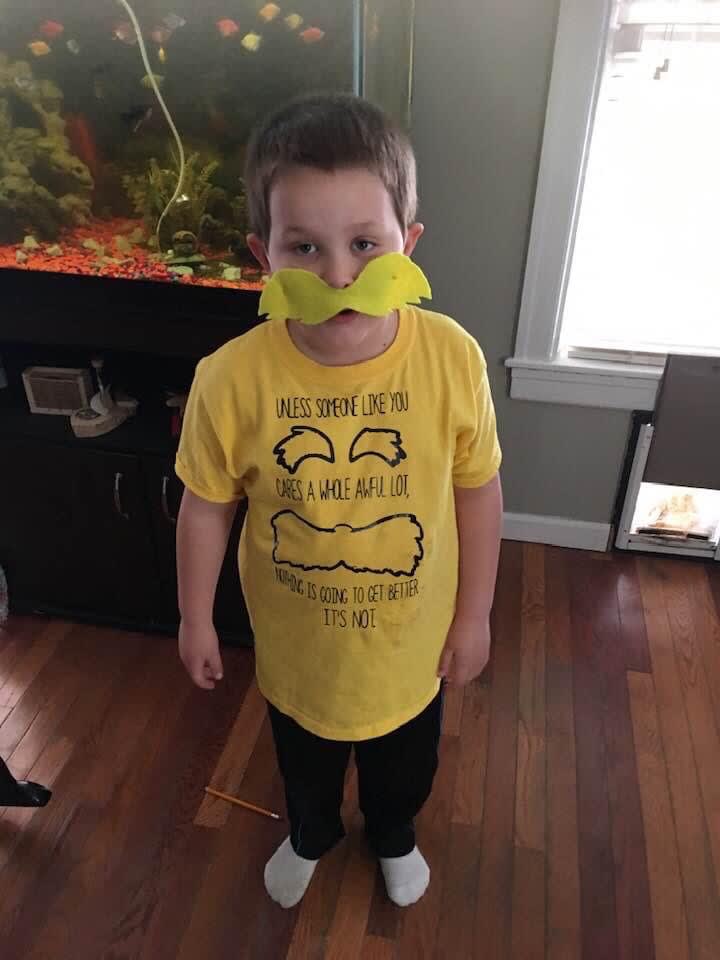
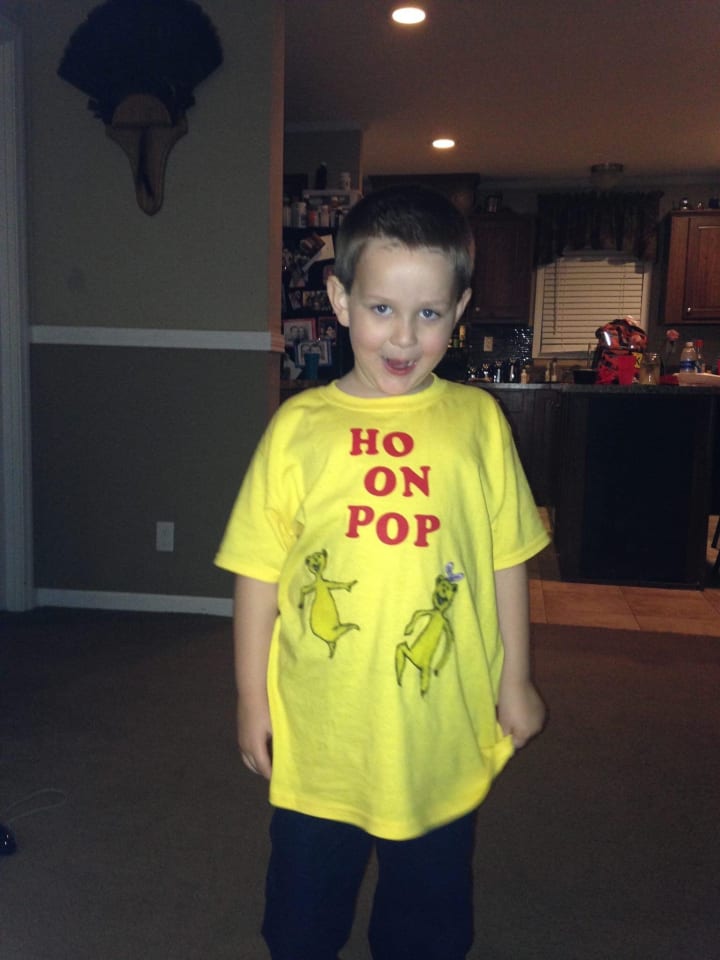
This is to improve upon the time you used iron on letters from Walmart and you ended up with "Ho on Pop" by the end of the day. (It was supposed to be a shirt dealing with their favorite Suess book... "Hop on Pop" was what he left home with it saying.)
Well, this past Christmas, I decided to bite the bullet and take on a new tool for my cricut maker, and learn how to engrave.
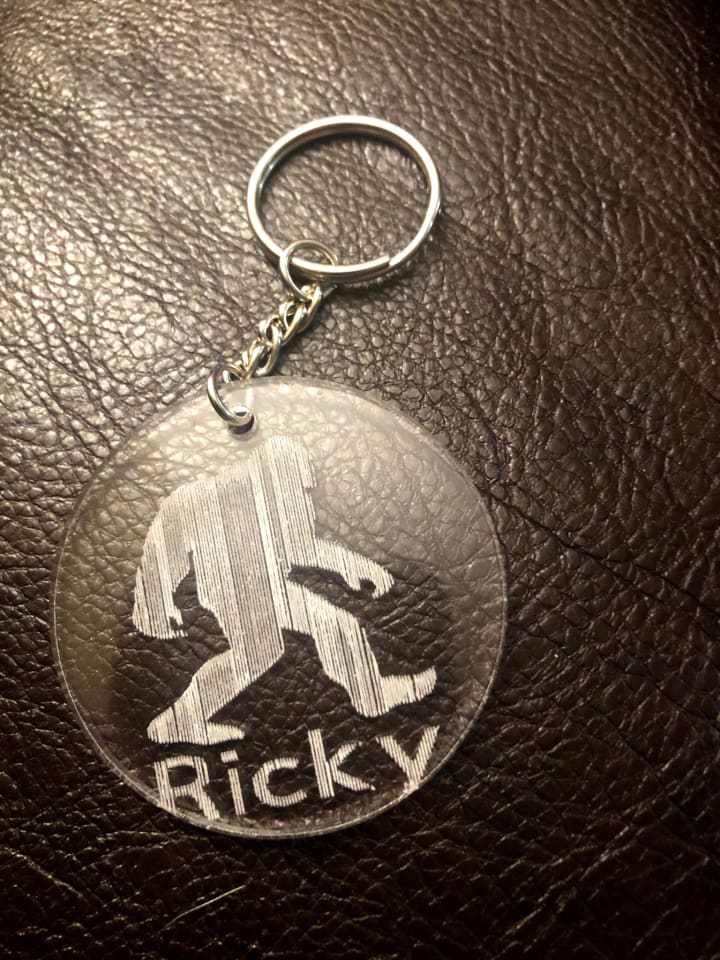
I do not recommend just diving in without doing research first with this type of endeavor. I basically did just that, but at least I started small. My first craft was a keychain for my brother in law with bigfoot on it, because he literally asked me earlier that year to make him a large bigfoot sticker for the back window of his truck.
I googled how to engrave, followed the instructions, and fell in love. However, now I wanted to see what else I could engrave.
This is when I joined a Facebook group, "Cricut Engraving with CleverSomeday," and I stalked that page and the things people posted about for a month before I created my first photo engraving.
Yep. You read that right. Photo engraving. It's a thing, and it makes a wonderful Christmas gift.
So, after watching and reading all the guides that are linked at the top of the CleverSomeday Facebook page, I bought the guide that needed to be purchased. It was $5 so not a bad investment.
From here, I decided I would read over the instructions and figure out if there was a way around me needing to purchase additional software to create the photo engravings that I was looking at that other people were able to accomplish.
Nope.
Now, if you have engraved, you know there are ways around buying additional software than the free software you get by having a cricut, which is Design Space. There are some really great engravings you can do on a basic level with text that look fine.
But. If you want realistic photos. Engraved.
Buy the software. Cleversomeday actually runs coupon codes occasionally so instead of having to pay full price, I got it at a discount.
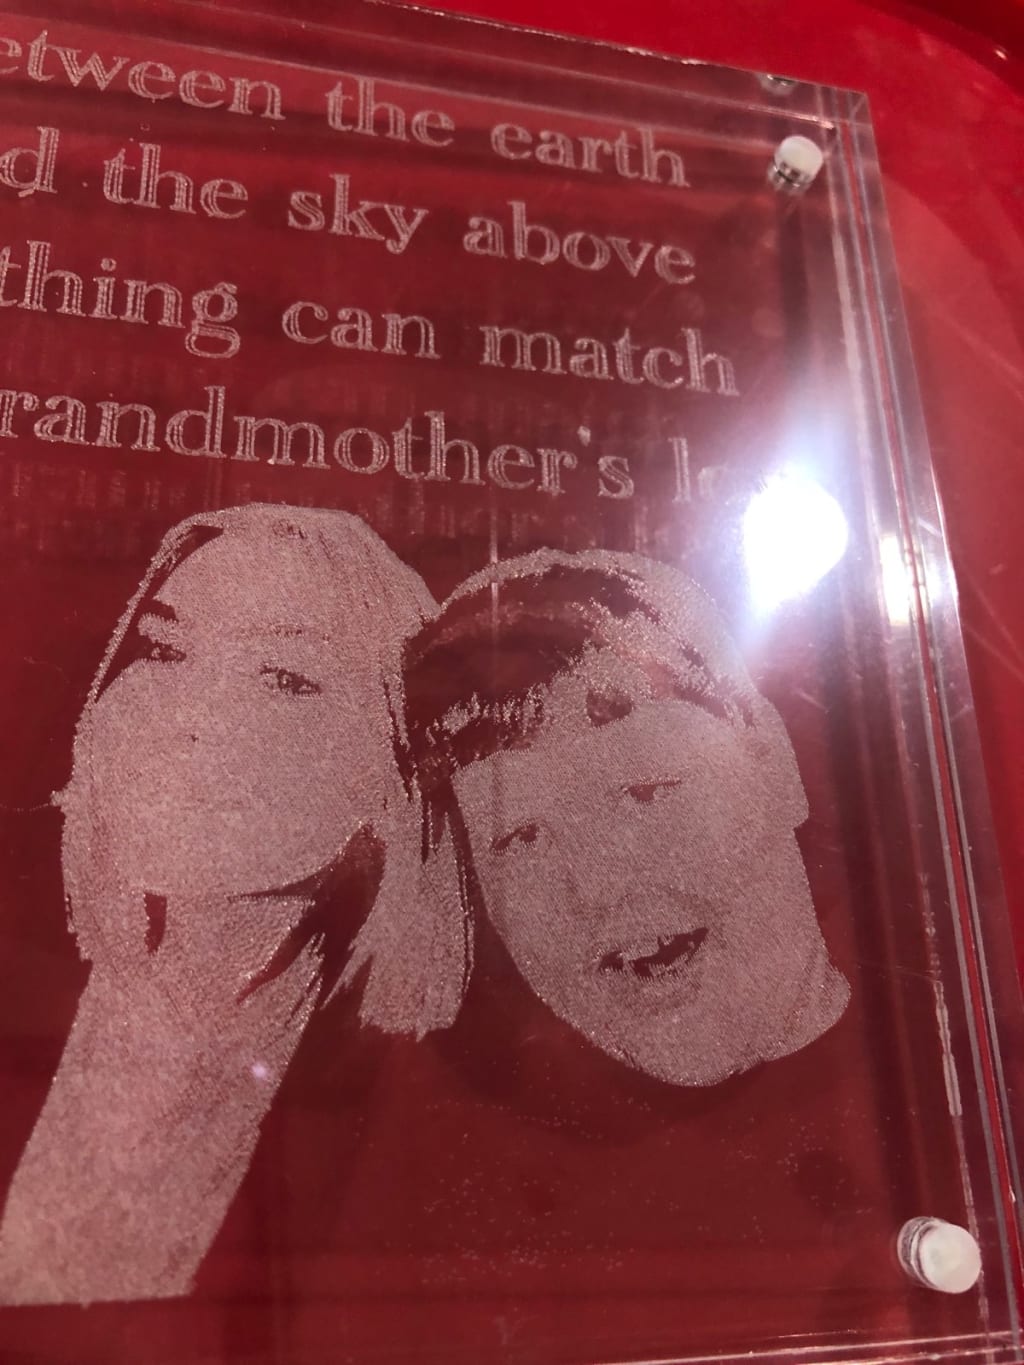
And what is this software? It's Silhouette Studio, Business Edition.
This software allows you to separate a picture into layers, and the magic starts there. Then there is line spacing and direction that can be changed, and you end up with a masterpiece. It's what the beginning picture is of, even though that one was my first, and I took that picture to show how my machine was scratching my pieces, and how I wasn't getting the details in the photo that I needed. A few questions to the group, "Cricut Engraving with CleverSomeday", along with this picture and I was given great tips on how to improve!
The only issue is if you have a teen daughter and yourself that love to wear black when it's dark outside, and so your last family photo is too dark for you to use... contrast for these projects is key!
However, I will persevere and I will end up with a wonderful family photo engraved soon. Then I will be able to update this post with a completed project without throwing a picture of other family members out for the world to see.
https://www.tiktok.com/@ashizkelza/video/7066574302904306991?is_copy_url=1&is_from_webapp=v1
About the Creator
Kelly Horne
Married. Loving mother to my daughter and son. Full time employee of local government office as an Admin Asst. Currently in process of obtaining my Master's Degree in Library Science.
Keep reading
More stories from Kelly Horne and writers in Families and other communities.
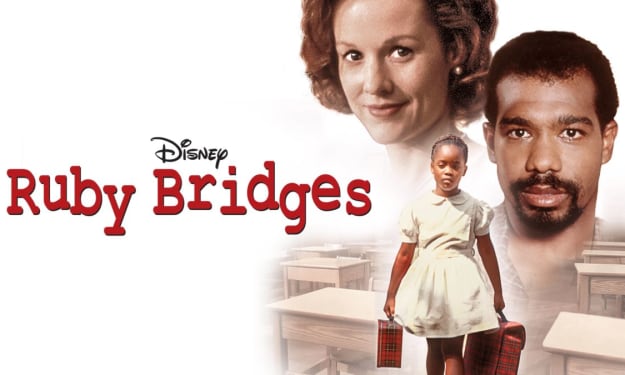
Disney Inspired Lesson
It's February. Black History Month. I'm in school now myself, so things that would be on the edge of my consciousness usually, are a little more front and center currently. I'm not only thinking about all the emails received in my school email telling of upcoming events, but also things like book bans (because this affects my future career) have me paying better attention to the going ons within my own community.
By Kelly Horne2 years ago in Families
Adultery in the Digital Age: Its Impact on New York Divorce Proceedings
In today's digital era, adultery has taken on new dimensions, thanks to the proliferation of social media platforms, dating apps, and online communication tools. This shift has inevitably influenced New York Divorce Law Adultery proceedings and those globally, introducing a host of complexities and challenges.
By Shaun Murphy3 days ago in Families


Comments
There are no comments for this story
Be the first to respond and start the conversation.