
The Amazing Adventure of Setting Up Python for LangChain
A Guide
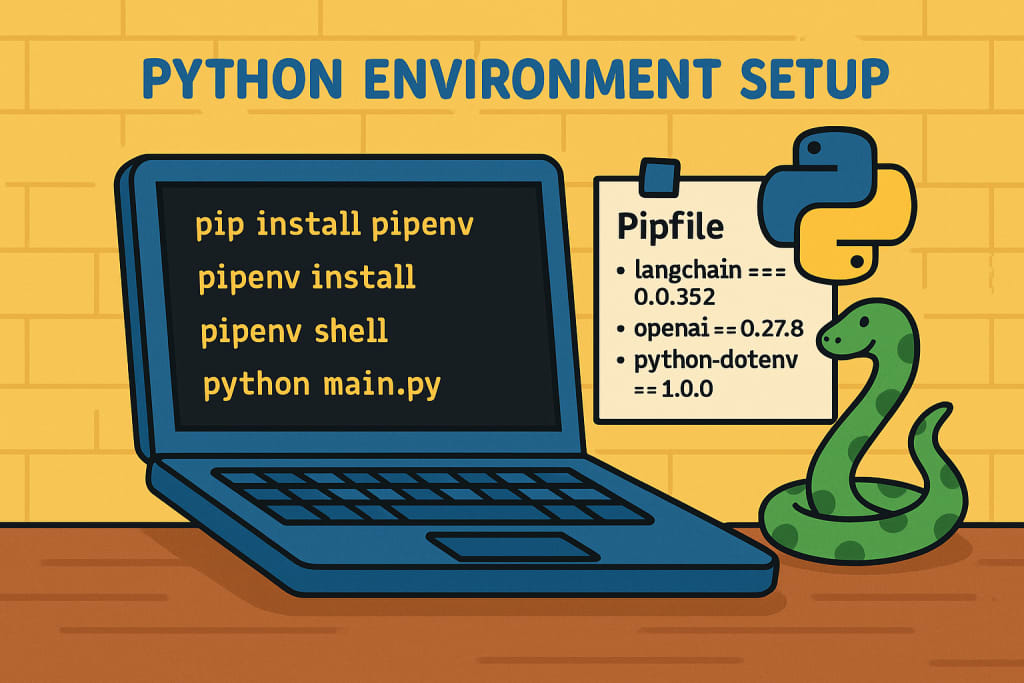
Alright, imagine you're about to dive into a huge online game, but before you can play, you need to make sure your gear is ready. But this isn't just any game.
You're going to be building and running amazing AI projects with something called LangChain — super cool stuff! But first, you need to get your system ready. This is where we get our hands dirty setting up something called Python and Pipenv.
But don’t worry, it’s like setting up a new game on your computer. I’m going to explain everything step-by-step, and you won’t even notice when it’s done because I’m making it as easy as possible.
Part 1: "Wait, What’s Python?"
Before you can start playing around with LangChain, you need to install a thing called Python —
it’s like the engine that makes the game (or in our case, the AI project) run. If you don’t have Python installed yet, no worries! You can grab it from here (just click and follow the instructions — easy peasy).
The version you want is Python 3.11. Think of it like getting the right version of a game.
If you play an older version, it might not work properly. And trust me, you don’t want your game (or project) to crash.
Part 2: "What’s this Pipenv Thing?"
Now, imagine you’re trying to install a bunch of cool mods to your game, but some mods require specific versions of the game, right?
That’s where Pipenv comes in. Pipenv is like your trusty sidekick, ensuring you’re using just the right versions of everything you need, so you don’t get stuck in a bug-filled mess.
To get Pipenv working, follow these steps:
Create a "Pycode" Directory: This is like creating a new folder in your computer for all your game files. So, go to your computer’s file explorer and make a new folder named “pycode.” This is where everything will go. Install Pipenv: Open your terminal (don’t worry if it sounds complicated — it’s just a place to type commands). In the terminal, type: pip install pipenv
Or if you’re on a Mac or Linux, you might need to type: pip3 install pipenv
This will grab Pipenv for you. It’s like downloading your game mod manager.
Part 3: "Create a Pipfile — Your Game’s Setup!"
Now that you’ve installed Pipenv, you need to set up your Pipfile. This file is like the instruction manual that tells Pipenv exactly what to do.
- Go to your pycode folder.
- Create a new file called Pipfile (with no extension like .txt).
- Open it and copy-paste the following magical code:
[[source]]
url = "https://pypi.org/simple"
verify_ssl = true
name = "pypi"
[packages]
langchain = "==0.0.352"
openai = "==0.27.8"
python-dotenv = "==1.0.0"
[dev-packages]
[requires]
python_version = "3.11"
This code tells Pipenv which "mods" (libraries) you need to play your AI game. It’s like adding those extra features and characters that make the game more fun.
Part 4: "Let’s Install Everything!"
Now comes the fun part. You’re going to tell Pipenv to install all your "mods" (the necessary packages) by running this command in the terminal inside your pycode folder:
pipenv install
It’s like pressing the big “Play” button to install everything. If you see a bunch of text flying by, don’t worry — it’s Pipenv doing its magic.
Part 5: "Entering the Special AI World"
Once everything is installed, you can go inside your new world (which we call a “virtual environment”). This is like entering the special part of your game where all the fun happens.
To do this, type:
pipenv shell
And boom! You’re inside the shell. You can now run Python commands like a wizard casting spells.
For example, to run your Python script (let’s say it’s called main.py), just type:
python main.py
And your project will start running, just like you’re playing your AI game!
Part 6: "Oops, I Need to Change Something!"
What if you need to change something? Let’s say you want to change your AI project’s settings. If that happens, you might need to exit the shell and re-enter it using:
exit
pipenv shell
It’s like rebooting the game to apply your changes.
Part 7: "Watch Out for Anaconda Users!"
If you’re using Anaconda, which is another cool tool for managing environments, it might not like Pipenv very much.
If you run into any problems, just deactivate Anaconda first before using Pipenv.
It’s like making sure your game mods aren’t clashing with each other.
Part 8: "The End, But Actually, It’s Just the Beginning!"
Congratulations! You’ve just set up your Python environment and installed Pipenv like a pro.
You’re all set to start working with LangChain and building your AI projects. This setup process might seem like a lot, but it’s actually just the first level of your AI adventure.
Now, every time you want to get back to your project, just remember the steps, and you’ll be good to go! Happy coding, and remember — the more you practice, the better you get at this game!
Python & Pipenv Setup – Easy Peasy Summary:
Why this setup?
LangChain and OpenAI keep changing fast! To keep things from breaking, we’ll "freeze" our tools at specific versions using Pipenv. Think of Pipenv as a magical backpack that holds the exact versions of your tools—so nothing changes unexpectedly.
Install Python 3.11 first!
Go to:
https://www.python.org/downloads/release/python-3119/
(Other versions might not work properly with LangChain.)
Create a project folder:
Name it something like pycode. This is where you’ll store all your magic scripts.
Install Pipenv (your magical backpack):
In your terminal (the coder’s control panel), type:
pip install pipenv
(or use pip3 if pip doesn't work)
Make a Pipfile (like a shopping list):
Inside the pycode folder, create a file called Pipfile and paste this inside:
[[source]]
url = "https://pypi.org/simple"
verify_ssl = true
name = "pypi"
[packages]
langchain = "==0.0.352"
openai = "==0.27.8"
python-dotenv = "==1.0.0"
[requires]
python_version = "3.11"
Install everything from the Pipfile:
In the terminal, go to your pycode folder and run:
pipenv install
This installs exactly what’s in the Pipfile.
Enter the magical Pipenv shell:
Run:
pipenv shell
Now you’re inside a safe environment where everything works as planned.
Run your Python programs like a pro:
Type:
python main.py
And your script will run using the perfect versions.
Changed something in your .env file?
Just exit the shell and re-enter by typing pipenv shell again.
Using Anaconda?
It might fight with Pipenv! If it causes problems, turn off your conda environment.
Connect on -
- LinkedIn - https://www.linkedin.com/in/priyanka-neogi-35844413a/
- GitHub - https://github.com/PriyankaNeogi
About the Creator
Priyanka Neogi
AI Data Enthusist.
Enjoyed the story? Support the Creator.
Subscribe for free to receive all their stories in your feed.
Comments
There are no comments for this story
Be the first to respond and start the conversation.