
Mastering the Art of a 250sqft Darkroom: A Practical Guide
Introduction
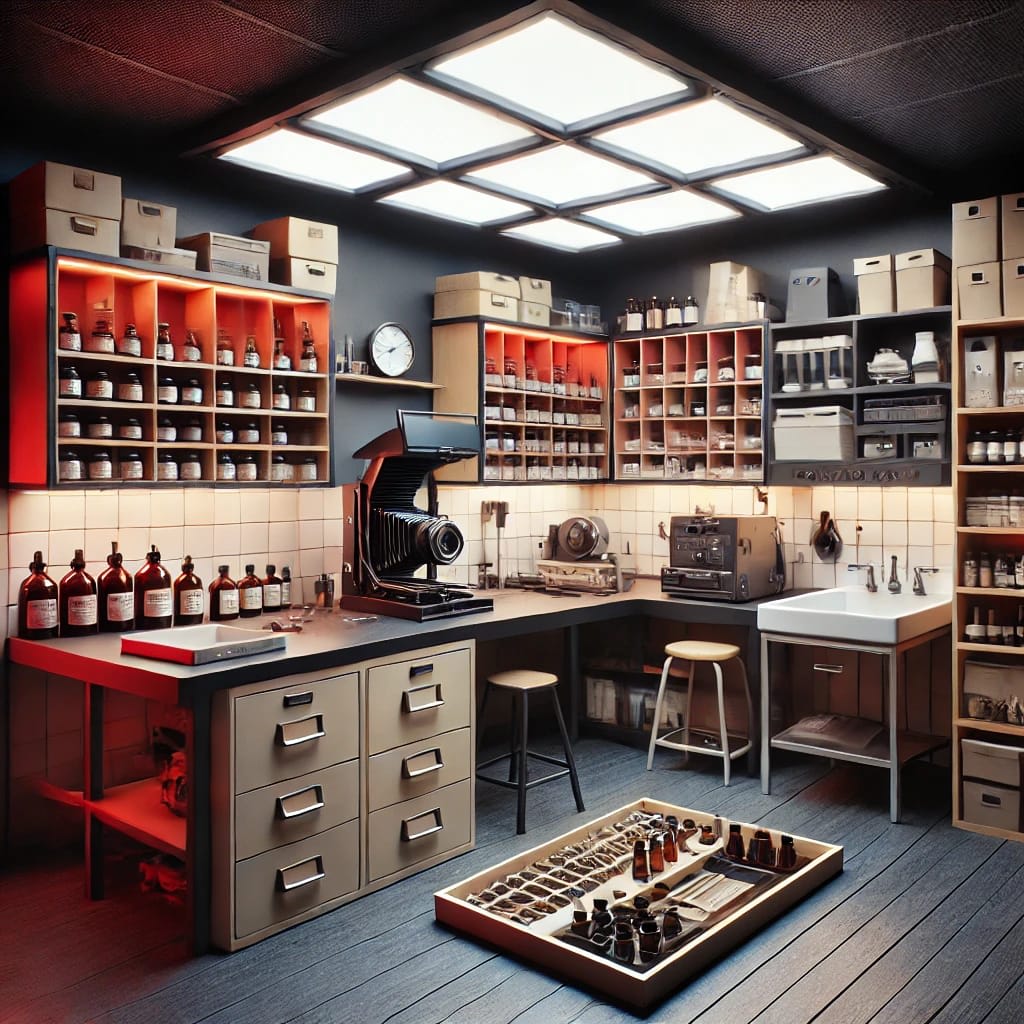
Setting up a 250sqft darkroom can seem daunting, but with the right approach, it becomes an ideal space for creativity and precision. A darkroom of this size strikes a perfect balance—spacious enough for functionality yet compact enough to be manageable. Let’s explore how to design, equip, and maintain a 250sqft darkroom that brings your photographic visions to life.
Understanding the Basics of a 250sqft Darkroom
A darkroom is a sanctuary for photographers, where raw negatives transform into stunning prints. The size of 250sqft is ideal because it offers sufficient space for essential elements like enlargers, trays, and safelights while leaving room for movement. It’s crucial to prioritize lightproofing and ensure the room is completely dark. Any light leakage could ruin the development process. Additionally, proper ventilation is essential to handle the chemical fumes often involved in darkroom work.
For beginners, it’s important to start small and expand gradually. Focus on acquiring the basic equipment and arranging the space in a way that promotes an efficient workflow.
Designing the Layout for Maximum Efficiency
When working with 250sqft, optimizing your layout is critical. A darkroom is typically divided into two zones: wet and dry. The wet zone houses trays, sinks, and chemicals, while the dry zone is for enlargers, negatives, and prints. Keeping these areas separate not only improves efficiency but also ensures safety.
For a functional layout, position the enlarger and related tools in a way that allows easy access. Similarly, sinks and trays should be placed to minimize movement. Adding shelves or wall-mounted storage solutions can help save floor space. Invest in ergonomic furniture to make long hours in the darkroom more comfortable.
Choosing the Right Equipment for a 250sqft Darkroom
Equipping a darkroom is as much about necessity as it is about efficiency. Start with essentials like an enlarger, developing trays, safelights, tongs, and thermometers. Choose compact equipment that doesn’t overwhelm the available space. For instance, a wall-mounted enlarger or collapsible drying racks can save valuable room.
Organizing supplies is equally important. Use labeled bins or drawers to store chemicals, papers, and tools. A clutter-free darkroom enhances focus and reduces the risk of accidents.
Maintaining and Enhancing Your 250sqft Darkroom
Maintenance is key to ensuring your darkroom remains a productive space. Clean all equipment regularly to avoid chemical residue buildup, and replace worn-out items promptly. Checking ventilation systems periodically is also crucial to maintain air quality.
As technology evolves, consider upgrading your darkroom with modern tools like LED safelights or automated chemical mixers. However, remember to balance innovation with the classic charm of a traditional darkroom. Finally, personalize the space to inspire creativity—add photographs, artwork, or a comfortable chair to make it uniquely yours.
Conclusion
A 250sqft darkroom is a manageable and versatile space that can cater to both amateurs and professionals. By carefully planning the layout, selecting the right equipment, and maintaining the workspace, you can create a darkroom that is both functional and inspiring. Whether you’re developing your first roll of film or refining your craft, this guide can help you unlock the full potential of your 250sqft darkroom.
For more tips on darkroom essentials, visit Pure Auto Home’s Darkroom Guide. You might also find inspiration from this photography studio design article.
About the Creator
Enjoyed the story? Support the Creator.
Subscribe for free to receive all their stories in your feed.
Comments
There are no comments for this story
Be the first to respond and start the conversation.