
The Ultimate Tutorial for Installing macOS on VirtualBox
macOS on VirtualBox

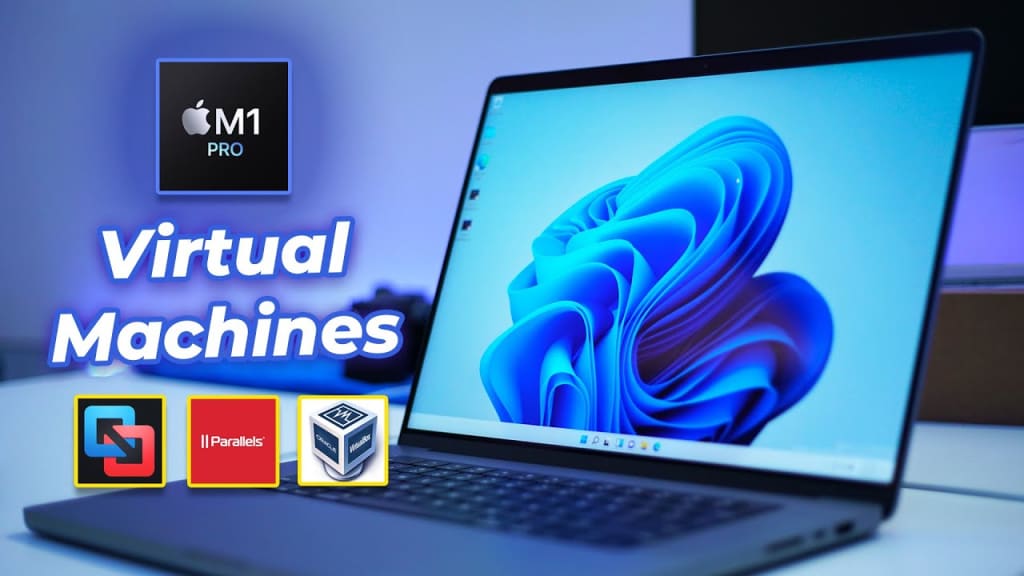
Running macOS on a non-Apple machine might seem challenging, but it's possible with the help of VirtualBox, an open-source virtualization software. VirtualBox allows you to create a virtual machine on which you can install macOS, providing a sandbox environment for testing, development, or just exploring macOS without needing a physical Mac. This tutorial will guide you step-by-step on how to install macOS on VirtualBox, focusing on creating an Apple virtual machine.
Prerequisites
Before you begin, you’ll need a few essential tools and resources:
VirtualBox: Download the latest version from the official website.
VirtualBox Extension Pack: This adds extra features and support for USB devices, which is essential for a smoother macOS experience.
macOS ISO File: You’ll need a macOS ISO file to install on VirtualBox. This can be created from a macOS installer or downloaded from a reliable source.
A Windows or Linux Machine: This tutorial assumes you’re installing macOS on a non-Apple machine, such as a PC running Windows or Linux.
At least 8 GB of RAM: macOS requires significant memory to run smoothly, so ensure your system has enough to allocate to the virtual machine.
Step 1: Install VirtualBox and the Extension Pack
First, install VirtualBox on your machine:
Download the VirtualBox installer from the official website.
Run the installer and follow the on-screen instructions.
After installation, download and install the VirtualBox Extension Pack by double-clicking the downloaded file and following the prompts. The Extension Pack is crucial for supporting USB devices and other essential features for the Apple virtual machine.
Step 2: Create a New Virtual Machine
Now, you’ll create a new virtual machine that will run macOS:
Open VirtualBox and click on "New" to create a new virtual machine.
Name your virtual machine. For clarity, you can name it something like "macOS Virtual Machine."
Set the Type to "Mac OS X" and the Version to "macOS 10.14 Mojave" or whichever version of macOS you’re installing. If you're using a newer version, select the closest available option.
Allocate RAM to your virtual machine. It’s recommended to assign at least 4 GB (4096 MB) if your system has 8 GB of RAM or more. If you have more memory available, you can allocate more for better performance.
Step 3: Configure the Virtual Machine Settings
After creating the virtual machine, you’ll need to tweak some settings to ensure macOS runs smoothly:
Processor: Go to the "System" tab, then "Processor," and increase the processor count to at least 2 CPUs. If you have a quad-core processor or better, allocating more CPUs will improve performance.
Video Memory: Under the "Display" tab, increase the video memory to the maximum allowed (128 MB). This setting is critical for running macOS smoothly.
Storage: Attach your macOS ISO file:
Go to the "Storage" tab.
Under "Controller: SATA," click on the "Empty" disk icon.
On the right side, click on the disk icon next to "Optical Drive" and choose "Choose a disk file."
Navigate to and select your macOS ISO file.
Step 4: Apply Additional Configurations
To get your Apple virtual machine working, you need to apply a few additional configurations:
Close VirtualBox.
Open Command Prompt (Windows) or Terminal (Linux).
Enter the following commands one by one, adjusting the machine name if you used a different name:
bash
Copy code
VBoxManage modifyvm "macOS Virtual Machine" --cpuidset 00000001 000306a9 00020800 80000201 178bfbff
VBoxManage setextradata "macOS Virtual Machine" "VBoxInternal/Devices/efi/0/Config/DmiSystemProduct" "iMac14,2"
VBoxManage setextradata "macOS Virtual Machine" "VBoxInternal/Devices/efi/0/Config/DmiSystemVersion" "1.0"
VBoxManage setextradata "macOS Virtual Machine" "VBoxInternal/Devices/efi/0/Config/DmiBoardProduct" "Mac-27ADBB7B4CEE8E61"
VBoxManage setextradata "macOS Virtual Machine" "VBoxInternal/Devices/smc/0/Config/DeviceKey" "ourhardworkbythesewordsguardedpleasedontsteal(c)AppleComputerInc"
VBoxManage setextradata "macOS Virtual Machine" "VBoxInternal/Devices/smc/0/Config/GetKeyFromRealSMC" 1
These commands adjust the virtual machine's settings to make it more compatible with macOS.
Step 5: Start the macOS Installation
Now that everything is set up, it’s time to start the macOS installation:
Open VirtualBox and select your newly created "macOS Virtual Machine."
Click "Start" to boot up the virtual machine. You should see the macOS installer loading.
Follow the on-screen instructions to install macOS. This process is similar to installing macOS on a physical Mac. You’ll need to format the virtual hard disk using Disk Utility before you can proceed with the installation.
Step 6: Post-Installation Configuration
Once the installation is complete, your Apple virtual machine will reboot. You may need to remove the macOS ISO from the virtual drive to avoid restarting the installation process:
Go back to the "Storage" settings of your virtual machine.
Under "Controller: SATA," click the disk icon next to your macOS ISO and choose "Remove Disk from Virtual Drive."
Restart the virtual machine.
You’ll now be guided through the macOS setup process, where you can create your user account, set up your preferences, and start using macOS.
Step 7: Enhance the macOS Experience on VirtualBox
To make your Apple virtual machine as smooth and responsive as possible, consider the following enhancements:
Install Guest Additions: VirtualBox’s Guest Additions are typically installed on virtual machines to improve performance and enable features like shared folders and clipboard sharing. However, macOS does not support Guest Additions natively, so you may need to rely on alternative tools or scripts available in the community to achieve similar functionality.
Adjust Screen Resolution: By default, your macOS virtual machine may run in a low resolution. You can change this by modifying the VirtualBox settings or using Terminal commands within macOS to set a custom resolution.
Enable USB 3.0 Support: If you need to use USB devices within macOS, ensure USB 3.0 is enabled in the virtual machine's settings under the "USB" tab.
Conclusion
Running macOS on VirtualBox allows you to experience macOS on a non-Apple machine, providing a flexible environment for testing, development, or learning. By following this guide, you can successfully set up an Apple virtual machine and enjoy the macOS experience without the need for Apple hardware.
Remember that performance might not match that of a physical Mac, but with the proper configurations and resources, your virtual macOS environment can be a powerful tool for various purposes.
About the Creator
IntoGeeks
Intogeeks focuses on softwares set ups, trouble shooting, installations and so on. We enable people to be tech savvy.
Enjoyed the story? Support the Creator.
Subscribe for free to receive all their stories in your feed.
Comments
There are no comments for this story
Be the first to respond and start the conversation.