
Mac: Enable the Root User
Enable the Root User

Even if you are the administrator, macOS doesn’t allow you access to certain parts of the file system. In such scenarios, you can enable the root user to gain read and write access to the entire file system. The root user provides you full control over your Mac, which can also be used to recover your password if you have forgotten. While the root user is a very useful tool, it can easily damage your Mac. That is why Apple hasn’t enabled the root access by default. But if you need to access your root account, here is how.
Through the Terminal
To enable root access through your Mac, follow the steps below:
Step 1: First, launch the Terminal and navigate to “Applications -> Utilities.”
Step 2: Once you have reaches the Terminal window, type and enter the following command:
dsenableroot
Now, the Terminal will request you to enter your password.
Step 2: Enter your password to move ahead.
Step 3: The Terminal will now prompt you to create a password for your root account. Ensure that you create a strong password, as this password can grant access to every part of your Mac.
Step 4: Once the password to the root account has been created, the following message will appear:
You have successfully enabled root on your computer. You can now complete all those tasks that were not possible through a regular user account.
Directory Utility
Follow the steps below to enable your root account via the Directory Utility:
Step 1. Right-click on the menu icon located towards the upper-right corner of your screen to open your Mac’s Spotlight.
Step 2. Once the Spotlight window opens, type and search for “Directory Utility” to select the application.
Step 3. Once the Directory Utility opens up, select the “Services” tab.
Step 4. Find the little padlock icon in the bottom-left corner and click on it to enter your username and password.
Step 5. Then click on “Edit” followed by “Enable Root User.”
Step 6. Next, you will be prompted to create a username and password for your root account.
Step 7. Then hit “OK” to create your root account.
In case you feel like disabling your root account at any point in time, simply relaunch the Directory Utility, and click “Edit” followed by “Deactivate root user.”
Log in to the Root Account
After enabling the root account, follow the steps to log in to the root account:
Step 1. Start by logging out of your current account, as you would generally do.
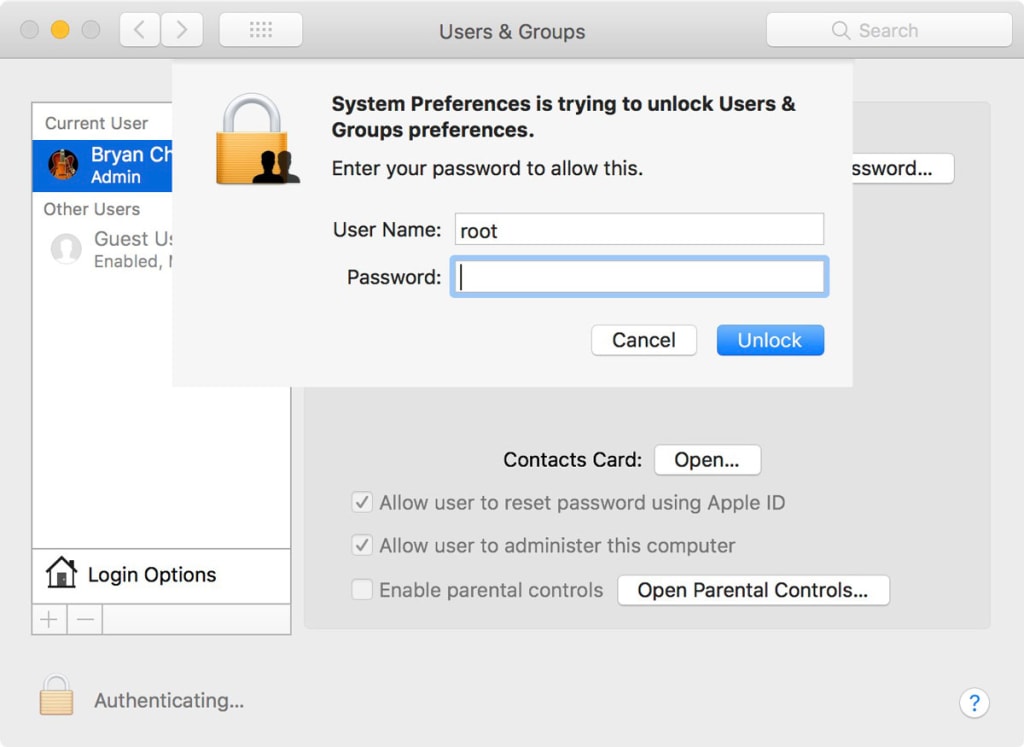
Step 2. The macOS login screen will appear; here, select “Other.”
Step 3. Under the username box, type “root,” and then enter your root password.
Step 4. Finally, enter the option labeled, “Log in to the account.”
Your root account may look the same as your regular user account, but know that you can visit, edit, and even delete those files that were otherwise off-limits with access to this account.
How to Disable Root User via Terminal
The root account should be accessed only when the task particularly requires root privileges, as it may otherwise lead to malicious activities or even accidental damage. So, you must consider disabling your root as soon as it’s no longer needed.
Step 1: Start by launching your Mac’s Terminal by clicking on “Applications -> Utilities -> Terminal,” and type the following command:
dsenableroot -d
Step 2: Enter the password for your current root account when prompted. The following message will appear:
Your root user account has now been disabled on your Mac.
Source:- Mac: Enable the Root User
About the Creator
Jack thomson
Greetings, I’m Jack. I’m a writer living in usa. I am a fan of technology, innovation, and writing. I’m also interested in web development and gaming.
shootk.com , candlek.com , howdus.com , mereread.com , mereblogger.com .
Keep reading
More stories from Jack thomson and writers in 01 and other communities.
Things to Know About Microsoft Surface Duo’s Dual-Screen
On September 10, Microsoft launched its Surface Duo Dual-Screen smartphone powered by a modified version of Google’s Android software. It has a foldable design that looks like two mini tablets. Its two 5.6-inch OLED screens together form an 8.1-inch display, 9.9mm thickness, and weighs 8.8 ounces. The device costs $1,399 for 128GB of storage. Overall the gadget looks like a tiny notepad made of metal and glass. It seems like Microsoft is following the dual-screen phone trend as Samsung and Motorola have also understood the potential of a dual-screen gadget.
By Jack thomson4 years ago in 01
AI Photo Caption Generator: Simplified's Innovative Solution
In this digital age, images play a crucial role in capturing attention and conveying messages. However, coming up with descriptive and engaging captions for photos can be a challenging task. This is where the AI Photo Caption Generator comes into play, revolutionizing the way we add context to visual content.
By Cal inhibes6 days ago in 01
It Only Took One Minute.......
It only took a minute. I was sitting at the computer in my office when the phone rang. I picked up the receiver and then laid it down my desk as I went to find the student who the call was for. Within seconds I was back at my desk, ready to resume typing, when I heard the student yelling obscenities at me for listening in to his call through the handset that was still lying on the desk. Sick and tired of the lies he was spewing, I was up running down the hall, ready to kill him. By the time I reached him, I had calmed enough not to hurt him, but as I turned back towards my room, I knew that I couldn’t go on like this any longer. The decision was clear. I had to leave.
By Gail Wylie5 days ago in Motivation


Comments
There are no comments for this story
Be the first to respond and start the conversation.