
How to Make a Fingerboard from Scratch (Beginner Guide)
A Step-by-Step Beginner Guide to Crafting Your Own Custom Fingerboard

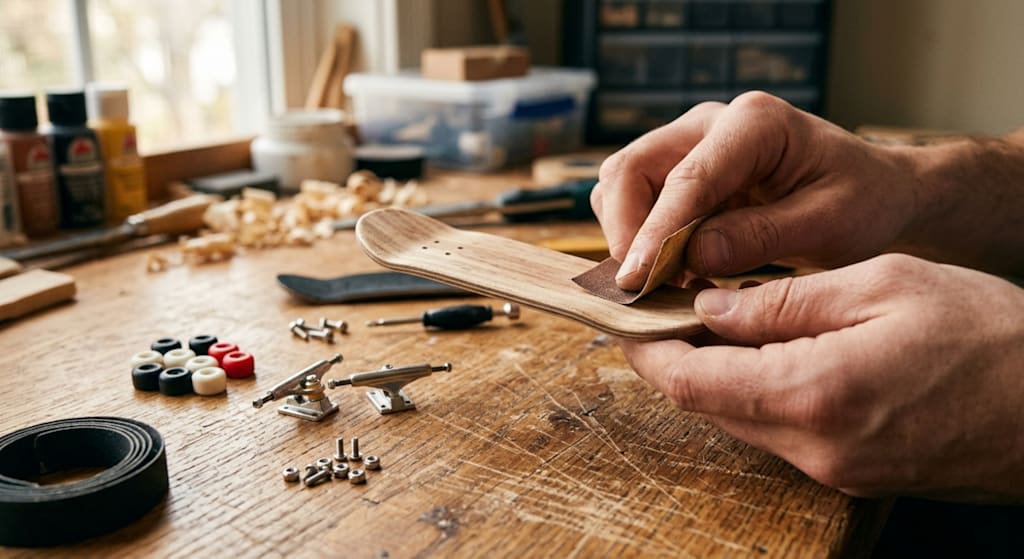
You've seen the fingerboard tricks, and felt like saying to yourself, “I want to do that.” You're not the only one. Fingerboarding has become much more than a childhood game and it is now a creative scene. Purchase a pre-made set up or build your own from the ground up.
Even if you've never attempted to make something yourself, you'll learn to create a custom fingerboard step by step in this beginner-friendly guide.
How to Make Your Own Fingerboard?
Before you get started, let's discuss why you should create your own fingerboard. It allows you to have total design, shape, and feel control, to begin with.First, you have full control of the design, shape and feel. There's no reason you shouldn't try other options that aren't in stores. Second, it’s budget-friendly. Last but not least, it is easy and fun! When you are on a bike you created yourself, there's another degree of connection.
What You’ll Need
There is no need for any special tools. Here are some of the materials which can be readily obtained at home or at a local store:
- Paper-thin wooden boards (veneer or popsicle sticks)
- Wood glue
- Some sandpaper (medium and fine grit)
- A mold (you can make your own out of wood, or even a curved surface)
- Squeeze or elastic bands
- A small saw or cutter
- A tool used to bore holes.
- Fingerboard trucks and wheels (or re-use from an old set-up)
- Rubber or sandpaper on the top
Create the shape of the deck.
Step 1: Make Deck Shape.
First, cut your wood sheets into the general shape of a fingerboard deck. The length and width of a standard fingerboard is around 96mm x 30–34mm, but you can modify according to your taste.
If using popsicle sticks cut off rounded edges and line them up side by side. To get a higher grade of strength, pile 3-5 pieces of thin wood.
Step 2: Glue and Press
Apply a thin layer of wood glue between each layer of wood. After stacking, push your deck into your mold. This is where your board's curves (concave and kicks) come from.
If you don't have a mold, you can take the wood and bend it around a curved surface and then use rubber bands or clamps to hold it in place. Let it sit, dry, for at least 12-24 hours.
Step 3: Shape and Sand
Once the pieces are prepared, use Step 3 to shape and sand them.
When the glue is set, take the deck out of the mold. This is the part that we're all going to enjoy—the shaping.
Smooth the edges and make a symmetrical outline with sandpaper. Be sure to sculpt the nose and tail evenly. This may be a little difficult, but it can make a significant difference regarding the appearance and performance of your fingerboard.
Step 4: Drill holes for trucks
Take care when marking the places for your trucks. There are usually two of these holes on either side (or four in total).
Punch the holes with a small drill or sharp object. Be sure they are lined up correctly, otherwise your trucks will not be in line.
Step 5: Add Grip Tape
Double-click the Grip Tape button to add Grip Tape.
Your fingerboard should have grip on its upper surface, similar to a real skateboard. You may use actual fingerboard grip tape or just cut out a piece of small sandpaper that fits your deck.
Place on top surface and firmly press. Cut the corners to give a clean edge.
Step 6: Attach Trucks and Wheels
Now it's time to animate your fingerboard! The trucks need to be screwed or bolted to the base and then the wheels are placed onto the trucks.
When you are reusing from an old fingerboard, be sure that everything is clean and spins freely. Tighten the screws to secure the trucks but not so tight that they do not move.
Step 7: Design Your Layout
In Step 7, you will design your own layout.In Step 7, you will create your own layout.
This is where you can let your imagination run wild. Decorate your deck with paint and stickers or draw on it. It's important that your fingerboard is your own style.
There are those that want a clean wooden appearance and then there are those that want to go big on designs. There isn't a right or wrong part to this, only fun!
Tips for Beginners
Allow adequate drying time. Good glue curing is of the utmost importance for a good deck.
Start simple. You don't have to make the perfect first fingerboard.
Try out shapes and sizes as you get better.
Track the feel of your board while riding—this will help you make improvements to your next board.
Final Thoughts
Making a fingerboard all on your own may sound like a difficult task at first, but it is very rewarding once you get it. Not only will you get a custom setup, but you will also get the basic idea of how fingerboards work.
Making your own fingerboard is a good way to get more involved in the hobby, whether you're doing it for fun, creativity or skill. Be sure to collect your materials, take your time and have fun—you may just have the set up of your dreams!
About the Creator
XFlippro
XFlippro is an advance product brand that launches professional graphic fingerboards, fingerboard decks, fingerboard trucks, fingerboard ramps, fingerboard wheels, and more to develop your skills.
Enjoyed the story? Support the Creator.
Subscribe for free to receive all their stories in your feed.
Comments
There are no comments for this story
Be the first to respond and start the conversation.