
How to Install Tennis Court Flooring and Pickleball Court Flooring Step-by-Step
Install Tennis Court Flooring and Pickleball Court Flooring
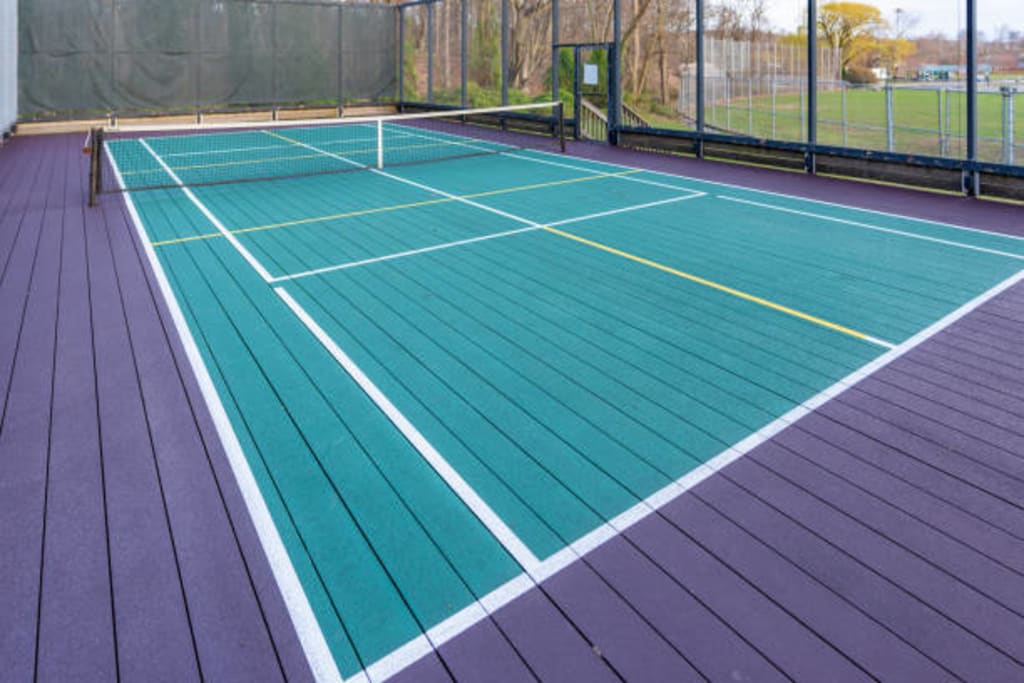
Installing high-quality sports surfaces requires careful planning, the right materials, and a step-by-step approach. Whether you're working on tennis court flooring or pickleball court flooring, the installation process is quite similar, with only slight variations in dimensions and markings. This guide walks you through the complete process to ensure durability, performance, and safety.
Step 1: Site Preparation
The first and most important step is preparing the site. A strong foundation ensures the longevity of both tennis court flooring and pickleball court flooring.
Start by selecting a flat, well-drained area. Remove any vegetation, debris, or loose soil. Next, level the ground using grading equipment to create a stable base. Proper drainage is critical—standing water can damage the surface over time.
For professional results, contractors often install a sub-base layer made of crushed stone or gravel, compacted tightly to prevent shifting.
Step 2: Base Construction
Once the site is prepared, the next step is building the base. This typically involves either an asphalt or concrete foundation.
Concrete base: Offers excellent durability and is ideal for long-term installations
Asphalt base: More cost-effective and slightly flexible, reducing cracks
The base should be smooth, even, and properly cured. Any imperfections at this stage will affect the final tennis court flooring or pickleball court flooring surface.
Allow the base to cure fully—this may take several days depending on weather conditions.
Step 3: Surface Cleaning and Priming
Before applying the surface layers, thoroughly clean the base. Remove dust, oil, and debris using pressure washing or industrial cleaning tools.
After cleaning, apply a primer or bonding agent. This helps the coating layers adhere properly to the base and improves overall durability.
Skipping this step can lead to peeling or uneven surfaces later.
Step 4: Applying Acrylic or Cushion Layers
This is where the court begins to take shape. Most modern tennis court flooring and pickleball court flooring systems use acrylic coatings.
There are typically multiple layers:
Resurfacer layer – fills minor cracks and smooths the base
Cushion layers (optional) – add shock absorption for player comfort
Color coating layers – provide the final playing surface
Each layer must be applied evenly using specialized squeegees or rollers. Allow sufficient drying time between coats to ensure proper bonding.
Step 5: Marking Court Lines
Once the surface coatings are dry, it's time to mark the court lines.
This step differs slightly between tennis court flooring and pickleball court flooring due to size and layout:
Tennis courts are larger with more complex line markings
Pickleball courts are smaller with simpler boundaries
Use high-quality line marking paint and precise measurements. Accuracy is crucial, especially for competitive play.
Professional installers often use masking tape and laser guides to ensure perfectly straight lines.
Step 6: Installing Net Systems and Accessories
After marking the court, install the net system and other accessories.
For tennis courts, this includes:
Net posts and center straps
Fencing (optional but recommended)
For pickleball courts:
Lower net height setup
Portable or permanent net systems
Ensure all equipment is securely anchored and meets standard regulations.
Step 7: Final Inspection and Curing
Before opening the court for use, conduct a thorough inspection.
Check for:
Surface smoothness
Proper line alignment
Even coating application
Allow the court to cure fully—typically 24 to 72 hours depending on weather conditions and materials used.
Avoid using the court too early, as this can damage the freshly installed surface.
Tips for Long-Term Maintenance
Once your tennis court flooring or pickleball court flooring is installed, proper maintenance is key to preserving its quality.
Clean the surface regularly to remove dirt and debris
Repair minor cracks early to prevent larger issues
Reapply coatings every few years for optimal performance
Ensure proper drainage to avoid water damage
Routine care can significantly extend the lifespan of your court.
Conclusion
Installing tennis court flooring and pickleball court flooring is a detailed process that requires precision and patience. From site preparation to final inspection, each step plays a vital role in creating a high-performance playing surface.
By following this step-by-step guide, you can ensure a professional-quality installation that delivers durability, safety, and excellent playability for years to come.
About the Creator
Enjoyed the story? Support the Creator.
Subscribe for free to receive all their stories in your feed.
Comments
There are no comments for this story
Be the first to respond and start the conversation.