
How to Automate Backups in Microsoft 365
Learn how to enable Microsoft 365 Backup and create automated backup policies to protect Exchange, SharePoint, and OneDrive data

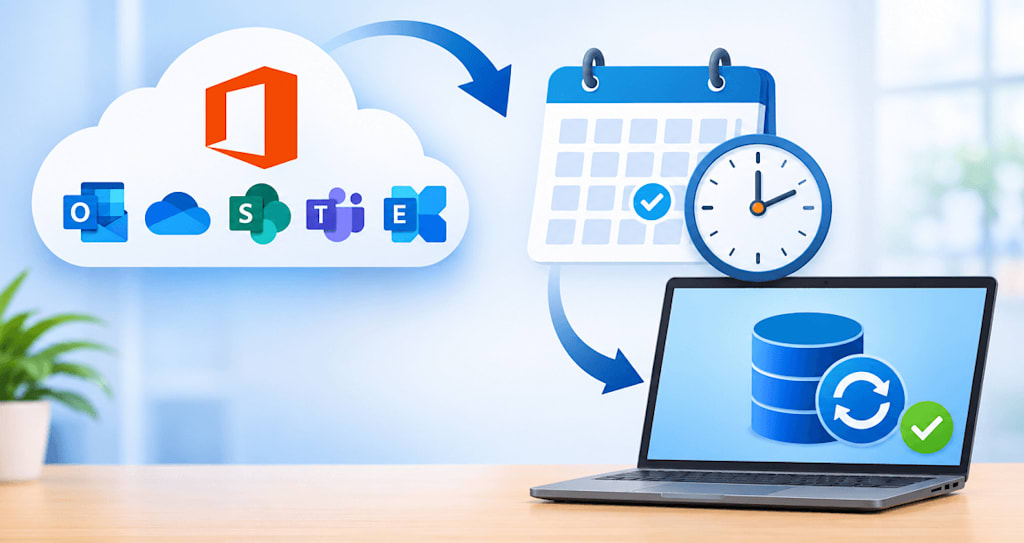
Important emails, files within Teams, or OneDrive documents could be lost in moments. If the mailboxes are removed by mistake, if there has been a ransomware attack, or if an employee leaves the company, then valuable business data could be lost. Many companies believe they have automated backups within Microsoft 365, but there is no Office 365 backup automation.
This guide will show how to automatically back up your Office 365 data using Microsoft 365 Backup. At the end, you will have a full automated Office 365 backup.
Why Do You Need to Backup Office 365 Data?
Although you are using a service provided by Microsoft, it is your responsibility to ensure that Office 365 data (Exchange, SharePoint, OneDrive, and Teams) is protected from accidental deletion, ransomware, or user error. This is known as Shared Responsibility.
If an email/SharePoint file has been deleted by mistake and the Recycle Bin was emptied, Microsoft will permanently delete the item(s) between 30-93 days after deletion.
Without an independent point-in-time backup, you may be unable to backup a clean copy of your data in case of ransomware, malware, or virus attack.
If a user intentionally deletes mailbox content, files from OneDrive, or Teams content whilst leaving the business, having a backup is the only way to recover it.
If there are any issues during syncing, migration, or configuration, data could be lost or overwritten.
How to Schedule Office 365 Backup?
For scheduling Office 365 automatic backup, follow the steps given below carefully.
Step 1. Set Up Pay-As-You-Go Billing
Log in to the Microsoft 365 Admin Center and navigate to Setup in the left pane.
Scroll down to the Billing and licenses section.
Select Active pay-as-you-go services and click Get started.
Select your Azure subscription, choose a resource group, and select a billing region (note that this is just for billing and will stay within the geographic boundaries of your existing Microsoft 365).
Review the terms and pricing information, and click Save.
Step 2. Turn On Microsoft 365 Backup
Navigate to Settings (left menu in Microsoft 365 Admin Center).
Click on Microsoft 365 Backup (or Backup).
Now, select Turn on.
Accept the terms and conditions and select Save.
Step 3. Create Automated Office 365 Backup Policies
In Microsoft 365 Backup, under the OneDrive, SharePoint, or Exchange section, click Set up policy.
On the Overview page, review the built-in backup schedule and click Next.
Exchange Online: Backups are taken every 10 minutes and can be retained for up to 1 year.
SharePoint and OneDrive: Backups are taken every 10-15 minutes for 14 days. Weekly backups can be retained for up to 1 year.
Note: The backup schedule cannot be changed, as it is fixed by Microsoft.
3. Now, select which items to backup using one of the following methods:
○ Dynamic Rules/Groups (recommended for Exchange & OneDrive): Select up to 3 distribution or security groups. If users are added to these groups, they will be automatically enrolled in backups once dynamic rules refresh (every 24 hours).
○ Filters (SharePoint): Filter sites by Site name/URL keywords or Site last modified date.
○ CSV Upload: Upload a CSV file containing up to 50,000 user accounts, mailboxes, or site URLs.
○ Manual Selection: Search and select individual users or sites.
4. Name your new protection policy, confirm the items in the protection scope, and click Create Policy (or Save). The policy will typically start running backups within 1 hour.
Step 4. Enable Multi-Admin Email Notifications
1. From the Microsoft 365 Backup homepage, navigate to Email notifications.
2. From there, toggle notifications ON.
3. Add up to 20 email-enabled recipients to the Backup Notification List.
Note: These can be individual admins, distribution groups, or security groups.
4. Leave default alerts enabled for potentially harmful events and optionally check the box for routine events.
5. Lastly, click Save.
Just like that, you have scheduled automated Office 365 backup. However, Microsoft 365 Backup keeps its restorers inside Microsoft’s cloud; some organizations may wish to have a backup under their own control, either stored locally or on a network for offline use or long-term storage. In such a scenario, choosing the right Microsoft 365 backup tool can help you back up your data correctly.
Last Say
As a business which uses emails, OneDrive, SharePoint, and Teams, it is essential that you protect the data within. Whilst Office 365 itself is protected by Microsoft, there are still many risks to your data. Automating your backups means that data is backed up daily with ease.
Don’t wait until it's too late. Make sure you set up Office 365 automatic backup in your environment.
Common User Queries
Q1. Is there an automated Office 365 backup?
Ans. No, to get automated backups for Microsoft 365, you will need to either create retention policies, pay for Microsoft 365 Backup, or use a third-party tool.
Q2. How regularly should I backup my Office 365 data?
Ans. For most businesses, daily incremental backups would be sufficient. If backing up critical mailboxes, it may be better to back up every 6-12 hours.
Q3. What is the 3/2/1 rule for backups?
Ans. 3 copies of data, 2 different media storage types, and 1 offsite copy. Following the 3/2/1 rule means your business is protected, compliant, and stress-free.
About the Creator
Layla Darzi
I’m Layla, a content writer dedicated to creating meaningful, engaging, and results-driven content. I specialize in writing blogs, articles, website copy, and brand stories that blend creativity with strategy.
Enjoyed the story? Support the Creator.
Subscribe for free to receive all their stories in your feed.
Comments
There are no comments for this story
Be the first to respond and start the conversation.