
How to Use Notion: Day One
Everything you need to know to get started
Notion is probably the most amazing productivity tool to come on the market since the spreadsheet. Certainly, it’s the most amazing since Evernote, and that’s been ten years. But on first opening it up, most people, including myself, look at the screen and wonder what to do next.
Just getting to that first screen is a challenge.
The metaphor you will hear most often about Notion is comparing it to a box of Legos. This is a good analogy as far as it goes. Notion is a bunch of blocks you can build stuff with. But I take the example a bit further.
Notion is like a box of Legos if you have never seen, or heard of, Legos in your life.
No, that’s not quite it, either. Notion is like someone dumped a box of Legos, Tinker Toys, Lincoln Logs, and an erector set on the floor in front of you and said, “Build something.”
Eventually, you will figure some things out, but that will be after a lot of staring at the pile and many false starts.
And that is the reason for the myriad of how-to tutorials and videos on the web today. But almost all of them are the same. They start with a hugely complicated screen, while the podcaster says, “Here is my entire life in Notion,” and then proceeds to click on pages, and links and databases, and calendars, and five minutes later, you are back staring at that blank screen again. If you even got that far.
No one tells you how actually to get started with the app. Notion’s own Start Here page assumes you have already started. This tutorial will get you to that first page. In the next, we will work on that blank page.
You aren’t going to learn much in this tutorial, and you aren’t going to get very far. But you will get started. I will walk through the onboarding process and get to that blank screen, and give you something to play with. And sometimes, that’s all it takes. Don’t worry about making mistakes. If you are like most people, you will find yourself starting over.
Several times.
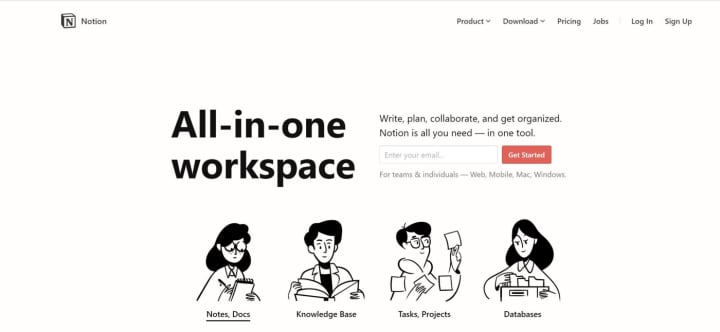
The first thing you need to do, so you will be able to stare at that blank page, is get Notion. To do this, browse over to Notion. You can download the app for desktop and mobile, but for now, just enter your email address. Notion works the same in the web version as the desktop version, so it is easier just to start with the web version until you are sure you want to go further.
Now is probably a good time to discuss the cost. To start, Notion is free, and I strongly suggest you use the free version as long as you can. This gets you up to 1,000 blocks. At this point, you don’t have an understanding of what blocks are or how quickly you will need them, so stick with the free plan.
If you do decide to upgrade later, the paid plan, with unlimited blocks is only $4 a month. If you think you might want the paid plan in the future, use my affiliate link to sign up. This will get you a $10 credit to use anytime. You aren’t committing to anything, and you can still use the free plan as long as you like. Full disclosure: this link also gets me a $5 credit.
Either way, you end up on the same screen. Enter your email address and click Get Started.
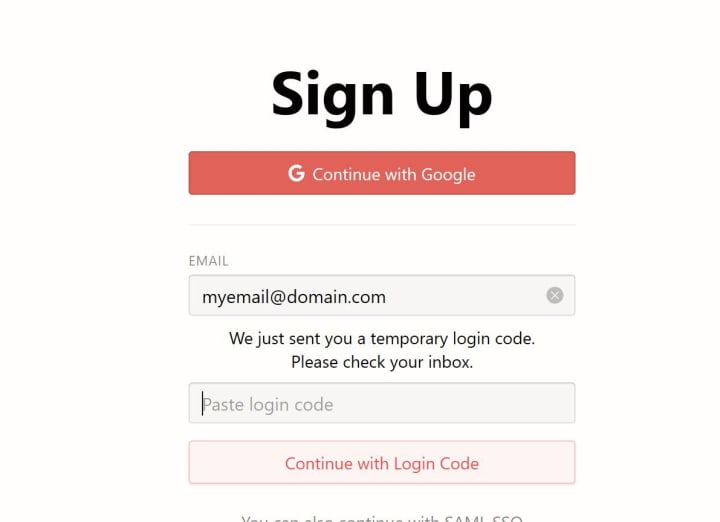
When you enter your email, you get the following screen. Go to your email and retrieve the login code they sent you and paste it into the box. As you can see, if you have a Google account, you can log in with that. This is what I did, but the end result is the same.
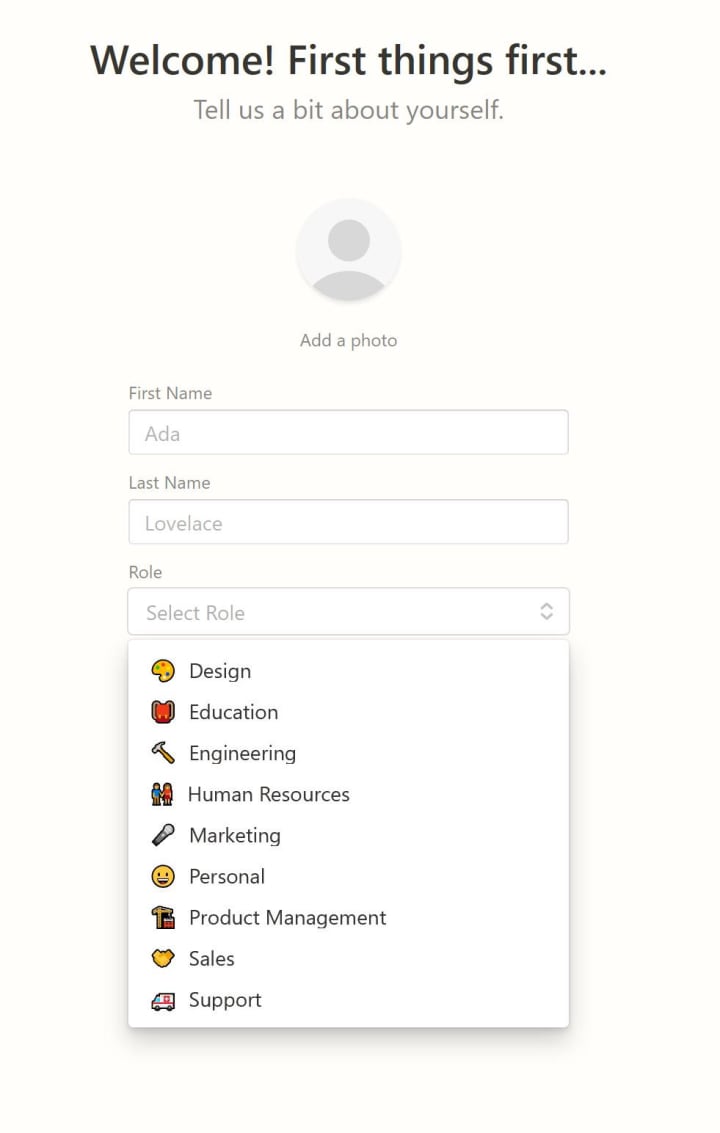
On the following screen, you need to enter your name and role. The role will only control the suggested templates that they offer in a couple of pages. This is one of those discouraging points you will encounter in the onboarding process. We aren’t going to use templates at this time, so just choose Personal. You can add a photo, but you may as well wait until later, as you can do that at any time.
On the next page, give your workspace a name. A workspace is the highest level of the hierarchy in your notion account. I only have one, which I gave my first name. Most people will only have one workspace, and there is no reason to have more than one until you are a much more advanced user. Assuming you are using this for yourself, select Just Me for your Team Size and continue.
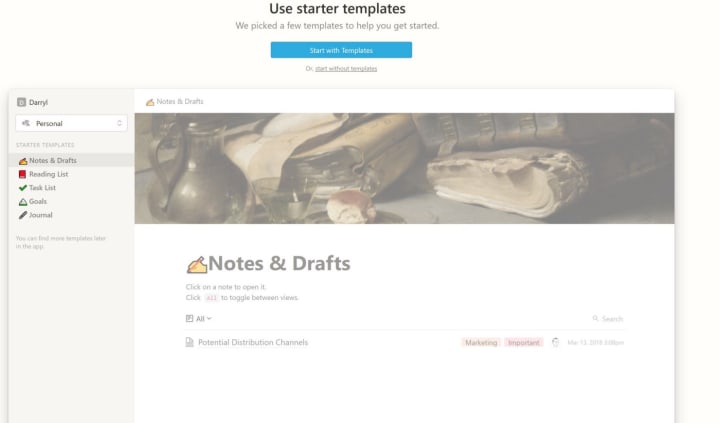
The next page discusses templates, without really telling you what they are, or how to use them. Templates are great once you have an idea of what you want to do, but are just confusing for the complete beginner. Note Personal in the drop-down box. This is the role you selected earlier. You can change that here to get a feel for the templates offered, but when you are done, change it back to Personal and click Start without templates.
Notion opens up a view you will become familiar with and gives you a first page, called Get Started. Again, Notion has given you some stuff you don’t really know what to do with, but it’s as good a place as any to play around, so we will do that. Then we will delete this and get to that famous and aforementioned, blank page.

First, let’s look around the screen. The area on the left is called the Sidebar. This is where a lot of your navigation will take place. As you add pages, they will appear there. At the top is your workspace name. You can click on it to download the apps or log out.
Below that are three menu items that will always be there, a quick find, updates, and settings. Quick Find is just that, and the primary tool for finding things anywhere in your workspace. All Updates is kind of a history of everything you have done and when you did it. Below that is settings, where a few basic settings are located. You won’t need any of this until much later.
Next is the listing for the two pages that they created, and below that, three more menu items we will explore in another lesson.
At the bottom of the sidebar is the New Page button, which, you guessed it, is one way of creating a new page. We won’t be using that, either.
The large area on the right is called a page. This is the main building block of Notion and where you will spend most of your time. In the upper right, are more menu items that you won’t need until later.
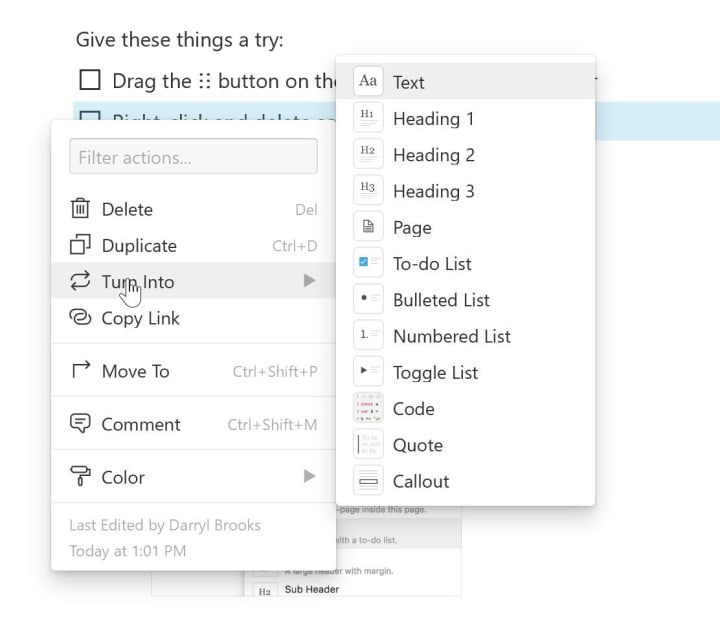
The center of this page is where we will focus for now. Each of the items on the page, in Notion’s language, is called a block. If you have ever worked with Wordpress, you are probably familiar with the concept. There are text blocks, checkboxes, an embedded gif, and a subpage. Follow the instructions on each line to get a feel for the basic mechanics.
For now, there are three main takeaways:
Everything is a block, and each block can be dragged around.
Pages can be dragged into any order and nested within other pages.
If you right-click on the dot-menu to the left of any item, you can see that you can turn anything into anything else. (For the most part).
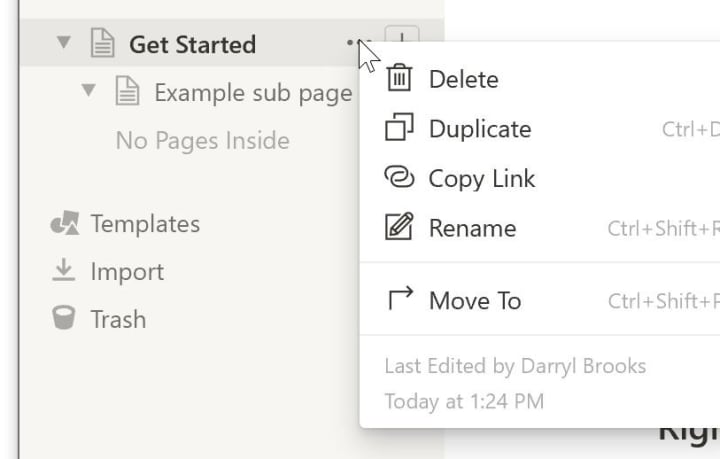
Play around with the page until you are completely confused. When you are happy with that, click on the three-dot menu to the right of Get Started on the Sidebar, and click Delete. You are going to have to tell it two more times that you really, really, really want to delete this page.
Finally! We are on that blank page.
And this is where we will leave it until the next lesson.
Don’t forget to clap and leave comments if you want to see more. Ask specific questions, and I will try to include everything in future tutorials.
If you don’t want more, just ignore me. That’s okay. My feelings aren’t hurt.

I have had a lot of requests from people wanting me to consolidate everything into one article they could print and read as they learn Notion.
So, as a result of those requests, I have done just that. I have combined all the text and screenshots from all four of my articles, plus some bonus material into one 60-page PDF, that you can purchase for only $19. Details are Here.
Or, if you have time, I will eventually get them all posted here if there is enough interest.
If you enjoyed this article, please consider dropping me a tip below. Thanks for reading.
About the Creator
Darryl Brooks
I am a writer with over 16 years of experience and hundreds of articles. I write about photography, productivity, life skills, money management and much more.
Keep reading
More stories from Darryl Brooks and writers in Lifehack and other communities.
Make Things Happen Instead of Wanting Them to Happen Before Life Passes You By
We all want things to happen. We want to know things, to have things, and to go places. And we all spend time fantasizing about these things. We think about how it will be to know that thing or to have those things or to go to those places.
By Darryl Brooks3 years ago in Lifehack
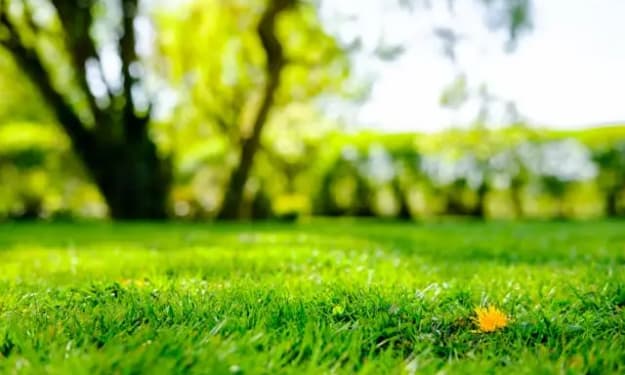
Deciphering Weed Killers: Selective vs. Non-Selective Herbicides for a Flourishing Lawn
Embarking on the journey to uphold the sanctity of your outdoor haven unveils a labyrinth of complexities beyond mere lawn upkeep. It's a perpetual tussle against the relentless advance of botanical adversaries, each blade of grass a valiant sentinel in the face of encroaching weeds, threatening to cast a shadow over the splendor of your green refuge.
By Vakcbat Yaocba4 days ago in Lifehack
Descent
“60 seconds.” Aris tightened her grip on the overhead handhold. The troop transport shook like a leaf in a windstorm as it battled through the atmosphere. Dim lights flickered on and off as the ship’s systems were battered by pelting rain and narrowly dodged blasts from laser cannons on the surface of the planet.
By M. A. Mehan 7 days ago in Fiction


Comments
There are no comments for this story
Be the first to respond and start the conversation.