

Buying images to use in your cricut projects can be fun and easy, but lets be honest ... we need a free collection too. With that said, I have some good news for you! Once you finish this article you will be able to easily upload images and even edit them so you can freely download all that free content.
Don't be afraid, this article is only 1o very easy and frustration free steps. Not to mention, every step comes with a helpful photo. So if you are new to Cricut, then this is a great place to start! If you are a bit more advanced with Cricut, why not take a refresher? If you don't even know what a png. file is, don't worry, this article will tell you about that too. If the png. files are coming out as squares instead of shapes, then this article can help you fix that too.
How to upload PNG. files to your Cricut
In Ten Easy Step by Step Instructions
Step One: Open your Cricut Design space on your computer.
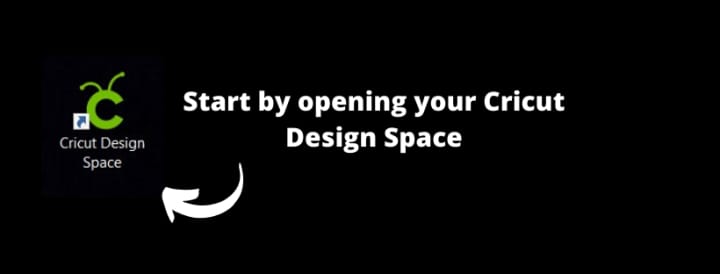
Simply start by opening the Cricut Software on your computer.
Step Two: Click Upload
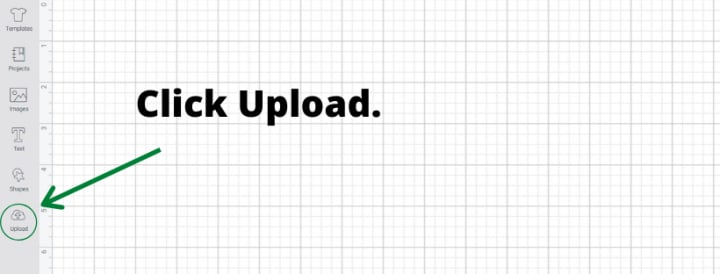
On the left side of your screen will be a list of pages, click the one at the very bottom. The 'Upload' button.
Step Three: Click the button that reads 'Upload Image'
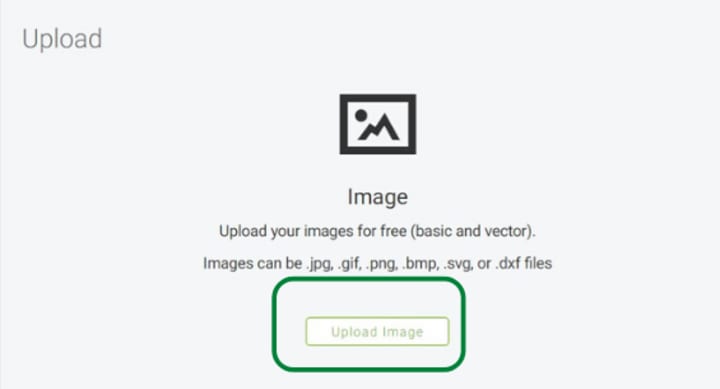
A little grey square will pop up, click the 'Upload Image' button.
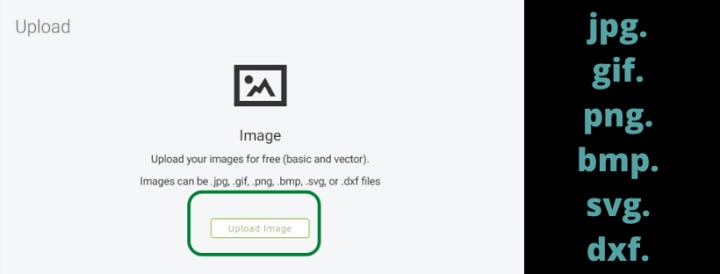
What are all these different file types?
Knowing what each of these image type means isn't as important as you might think, and it can certainyl be overwhelming at first. So today I will only tell you about jpg. and png. images.
jpg. images: A jpg. file (a.k.a. jpeg) is a simple and common file of a compressed image. jpg. files are small and take up very little space i n your computer storage. However, sometimes jpg. images are too small for certain projects.
png. images: A png. file (stands for Portable Network Graphics) is a great way to save and share Cricit images, especially drawings. The great thing about png. files is that they can be saved without backgrounds. Meaning that many png. files are ready to be uploaded to cricut and used right away.
Another reason why png. files are so amazing, is that they are usually larger than jpg. images. So they can make bigger projects and hold much more detail than the traditional jpg. image.
Step Four: Click on the image you want to Upload.
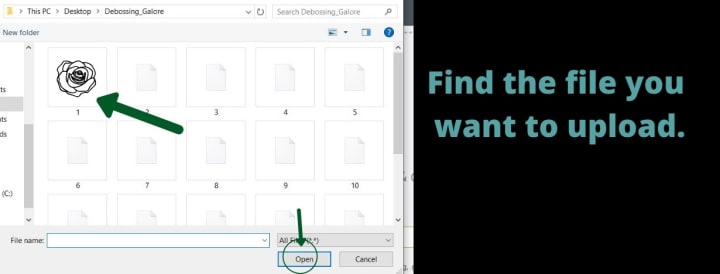
Click on the file/image that you want to upload and then click 'Open'.
Step Five: (If Needed) Erase the background of your image using the magic wand.
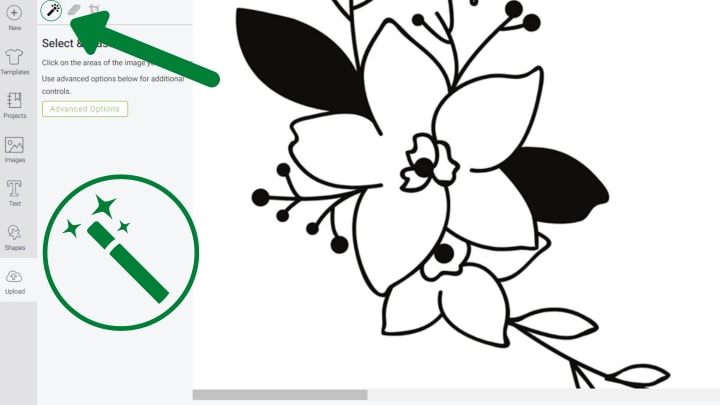
If your images keep coming out as squares when you try to cut them in your Cricut, then this is the solution to that problem. Keep in mind that you have to do this during the upload process ... so you might have to upload the same image more than once before you have it the way you want it.
If you need to erase the background, this is an easy way to do it. The best part is that this software comes free with your Cricut! So there is no need to buy an expensive Photoshop subscription.
Step Six: (Optional) Keep Erasing Parts
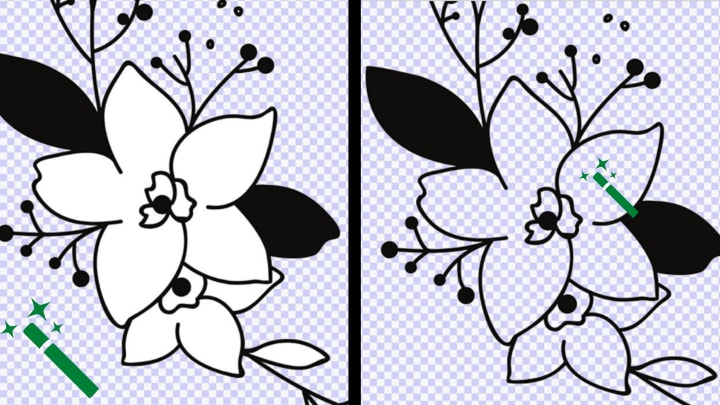
If you want image to be more than a blank silhouette, you can use the magic want on some of the parts inside as well. This can be a bit time consuming depending on the image. However, most of the time your image will only need 1 or 2 clicks with the magic wand.
Don't Worry: If you make a mistake and erase the whole image by mistake, don't worry you don't have to start again! Just clock the 'Undo' button or pres 'Command' and 'Z' on your keyboard at the same time.
Step Seven: Choose the option 'Save as a Cut Image'
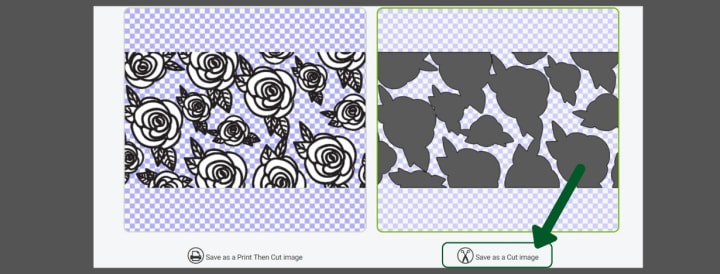
To be honest, I have only ever used the 'Print and Cut' option once. Some free Cricut projects will insist that you need to use the 'Print and Cut' option ... however there are also usually ways around it.
Pro Tip: When in doubt, save as a 'Cut Image'.
Step Eight: Select File Complexity
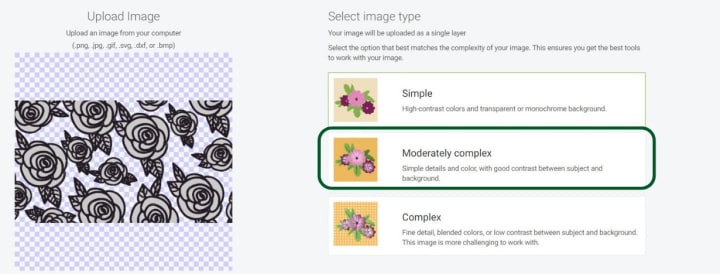
Depending on the image you uploaded and edited, you can choose the file size and detail that goes with saving that image. Keep in mind that the more complex option you choose, the more storage is taken up on your computer.
Pro Tip: When in doubt, choose 'Moderately Complex'.
Step Nine: Click your new uploaded image, then click 'Insert Image'.
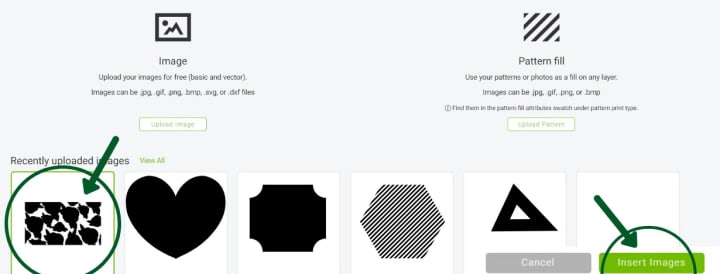
Once you have uploaded your image you will be taken back to the main 'Upload Screen'. You will see your new image there (If you don't see it hit refresh). Click on your new image and then a little green line will go around it's square. Once your new image is highlighted, click 'Insert Image'.
Good News, You Are Almost Done!
Step Ten: (If Needed) Shrink the image.
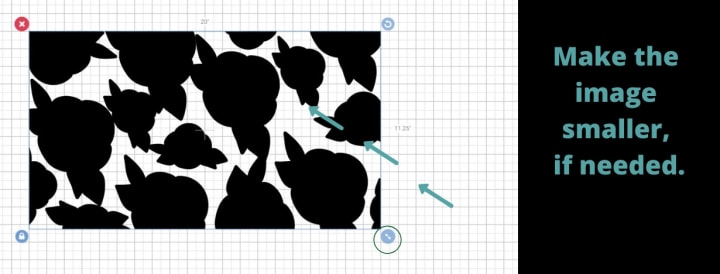
Several free images and personally made images will come out much larger then needed. All you need to do is shrink the image until it is the desired size.
Pro Tip: Don't forget about this useful tool!
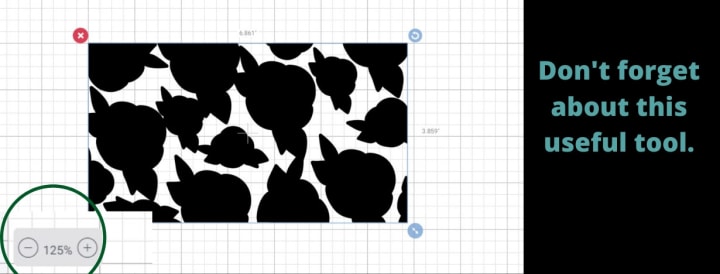
It took me too long to find this tool, so I want to make sure to let everyone knows about it. At the bottom left corner of the screen there is a faint bar. Hover your mouse over it and it will show up more clearly. You can use this make your overall view of the project bigger or smaller ... or more accurately closer or further.
Congratulations!
You have mastered the first and most important task to do with your Cricut. Now that you know how to upload images to your design space you have opened a whole new world of crafting and creativity. Now you can make your own templates, buy some from Etsy and most importantly ... now you have opened the world of sharing free designs and template. If you want to start collecting your free images now, I have left a link just below to a great resource of both free images and creative inspiration. Happy Crafting!
Want free png. files? Check out this link just below!
Want to buy some ready made Cricut projects and images? Here is the link for a great Etsy shop:
About the Creator
Nancy D
Facebook @NancyDBlogging
Twitter @BlogsNancy
Intermittent Fasting for Rapid Weigh loss
Start writing...Intermittent Fasting is extremely popular worldwide. It turns out to be an effective way to lose weight. With intermittent fasting you alternate short periods of eating with periods of fasting to effectively lose weight.
By Elhassan Errezzaki2 days ago in Lifehack
Fiverr Logo Design
A strong brand logo is crucial for businesses to make a lasting impression and stand out from the competition. If you're looking for an affordable and professional logo design service, Fiverr is the platform for you. With a wide range of talented designers, Fiverr offers logo designs that are tailored to your brand's unique identity, helping you elevate your brand's image and establish a strong visual presence.
By Abdulhakeem Momohabout 10 hours ago in Lifehack
Whispering Woods Challenge Winners
Congratulations to Morgan Christy Rickards for their winning Whispering Woods story, Guardian at the Gate. Morgan has been a Vocal creator since February 2021, and this is their first time placing in Challenge — well done, starting with a win! Guardian at the Gate draws evocatively from Welsh tales of the Cantre'r Gwaelod, a lost sunken kingdom between the forest and the sea. Heledd’s dangerous adventure pulls her towards the water but her spirit is anchored in the woods: Morgan’s writing is atmospheric and exciting.
By Vocal Curation Team5 days ago in Resources


Comments
There are no comments for this story
Be the first to respond and start the conversation.