
A Guide to Starting Your Sales Business on Shoplazza
Shoplazza has a straightforward interface to help you build your ecommerce business. Here are 6 simple steps you should follow.

Shoplazza is a global e-commerce services provider. They are able to leverage many years of eCommerce and digital infrastructure experience to give their clients the best international ecommerce services available.
They provide a variety of services to assist clients in getting set up and ready to sell, including a variety of appealing designs, dropshipping assistance, Amazon platform integration, customer payment alternatives, and developer support.
I’ve tried the platform to build my first ecommerce store. The entire procedure is simple and straightforward. Follow me and start building your first online store!
1. Register
To begin creating your own Shoplazza store, go to www.shoplazza.com and register with a valid email address. Enter a distinct and appealing name for your business.
The name you pick for your company may have a significant impact on its success. A terrible name may lead to more than simply a failure to connect with customers; it can also lead to a slew of economic and legal issues. A strong, memorable name, on the other hand, might be quite advantageous to your marketing and branding efforts.
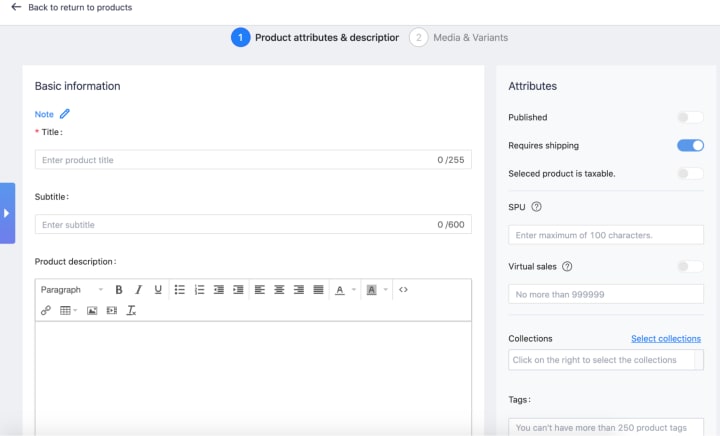
2. Add Products
Your products will be the basis for the appearance and feel of your website.
To create your first product listing, go to your store and browse to Products - Add product.
Or you can just import your products from your other existing stores, like Shopify, Amazon, etc. Shoplazza will automatically add them instantly.
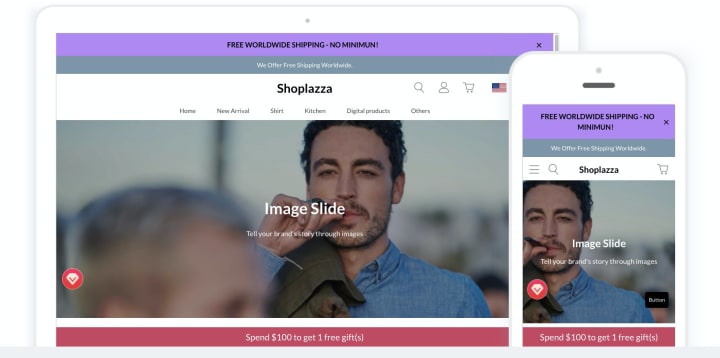
3. Customize Theme
All themes are available free in the Shoplazza Theme Store, each with its own unique set of styles and functionality.
Each theme has many styles, so search around for a theme and style based on the size of your product offering and the type of look you desire for your business. You’ll be able to build the internet store you've always wanted.
After experimenting with a few free themes, such as Hyde and Neptune, I settled on Backstreet Boys since my website has a modest product range and doesn't require many features to get off to a good start. The product grid's current appearance and the navigation menu's simplicity appealed to me.
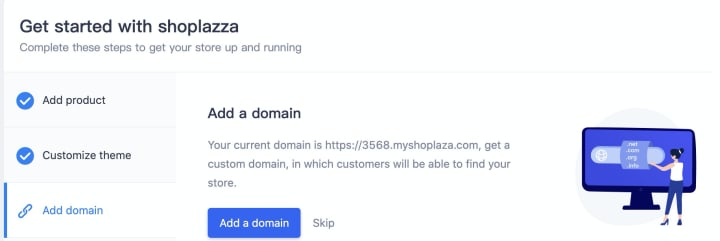
4. Adding a Domain
Buying a domain is like buying real estate on the internet. A custom domain is a completely customized URL that replaces the default URL established based on the store name you choose during setup.
You may connect your domain to your shop by transferring it from another registrar and connecting it to your store.
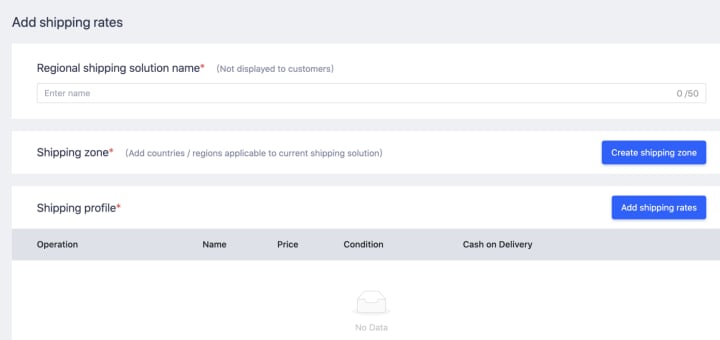
5. Setting Up shipping
You can apply your shipping plan under Settings - Shipping. You may create shipping zones here, where you can specify your pricing for sending to clients in specific countries.
One of the most difficult components of starting an internet business is shipping. Product weights, packaging expenses, delivery locations, carrier rates, and your potential profit per order are all factors you need to consider. Whether it's applied to certain items, order sizes, or actual places, free shipping may be an excellent incentive for people to buy from you. Remember that if you wish to absorb the cost of shipping on behalf of your customers, you must include this in the retail price of your products.
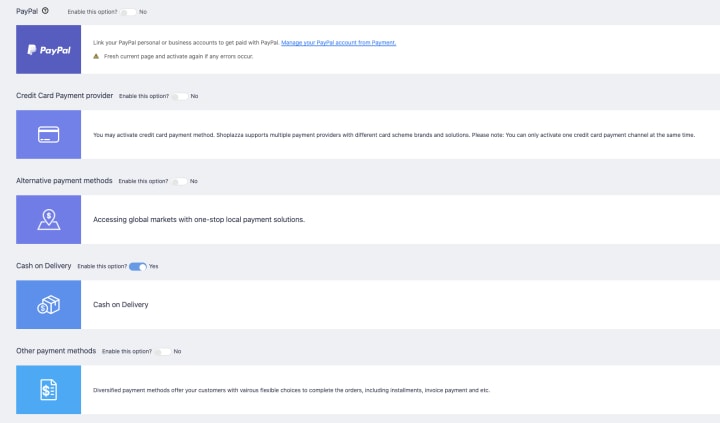
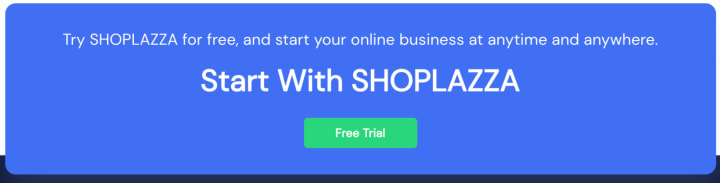
6. Getting Paid
We've made it to the finale! The following stage is to determine how your company will collect payments and how you will be compensated as the store owner.
Go to Settings - Payments to configure your payment provider. Shoplazza makes it simple to start accepting all main forms of payment. As long as your company operates in one of the supported countries and is not prohibited from accessing payment services, you may activate Shoplazza Payments with a single click and incur no additional transaction fees.
You may also choose from over 100 third-party payment providers or offer additional payment options to your customers, such as PayPal. Settings - General allows you to change the currency in which your things are sold.
(Contributed by Muhammad Zeeshan; Co-author: Clair Feng, Ethan Tang)
About the Creator
Keep reading
More stories from Clair Feng and writers in Journal and other communities.
Biggest Benefits of Selling on an eCommerce Platform
Many businesses have benefited from digital trade, allowing them to acquire more lines of business and develop more effectively. There are numerous benefits to eCommerce, and, as with any major business idea, the benefits of eCommerce can help your business flourish. The information provided below will help you make crucial business decisions by highlighting the benefits of e-commerce.
By Clair Feng2 years ago in Journal
NSFW AI: Enhancing Online Safety Through Automated Content Moderation
The web is a tremendous scene loaded up with plenty of content, going from instructive and useful to engaging and at times unequivocal. With the outstanding development of online stages, guaranteeing a protected and suitable climate for clients has turned into a vital concern. This is where NSFW ai, or Undependable for Work Man-made consciousness, becomes possibly the most important factor.
By saif ullah5 days ago in Journal


Comments
There are no comments for this story
Be the first to respond and start the conversation.