
Streamlining Your Code: Converting Objective-C to Swift
Businesses can improve the logic, architecture, and performance of their Objective C-based apps by replacing their code in Swift. With high interoperability, migrating Objective C to Swift becomes easy.
Objective-C, the longstanding language for iOS development, has faced a strong contender in Swift. Swift’s modern design and features offer significant advantages, prompting businesses to consider migrating their Objective-C projects. This guide explores the conversion process, highlighting the benefits and providing troubleshooting tips.
Why Migrate to Swift?
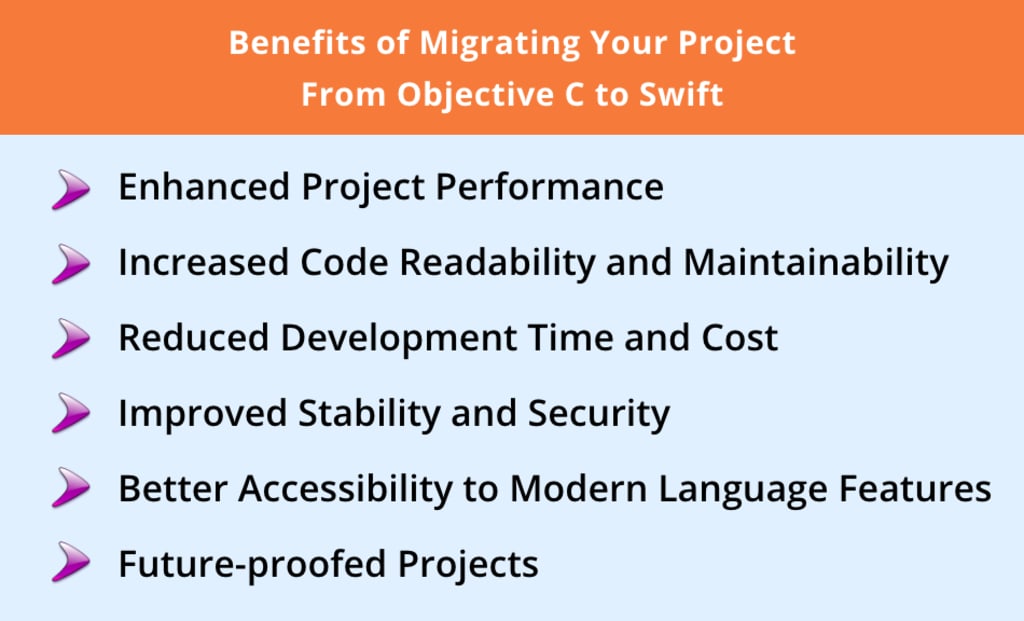
The decision to convert Objc to Swift isn’t solely about embracing the latest trend. Swift offers compelling advantages:
Enhanced Performance: Swift boasts a clean and optimized syntax, leading to faster execution compared to Objective-C. This translates to smoother user experiences, especially for computationally intensive applications.
Improved Readability and Maintainability: Swift’s modern constructs and cleaner syntax make code easier to understand and maintain. This translates to faster development cycles and reduced debugging time.
Reduced Development Costs: Swift’s high interoperability with Objective-C allows developers to leverage existing libraries and frameworks, minimizing the need for complete rewrites. This translates to cost savings and faster development.
Increased Stability and Security: Swift’s built-in features like bounds checking help eliminate common coding errors like null pointer exceptions and buffer overflows. This leads to more stable and secure applications.
Access to Modern Features: Swift comes equipped with advanced language features like generics, pattern matching, and higher-order functions. These features empower developers to write concise and expressive code, improving maintainability.
Future-Proofing Your Project: Swift enjoys strong community support and constant updates from Apple. Migrating to Swift ensures your project aligns with modern development standards and benefits from future advancements.
The Conversion Process
While seemingly straightforward, converting Objective-C to Swift requires careful planning and execution. Here’s a breakdown of the key steps:
Codebase Preparation: The initial step involves optimizing your existing Objective-C codebase for compatibility with Swift. This might involve code cleanup and modernization to ensure seamless integration with Swift components.
Migration Strategy: A common approach is to adopt a file-by-file migration strategy. Here, developers focus on converting individual Objective-C files to their Swift counterparts.
Creating Swift Classes: For each Objective-C class you intend to migrate, create a corresponding Swift class file (.swift). You can choose to retain the original class name or adopt a new naming convention.
Importing Frameworks: Import the necessary system frameworks within your newly created Swift class file.
Accessing Existing Objective-C Code: Utilize bridging headers to gain access to the existing Objective-C code from your Swift class. This allows for interaction between the two languages.
Subclassing and Code Migration: Create a descendant of the target Objective-C class in Swift. This descendant class acts as a bridge, enabling access to the new Swift class from within your Objective-C code. Begin migrating the functionality of the Objective-C class to its Swift counterpart.
Swift Implementation: Start constructing your new Swift codebase. This involves updating import statements in your Objective-C code to reference the newly created Swift classes. Remove the original Objective-C implementation files (.m) from your target to avoid symbol conflicts. Finally, update any remaining code to use the Swift class names instead of their Objective-C counterparts.
Troubleshooting Tips:
Subclassing Limitations: Keep in mind that you cannot subclass a Swift class from Objective-C. Ensure the class you’re migrating doesn’t have any Objective-C subclasses.
Duplicate Symbol Removal: After migrating a class, remove the corresponding Objective-C implementation file (.m) to avoid duplicate symbol errors.
Swift Class Descendants: To make an Objective-C class accessible from Swift, create a Swift class that inherits from it.
Generated Headers: You can view the generated header file for a Swift class by command-clicking on the class name within your Objective-C project.
Symbol Information: For detailed information about a symbol, including its type, attributes, and documentation comments, option-click the symbol within your code editor.
Objective-C vs. Swift: Choosing the Right Language
While Swift offers compelling advantages, the decision to migrate depends on your specific project requirements:
New Projects: For new development projects, Swift is generally the recommended choice due to its modern features and focus on developer experience.
Legacy Projects: For existing Objective-C projects, the decision becomes more nuanced. If the project functions well and doesn’t require significant changes, maintaining Objective-C might be a viable option. However, if you’re planning to introduce new functionalities or enhance.
About the Creator
Sumit Chauhan
I'm Sumit Chauhan, a dedicated tech enthusiast with a keen interest in exploring the realms of mobile app development across Android and iOS platforms.
Keep reading
More stories from Sumit Chauhan and writers in Geeks and other communities.
Moravec’s Paradox: Why Robotics Lags Behind AI
Artificial intelligence (AI) has made remarkable progress in recent years, with advancements in areas such as natural language processing, machine learning, and computer vision. Despite these leaps in AI, robotics, a field often closely associated with AI, seems to be lagging behind. This phenomenon can be explained by the concept of Moravec’s Paradox, which outlines the inherent challenges in robotics compared to AI. In this article, we will explore Moravec’s Paradox, examine the differences between robotics and AI, discuss why robotics is lagging behind AI, and how Appventurez can help integrate these technologies.
By Sumit Chauhan12 days ago in Geeks
Book Review: "No Logo" by Naomi Klein
Naomi Klein is no doubt, a huge author and you're going to be quite surprised about the fact that I have actually barely read anything by her though I am aware of her existence. Her book No Logo is recommended reading in the book The Inner Level by Professors Richard Wilkinson and Kate Pickett and is about the way brands have aggressively waded themselves into every aspect of our existence.
By Annie Kapur9 days ago in Geeks
Sex and the City
We ended season 2 with Big being engaged to another woman and Carrie being a little nuts about it. Miranda and Steve realize that being just friends is a little harder than they thought and Charlotte and Samantha continue to be the life of this show. We have a lot of horrible Carrie moments coming up in this next season so I suppose we should just get started. Here is season 3 of Sex and the City.
By Alexandrea Callaghan6 days ago in Geeks


Comments
There are no comments for this story
Be the first to respond and start the conversation.