


If you’re anything like me, hot sauce is a staple in the pantry. My love for that spicy kick has had me chasing all the various flavours, styles and tastes out there, and I just can’t get enough. Not only is my mouth burning, but this addiction means that my back pocket is starting to feel the heat too. So, my search began, new ways to fuel the burning addiction while lightening the load on the ol’ wallet.
Whether you’re just chili-obsessed or simply want an easy and cost effective alternative, then this is the article for you. I’ve done all the leg work and research to create this simple recipe. What’s even better is that you can do minor adjustments to suit your own taste buds.

Here’s what you’ll need:
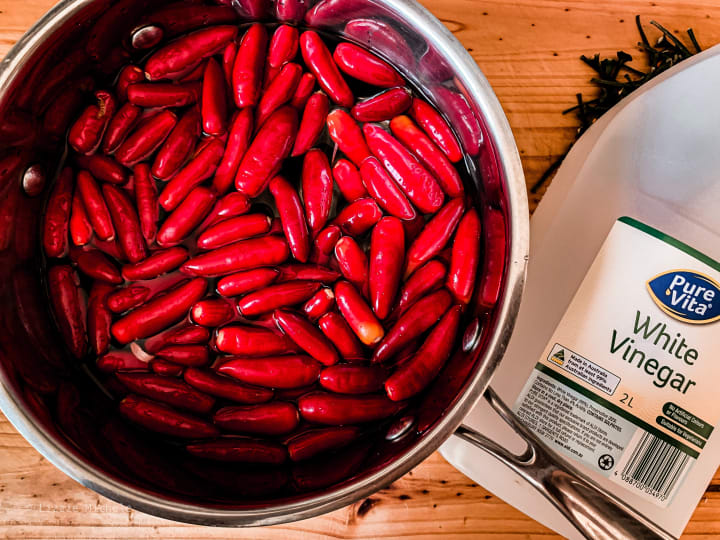
- Chili of course!! The world is your oyster (or in this case, chili), so pick which ever one you want. I tend to use bird's eye chilies more often as I find that this suits a wider range of foods and also the most cost effective. But by all means try out habanero, jalapeño, or if you are feeling really adventurous, you could always try ghost peppers.
- Garlic! There is no hot sauce without garlic. It helps to round out the flavour and it give the sauce an extra depth rather than just straight burn.
- Then to finish things off you’ll need white vinegar, water, salt and some old jars or sauce bottles.
Step One – Prep Ingredients
To make things even easier, there is no chopping necessary, no need to finely dice and no risk of chili eyes.
You’ll need half a kilo (500gm) of chili, and first you need to remove the stalk. You can easily pull them off and they’ll come apart from the pepper quite easily. Make things quicker just grab a handful and tug.
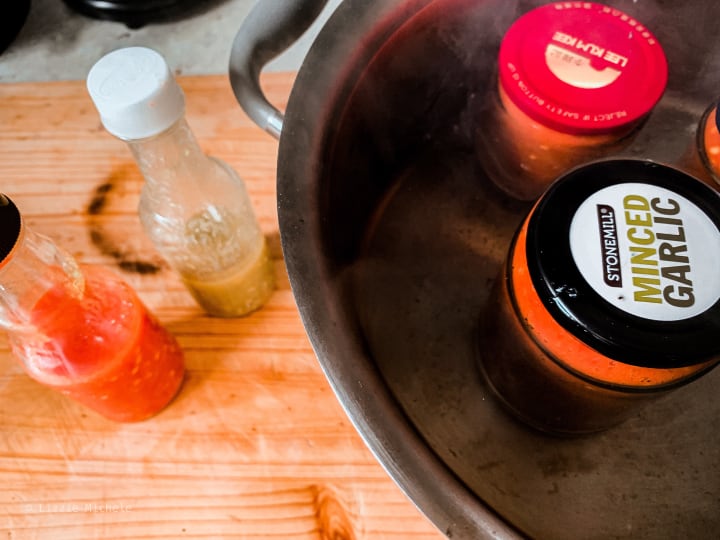
Peel half a bulb of garlic; feel free to pop the whole bulb in if you’re a garlic fan. No need for pretty perfect cloves, simply separate the cloves from the bulbs and give them a gentle whack. We have a mini paddle chopping board which does the trick quite nicely, otherwise a mallet or the flat side of a blade will be suitable too.

Step Two – Cook it
Once you have all your fresh ingredients prepped, place them all in a saucepan along with 2 cups of vinegar, 2 cups of water and a good pinch of salt. Bring the mix to a boil and simmer for 10 minuets, or until desired liquid reduced. I generally like mine on the thicker side so would reduce the liquid to just below half the original amount.
Advanced warning: the chili vinegar mix is a shock for the sinuses. If you have a portable stove, it would be advisable to do this outside or use lots and lots of fans.
Once cooked, use a hand mixer to blend the mix until smooth. Blender or a food processor can be used for this step also.
Step Three – Jar and Seal
If you are planning on getting through this mix quickly, you can pop it into one large container and go crazy! I generally store the hot sauce in the fridge once opened. You can also air seal the jar for long-term storage to ration out your hot sauce consumption or give as great gift ideas.
Simply fill sterilised jars leaving 1.5cm (½ inch) of space and tighten the lid, not too tight so that the excess air can escape. Fully submerge the jars into pre-boiled water and ensure that the lid is fully underwater and boil for 10 minuets. Be careful not to tip the jars, keep it upright. If you have a pair of lowering tongs, this will help you avoid the scalding water, otherwise some careful precision and regular tongs can do the trick too.
Remove the jars from the water and leave to cool on the countertop overnight. The jar is fully sealed and suitable for storage if the lid is fully depressed. Just make sure to consume any that aren’t sealed correctly, which means yay, more hot sauce for you!
Go forth and enjoy the burn!
Ingredients
• 500gm chilli (variety of your choice)
• Half bulb of garlic
• 2 cups of white vinegar
• 2 cups of water
• Hefty pinch of salt
Method
1. Remove stalks from chili and peel garlic.
2. Place all ingredient in a pot and bring to boil. Simmer for 10 minutes or until liquid is reduced to desired level.
3. Use a hand mixer or blender to blitz the chili mix until smooth.

The Astounding Truth About Sci-Fi Concepts That Are Now a Reality
Introduction Science fiction has long been a platform for exploring the unknown, the impossible, and the fantastical. From teleportation to artificial intelligence, sci-fi has often pushed the boundaries of what we thought was possible. However, as our understanding of the universe and its laws evolves, some of these "impossible" concepts have become a reality. In this article, we'll delve into the fascinating stories of sci-fi concepts that were once deemed impossible but have since been proven true or are now considered plausible.
By Sumit sharaf6 days ago in Feast


Comments
There are no comments for this story
Be the first to respond and start the conversation.