
Cheesy Discard Crackers
Your new favorite crunchy snack

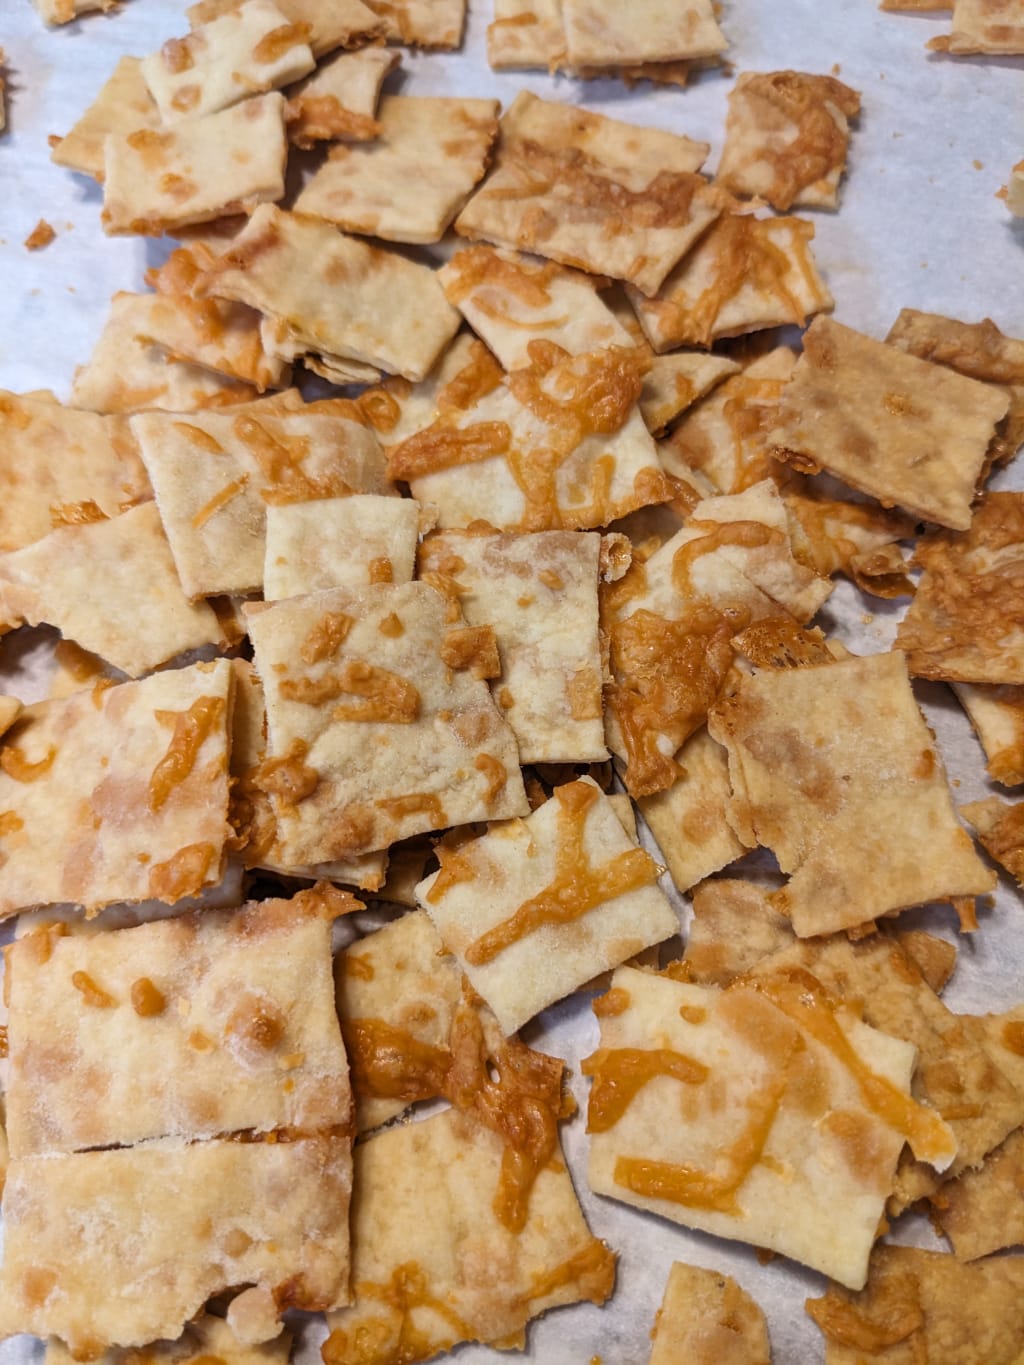
"I cannot stop eating these crackers!"
I've gotten a text or comment like that more than once about these cheddar crackers. Even my picky "brand-name only" nephew loves them. They're one of my top-selling items at the farmer's market, and you'll soon find out why! The sourdough discard gives a little bit of a tang that mimics Cheez-Its and the garlic powder gives the cheesiness a little bit of a boost without tasting like garlic much at all.
I will warn you that while this process is simple, it can feel tedious. These measurements are for a big batch, but the crackers don't go bad quickly, and you can easily refrigerate the dough for up to a week or freeze it for much longer. I've also included the measurements for a half batch directly under the full batch measurements in case you just want something smaller. Ready? Let's go!
Full batch: 500g sourdough starter (about 2 cups), 1 stick of butter, 300g flour (plus more for rolling out the dough), 200g shredded cheese (plus more for topping), 10g garlic powder (about a tablespoon), 1 teaspoon salt.
Half batch: 250g sourdough starter (1c), 4 tablespoons butter, 150g flour (plus rolling), 100g shredded cheese (plus topping), 5g garlic powder (1.5 tsp), 1/2 tsp salt.
Quick note: I prefer a drier/harder cheese like parmigiano reggiano or Kerrygold's Dubliner. Softer cheeses are more moist which results in a longer cooking time to get a good crunch. Harder cheeses also tend to have more flavor. If you have a softer cheese preference or want to use a block of cheddar (go for sharp), I recommend leaving the crackers out overnight before bagging them. This will allow them to release more moisture and become more crunchy.
1. Preheat your oven to 350F. I like to start by mixing the starter, butter, and cheese. I usually let the butter soften on the counter before making the crackers, but you can also melt it.
2. Mix the salt and garlic powder into the flour before incorporating all the dry ingredients into the wet ingredients mixture. Stir until well incorporated, then put the dough onto a floured surface and knead until the consistency is the same throughout, adding more flour to the surface as needed.
3. I use half-sheet pans, so I roll out a chunk of dough about the size of a billiard ball for one pan. Keep the surface and the dough well-floured to prevent tearing. You'll want to roll it pretty thin - thinner than a tortilla but thick enough that it won't fall apart when you transfer it through the pan. I like to roll over it a few times, flour the top, then flip it, then roll again. I repeat this process a few times to make sure the dough doesn't stick to the counter. Then I transfer the flat dough to a piece of parchment paper and give it one more roll.
4. If you use parchment paper, you can cut the dough into squares before transferring the paper and dough to the pan. If you transfer directly from the counter to the pan, you can cut them in the pan. I usually use a pizza cutter.
5. Lightly and evenly sprinkle a handful of shredded cheese over the top of the cut dough.
6. Put the pan on the middle or top rack of the oven. You don't want to go any lower than the middle or you increase your chances of burning them. If your oven has a convection function, it should take about 25 minutes for the crackers to bake through at 350F. If you don't have a convection oven, it may take a bit longer, and you may want to remove the crackers at the edges around the 20/25 minute mark because they'll likely finish before the crackers in the middle. Remove when golden and crunchy and let cool.
7. Enjoy, do a little dance, bag them up, and snack with delight until you sadly realize you have to do it all over again!
Note: you can test the readiness by tapping the top of a cracker, especially one that has a bubble. A rigid bubble is ready to remove. A soft bubble needs more time. If you're a little on the fence about it, what I sometimes do is turn the oven off and leave the crackers in there with the door open as it cools off. It works like a charm!
About the Creator
UglyYummies
Cooking with our minds, our hands, and our hearts to nourish bodies and souls.
Keep reading
More stories from UglyYummies and writers in Feast and other communities.
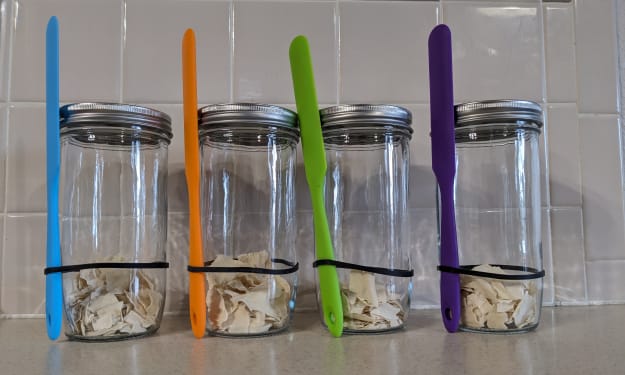
Reviving Midge
I call her Midge, but you don't have to. You can choose what to name your sourdough starter, but names are a must. An unnamed starter is doomed to fail! Just kidding, but it's a lot more fun to care for Phoebe, Carter the Starter, or DoughBoy than a nameless jar of sludge. Got a name in mind? Then let's get started!
By UglyYummies7 months ago in Feast
National Hamburger Day
Get ready to fire up the grill and indulge your taste buds because National Hamburger Day is here! This mouthwatering holiday celebrates one of America's favorite foods – the humble yet oh-so-delicious hamburger. So, whether you prefer yours piled high with toppings or savor the classic simplicity of a cheeseburger, join us as we dive into the history, fun facts, and irresistible flavors of National Hamburger Day!
By Aarav Rohilla3 days ago in Feast


Comments (1)
I'll be trying these! Thanks for sharing the recipe!